Passport LX 4WD V6-3165cc 3.2L DOHC MFI (2001)

CAUTION: When installing the oil seal, be careful not to damage the oil seal contacting surface of the housing.
2. Install shaft assembly.
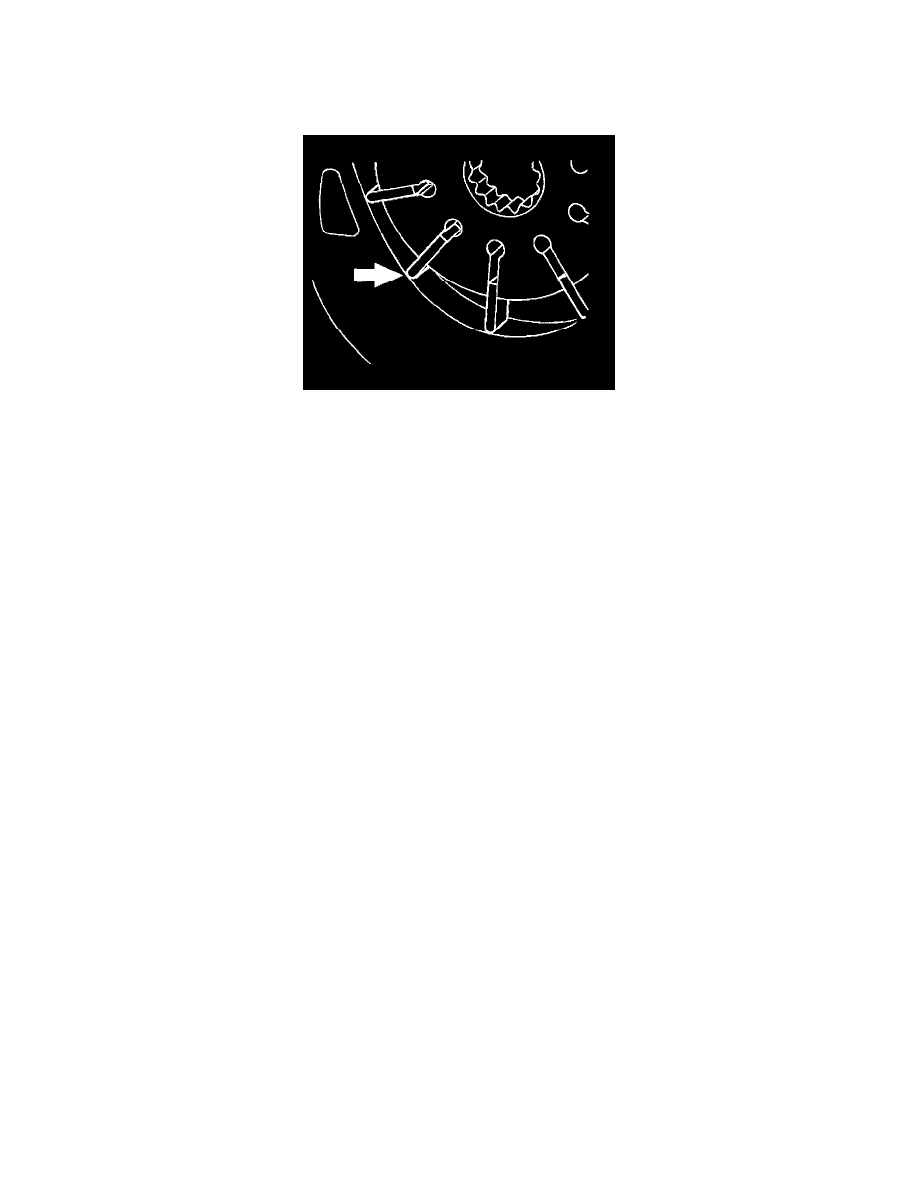
3. Install the vanes to rotor with curved face in contact with the inner wall of cam.
4. Install rotor and vanes to cam.
5. Install pin to front housing.
6. Install two new O-rings to front housing. Be sure to discard used O-ring.
7. Install side plate.
CAUTION: When installing side plate, be careful not to damage its inner surface. Damaged side plate may cause poor pump performance, pump
seizure or oil leakage.
8. Install pump cartridge assembly to front housing.
9. Install snap ring to shaft end.
10. Install rear housing with a new O-ring. Be sure to discard used O-ring. Then install bolt and tighten it to specified torque.
Torque: 24 Nm (17 ft. lbs.)
11. Install suction pipe with a new O-ring. Be sure to discard used O-ring. Then install bolt and tighten it to specified torque.
Torque: 10 Nm (87 inch lbs.)
12. Install relief valve and spring.
13. Install connector with a new O-ring. Be sure to discard used O-ring. Tighten the connector to specified torque.
Torque: 59 Nm (43 ft. lbs.)
14. Install pressure switch assembly and tighten it to specified torque.
Torque: 18 Nm (13 ft. lbs.)
