
Passport LX 4WD V6-3165cc 3.2L DOHC MFI (2001)
-
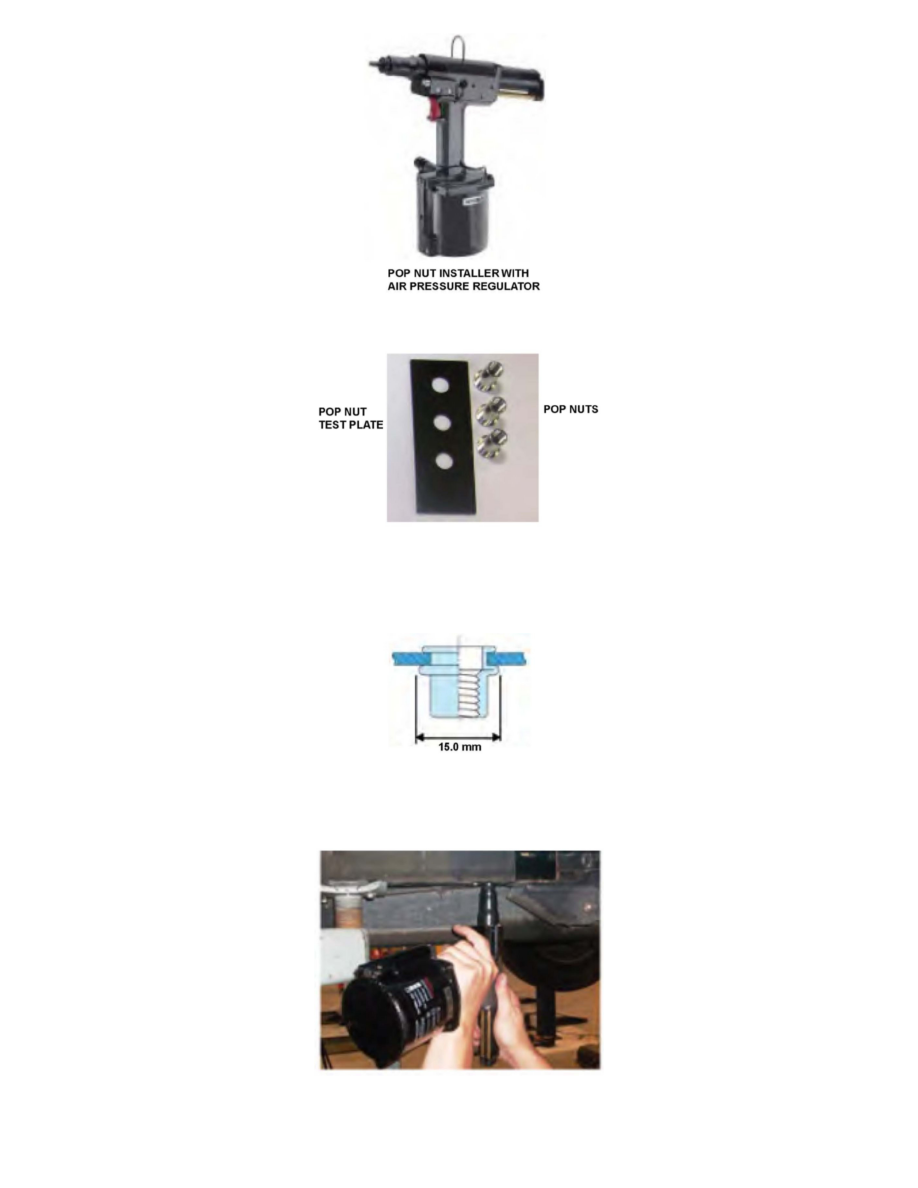
Insert the pop nut into a hole on the pop nut test plate. Make sure the pop nut is seated against the plate.
-
Squeeze and hold the installer's trigger until the mandrel reverses and unthreads the pop nut.
-
Measure the diameter of the expanded (crush) section of the installed pop nut; it should be at least 15 mm. If you need more practice, install
another pop nut on the test plate.
15. Install pop nuts in the holes you drilled on the frame (six holes for all 1998-99 models and some 2000 models, five holes for some 2000 models and
all 2001-02 models). Make sure each pop nut is seated against the frame before you pull the trigger. Continue holding the trigger until the mandrel
reverses direction. Once reversed, pull back slightly, and the mandrel unthreads the pop-nut.