
Passport LX 4WD V6-3165cc 3.2L DOHC MFI (2001)
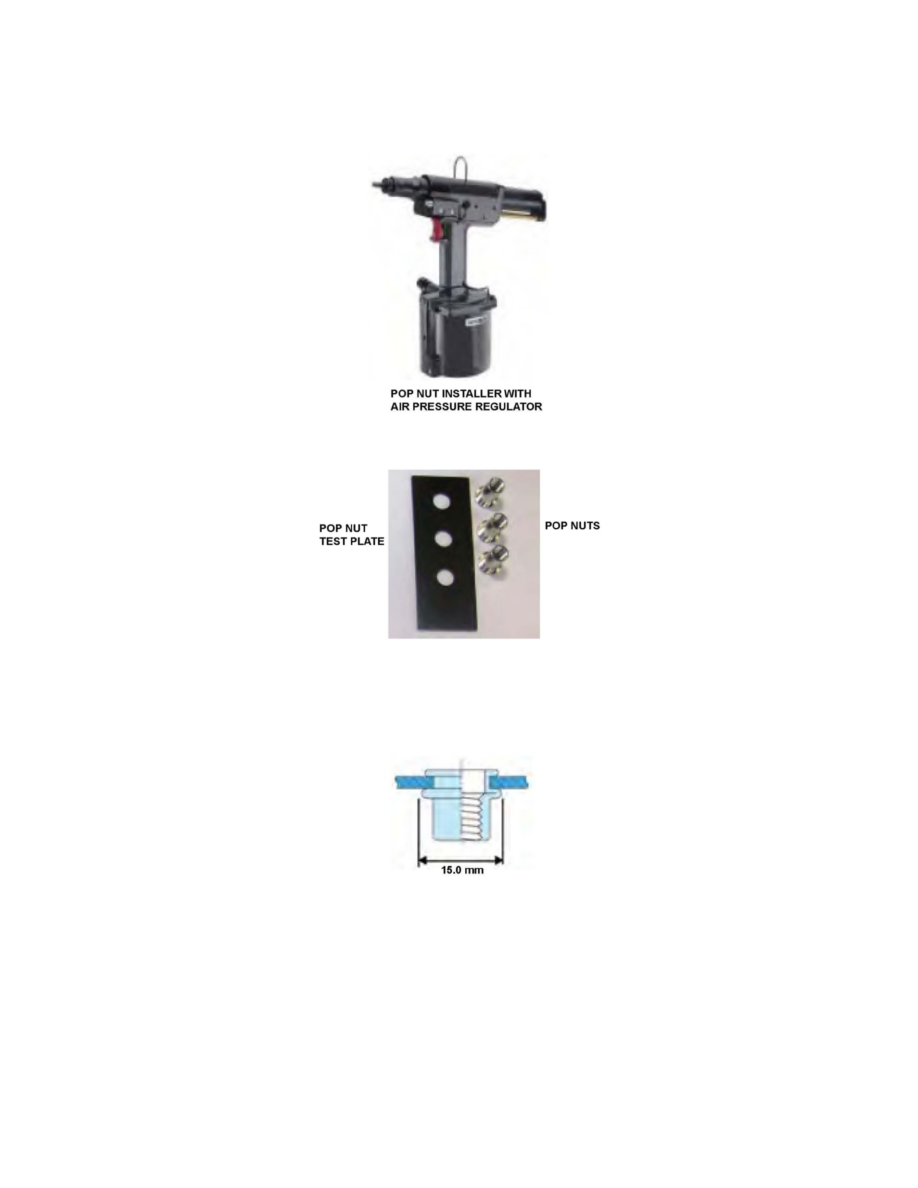
^ If this is your first time using the pop nut installer, or if you haven't used it in a while, practice installing one or two pop nuts onto the pop nut test
plate:
-
Place a pop nut at the tip of installer's threaded mandrel. Make sure to keep your fingers away from the gap between the pop nut and the base of
the mandrel. Squeeze the installer's trigger; the pop nut threads onto the mandrel.
-
Insert the pop nut into a hole on the pop nut test plate. Make sure the pop nut is seated against the plate.
-
Squeeze and hold the installer's trigger until the mandrel reverses and unthreads the pop nut.
-
Measure the diameter of the expanded (crush) section of the installed pop nut; it should be at least 15 mm. If you need more practice, install
another pop nut on the test plate.
34. Install a pop nut in each of the 32 holes you drilled on the frame rails (16 per bracket). Make sure each pop nut is seated against the frame before you
pull the trigger. Continue holding the trigger until the mandrel reverses direction. Once reversed, pull back slightly, and the mandrel unthreads the pop
nut.