Passport LX 4WD V6-3165cc 3.2L DOHC MFI (2001)

Drive/Propeller Shaft: Service and Repair
Rear Drive Shaft
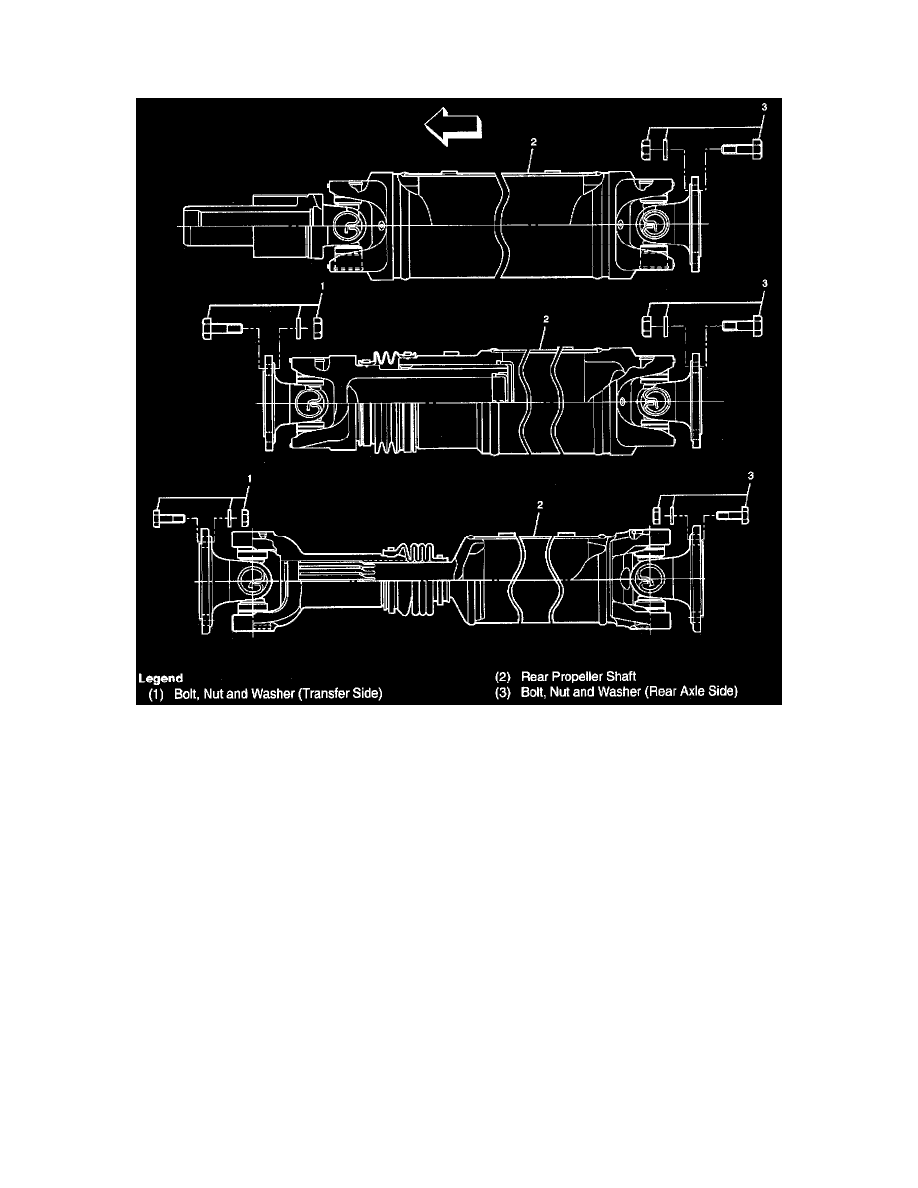
REAR PROPELLER SHAFT AND ASSOCIATED PARTS
REMOVAL
1. Raise the vehicle on a hoist.
NOTE: Apply alignment marks on the flange at the rear propeller shaft both front and rear side.
2. Remove transfer side bolt, nut and washer (except spline yoke type).
3. Remove rear axle side bolt, nut and washer.
4. Remove rear propeller shaft.
NOTE: Plug the hole of the transmission rear end to prevent oil leakage (spline yoke type only).
INSTALLATION
NOTE: Never install the shaft assembly backwards. Never insert bar between yoke lugs when tightening or re-moving bolts.
Completely remove the dust or foreign matter from the connecting surface of flange coupling on each end of the propeller shaft.
1. Align the mark which is applied at removal.
2. Install rear propeller shaft and tighten the bolts to the specified torque.
Torque: 63 Nm (46 ft. lbs.)
SLIP JOINT DISASSEMBLY
