
Passport LX 4WD V6-3165cc 3.2L DOHC MFI (2001)
small brush. After assembly of the slip joint, the sliding joint should be fully worked from the full collapsed to the full extended position.
^
Aluminum tube type only: Inspect the aluminum tubing for surface scratches and dents. These scratches may not exceed 0.2 mm (0.008 inch) in
depth.
^
Aluminum tube type only: Visually inspect the circle welds and fittings for any signs of cracks or signs of deterioration. If there are any cracks that
exceed 0.2 mm (0.008 inch) in depth, the assembly must be replaced.
^
Aluminum tube type only: Check to be sure there are no missing balance weights. If balance weights are missing and void has occurred in the
aluminum tubing greater than 0.2 mm (0.008 inch), the assembly must be replaced.
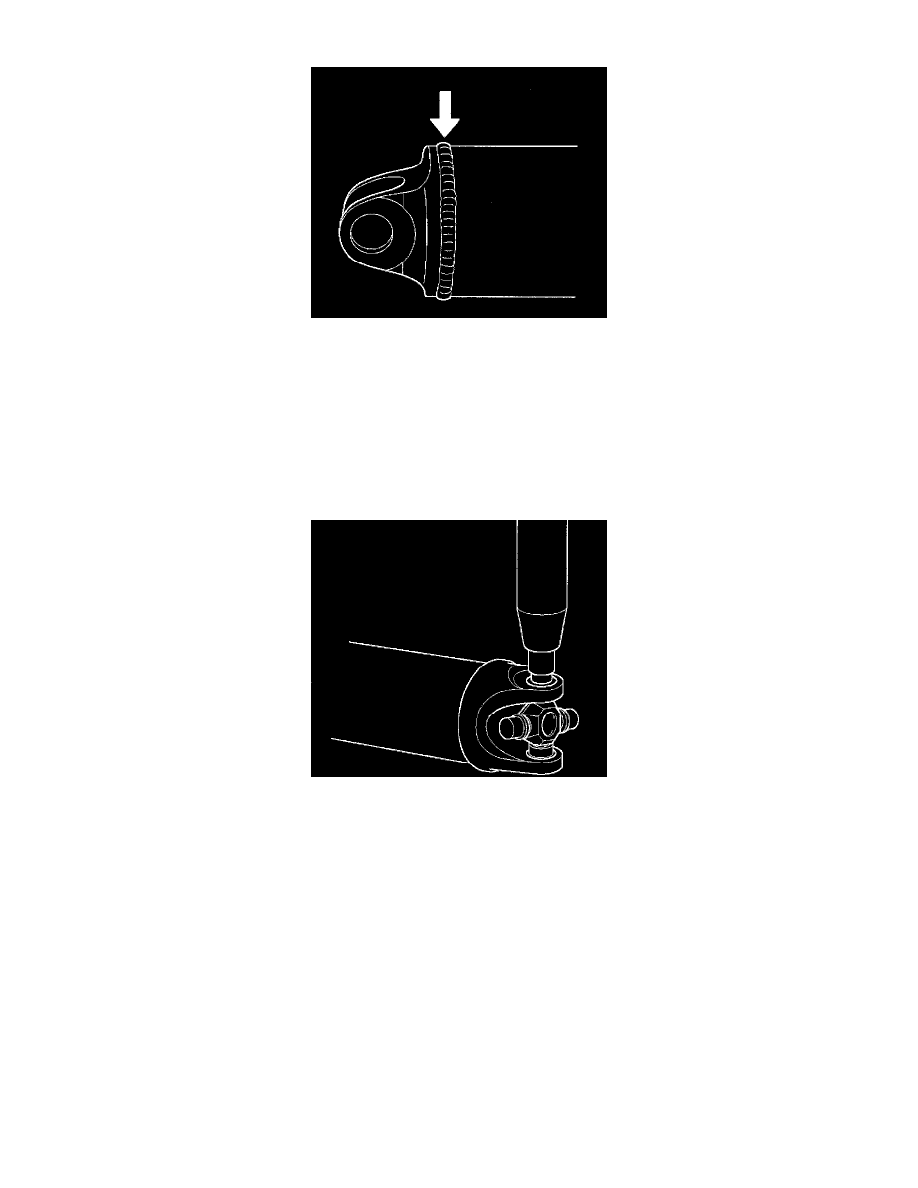
UNIVERSAL JOINT REASSEMBLY
1. Pack the four grease cavities of the spider with a high quality, extreme pressure N.L.G.I. Grade 2 grease. Do not add additional grease to bearing
lip assembly.
2. Move one end of the spider to cause a trunnion to project through the spider hole beyond the outer machined face of the yoke lug. Place a bearing
over the trunnion diameter and align it to the spider hole. Using an arbor press, hold the trunnion in alignment with the spider hole and place a
solid plug on the upper bearing. Press the bearing into the spider hole enough to install snap ring.
3. Install a snap ring.
NOTE: Be sure the snap rings are properly seated in the grooves.
4. Repeat steps 2 and 3 to install the opposite bearing. If the joint is stiff, strike the yoke ears with a soft hammer to seat the bearing.
5. Align the setting marks and join the yokes.
SLIP JOINT REASSEMBLY