
Pilot V6-3.5L (2004)
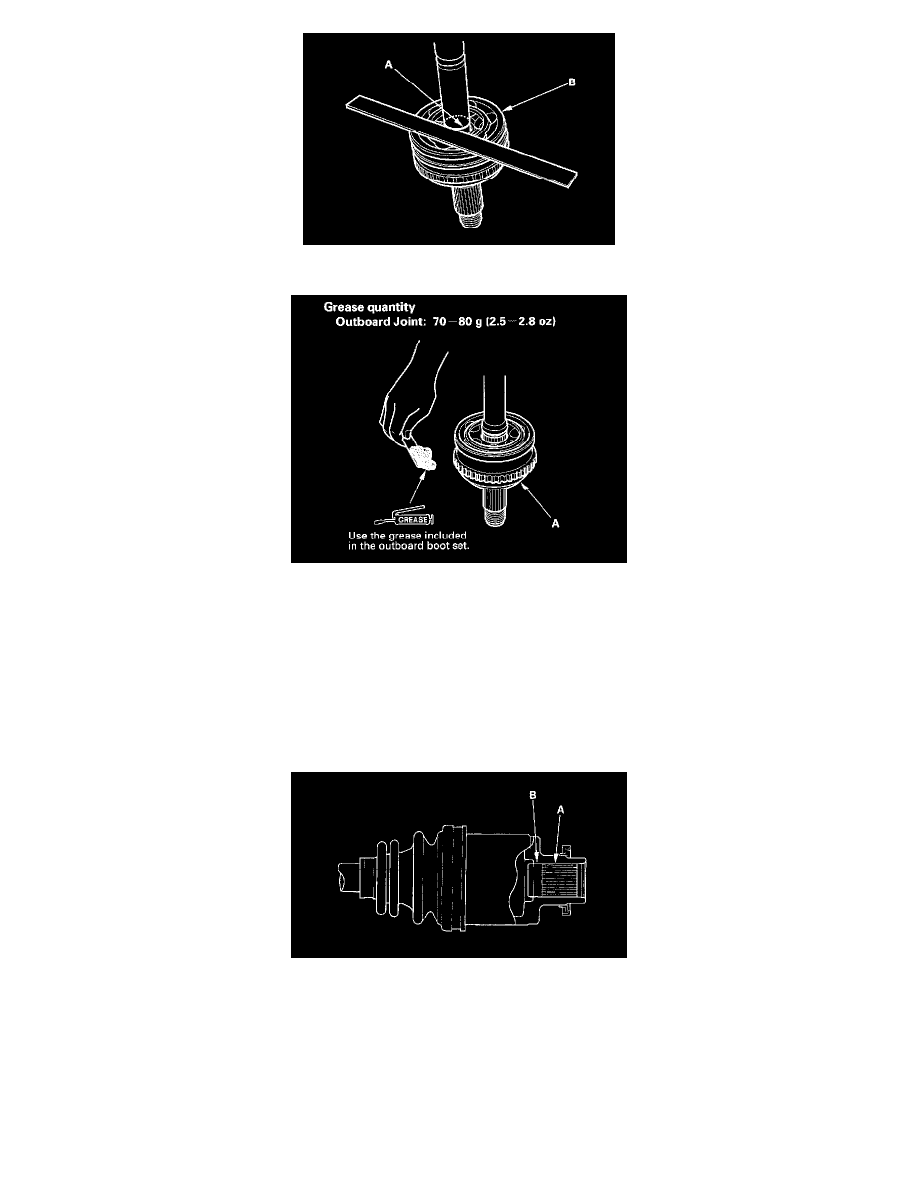
6. Check the alignment of the paint mark (A) with the outboard joint end (B).
7. Pack the outboard joint (A) with the joint grease included in the new joint boot set.
Grease quantity
Outboard Joint: 70 - 80 g (2.5 - 2.8 oz)
8. Install a low profile type boot band on the rear driveshaft side of inboard boot.
9. Install a double loop type boot band on the rear driveshaft side of inboard boot.
Rear Driveshafts Installation
Rear Driveshafts Installation
NOTE: Before starting installation, make sure the mating surfaces of the joint and the splined section are free from dirt or dust.
1. Apply 1.5 - 2.0 g (0.05 - 0.07 oz) of grease to the whole splined surface (A). After applying grease, remove the grease from the splined grooves at
intervals of 2 - 3 splines and from the set ring groove (B) so that air can bleed from the differential.
2. Seat a new set ring in the set ring groove of the differential.