
Pilot 2WD V6-3.5L (2006)
Rear Door Panel: Service and Repair
Rear Door Panel Removal/Installation
Special Tools Required
-
KTC trim tool set SOJATP2014 *
-
Trim pad remover. Snap-on A 177A or equivalent, commercially available
*Available through the American Honda Tool and Equipment Program.
NOTE: Use the appropriate tool from the KTC trim tool set to avoid damage when prying components.
1. Lower the glass fully.
2. Remove the inner handle (A). Take care not to scratch the door panel.
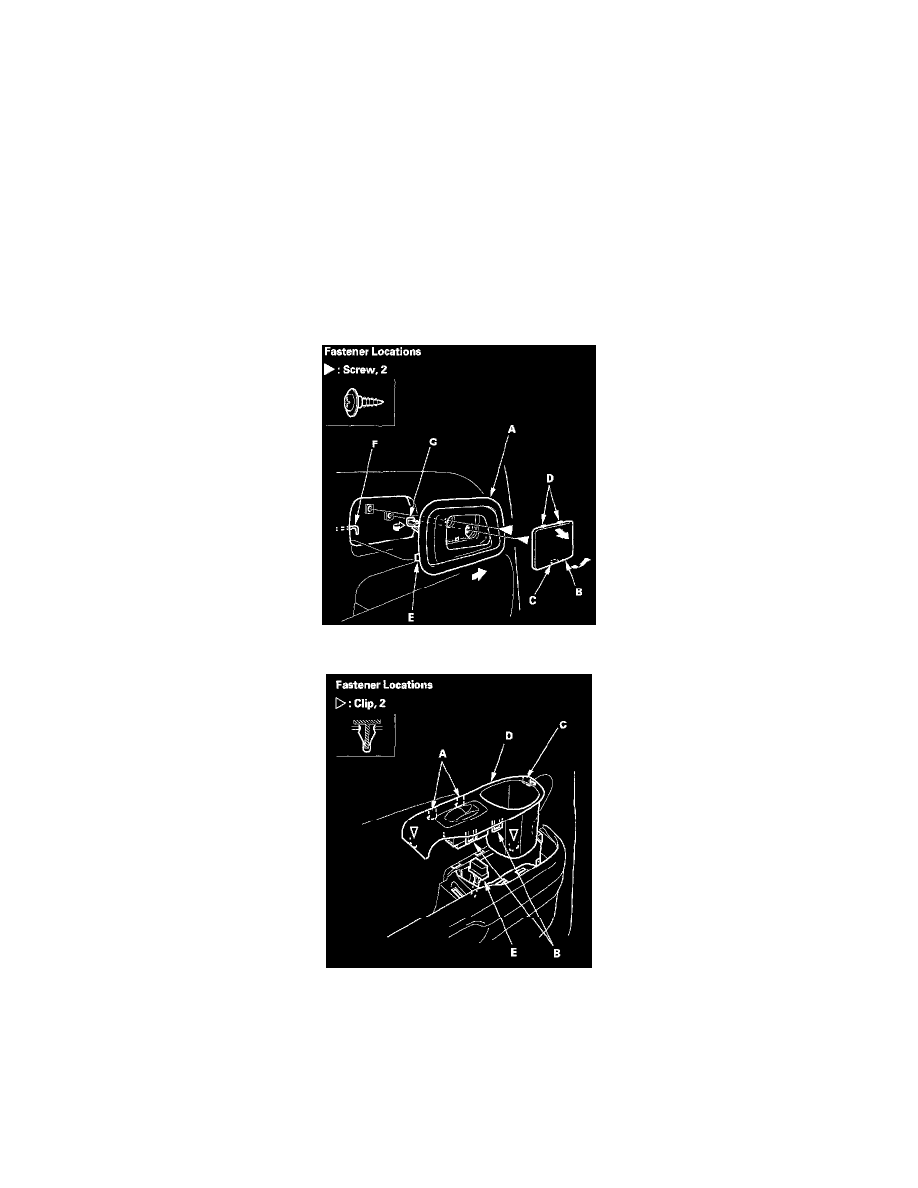
1. Using a flat-tip screwdriver wrapped with protective tape, pry out on the lower portion of the cover (B) to release the hooks (C, D), then
remove the cover.
2. Remove the screws.
3. Pull the inner handle forward and out half-way to release the hook (E).
4. Disconnect the inner handle rod (F) from the joint bushing (G).
NOTE: Check for damaged or stress-whitened joint bushing, and replace if necessary.
3. Detach the clips, and release the hooks (A, B, C), then remove the switch panel (D). Take care not to scratch the door panel. Disconnect the power
window switch connector (E).