
Pilot 2WD V6-3.5L (2006)
Seat Occupant Sensor: Testing and Inspection
Operation Check of the Driver's Seat Position Sensor
The driver's seat position sensor must be checked after any of these actions.
-
Driver's seat position sensor replacement
-
Cover plate (front side of driver's seat slide rail) replacement
1. Make sure the ignition switch is OFF.
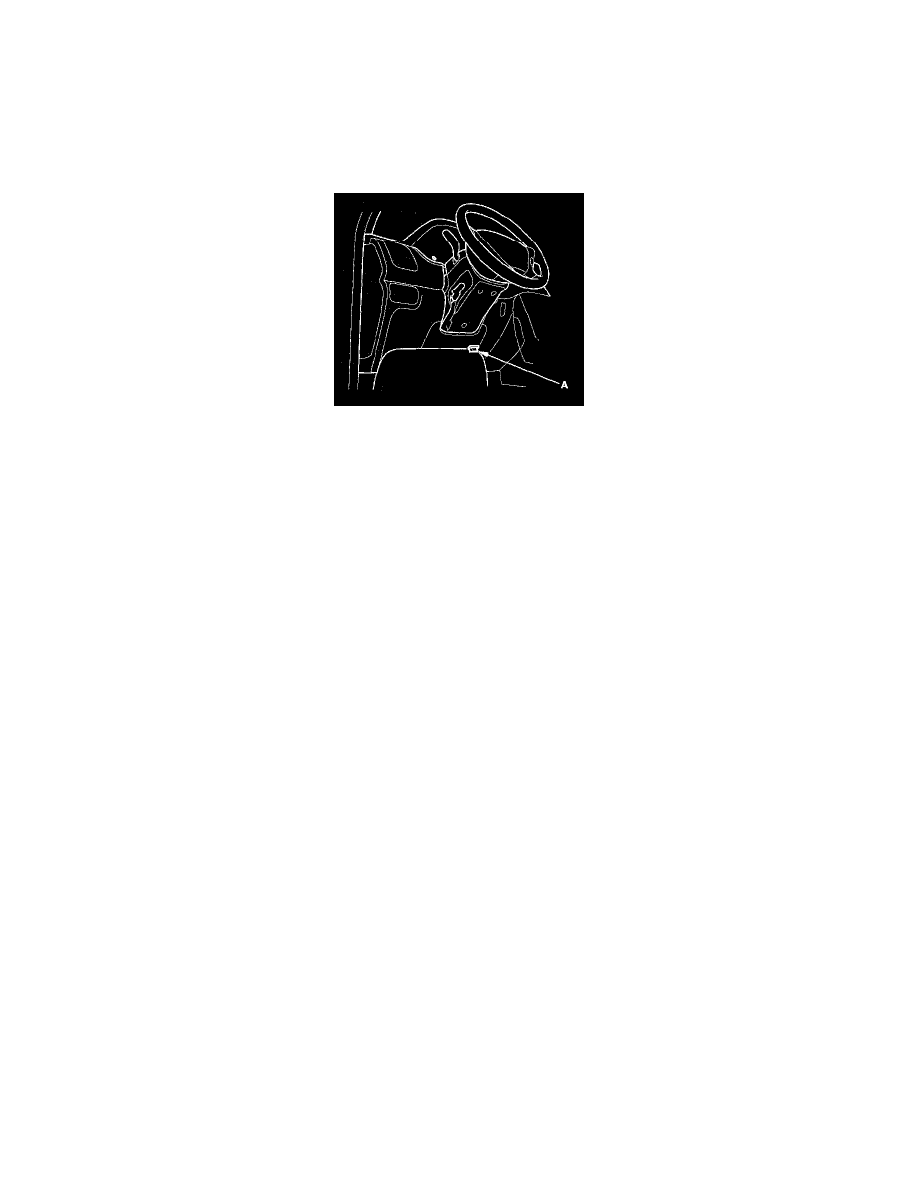
2. Connect the HDS to the DLC (A).
3. Turn the ignition switch ON (II).
4. From the HDS Main Menu, select SRS, then Data List, then All Data List, then SPS.
5. Using a piece of tape, mark a line on the seat's outer cover where the front riser cover meets the seat riser. The SPS should read "NEAR."
NOTE: It takes a few seconds for the HDS to display changes, so wait about 5 seconds between each move.
Move the seat back in small increments (about 5 mm) until the SPS reads "NOT NEAR." The seat should be approximately 25 mm from the front.
If the SPS data does not work as described above, check the driver's seat position sensor or the cover plate for damage, and replace parts as
needed.
6. Turn the ignition switch OFF, and disconnect the HDS from the DLC.