
Pilot 2WD V6-3.5L (2006)
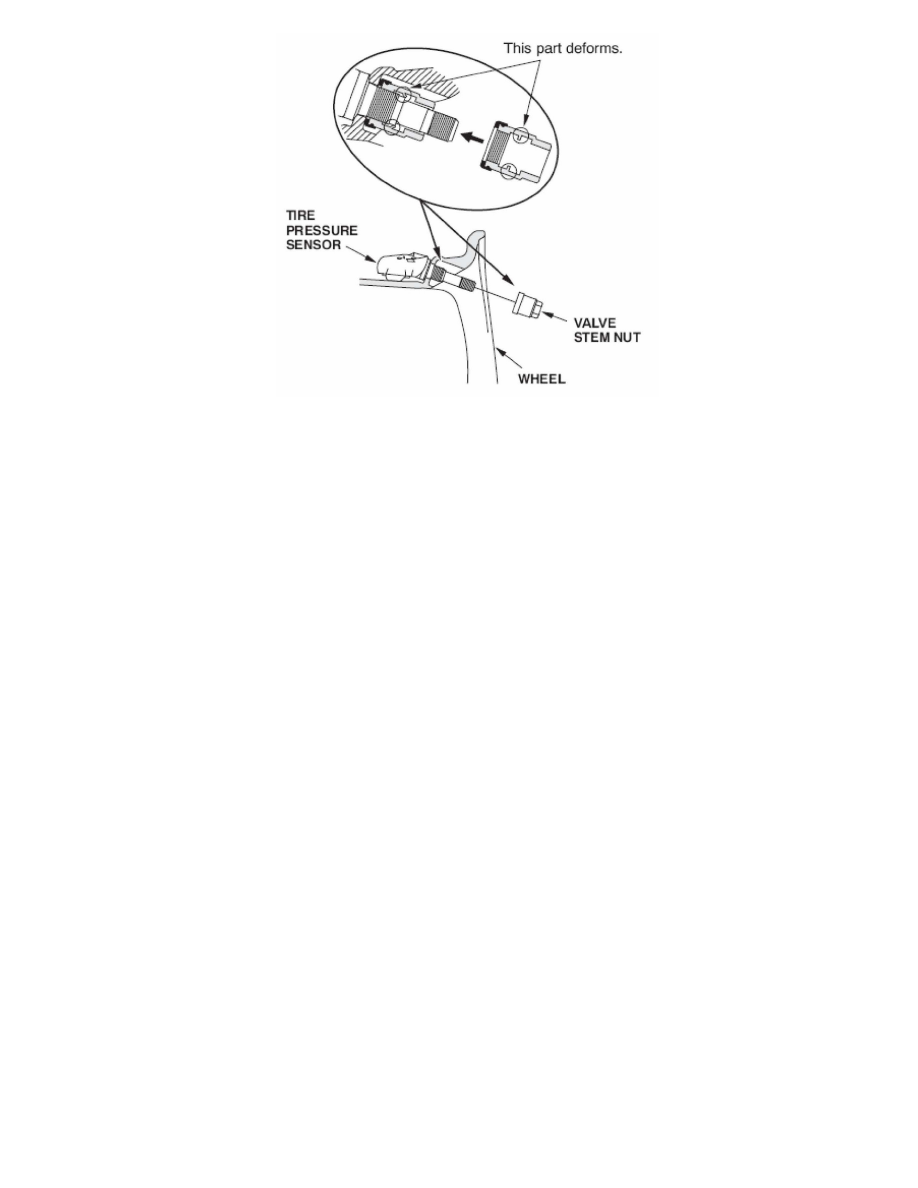
3. Install the tire pressure sensor in the wheel, and secure it with the new valve stem nut, finger-tight. Make sure the sensor is resting on the wheel.
4. While holding the tire pressure sensor toward the wheel, torque the valve stem nut to 4.0 N.m (36 lb-in). You might hear a snap or pop as you torque
the nut; don't worry, it's normal. When doing this step, keep these things in mind:
^ Never reuse a valve stem nut that's been torqued even once to spec; it's deformed inside.
^ Never use air or electric impact tools to torque a valve stem nut. Torquing the nut past the spec can damage its threads. Use only a precision torque
screwdriver that can read 36 lb-in. If your shop doesn't have one, call the Honda Tool and Equipment Program and ask for the Torque Screwdriver
(Model No. CD1401SM) made by CDI Torque Products.
^ Make sure there's no gap between the tire pressure sensor and the wheel.
5. Lubricate the tire bead, and position the wheel so the tire machine and the tire iron are next to the valve stem and will move away from it when the
machine starts. Then mount the tire onto the wheel.
6. Inflate the tire to 44 psi to seat the tire bead to the wheel rim. Then adjust the tire pressure to the value on the driver's doorjamb sticker, and screw on
the valve stem cap. Make sure the tire bead is uniformly seated on both sides of the wheel rim.
7. Check and adjust the wheel balance. Then mount the wheel on the vehicle, and torque the wheel nuts to 108 N.m (80 lb-ft).
8. Lower the vehicle.