
Pilot 2WD V6-3.5L (2006)
Ball Joint: Service and Repair
Front Suspension
Ball Joint Removal
Ball Joint Removal
Special Tools Required
^
Ball joint striker tool 071AD-S3VA000
^
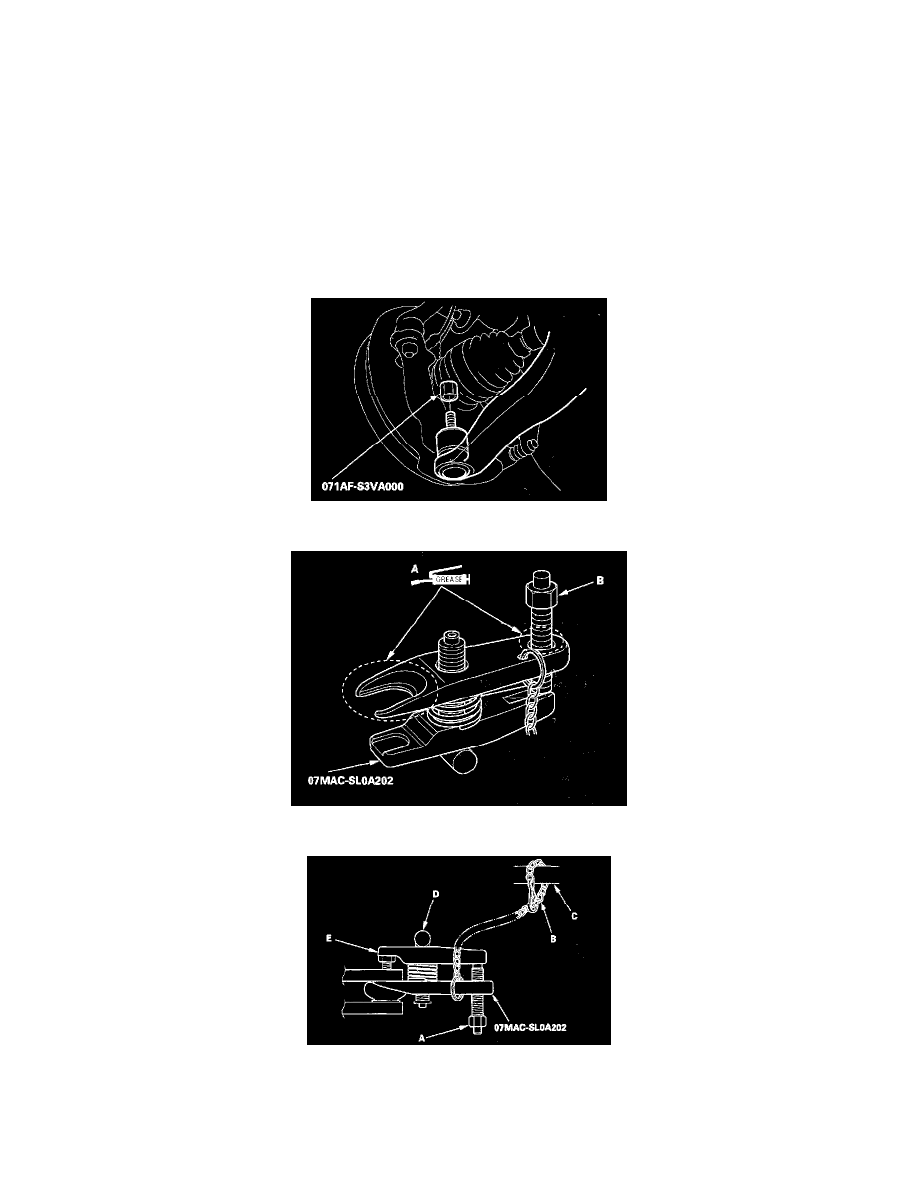
Ball joint thread protector, 14 mm 071AF-S3VA000
^
Ball joint remover, 28 mm 07MAC-SL0A202
NOTE: The front lower arm ball joint is not replaceable separately. If the ball joint is worn or damaged, replace the lower arm and ball joint as an
assembly.
1. Screw the ball joint thread protector all the way onto the ball joint stud.
2. Apply grease to the special tool on the areas shown (A). This will ease installation of the tool and prevent damage to the pressure bolt (B) threads.
3. Install the special tool as shown. Insert the jaws carefully, making sure not to damage the ball joint boot. Adjust the jaw spacing by turning the
pressure bolt (A).
NOTE: Fasten the safety chain (B) securely to a suspension arm or the subframe (C). Do not fasten it to a brake line or wire harness.