
Pilot 2WD V6-3.5L (2006)
3. Remove the damper.
-
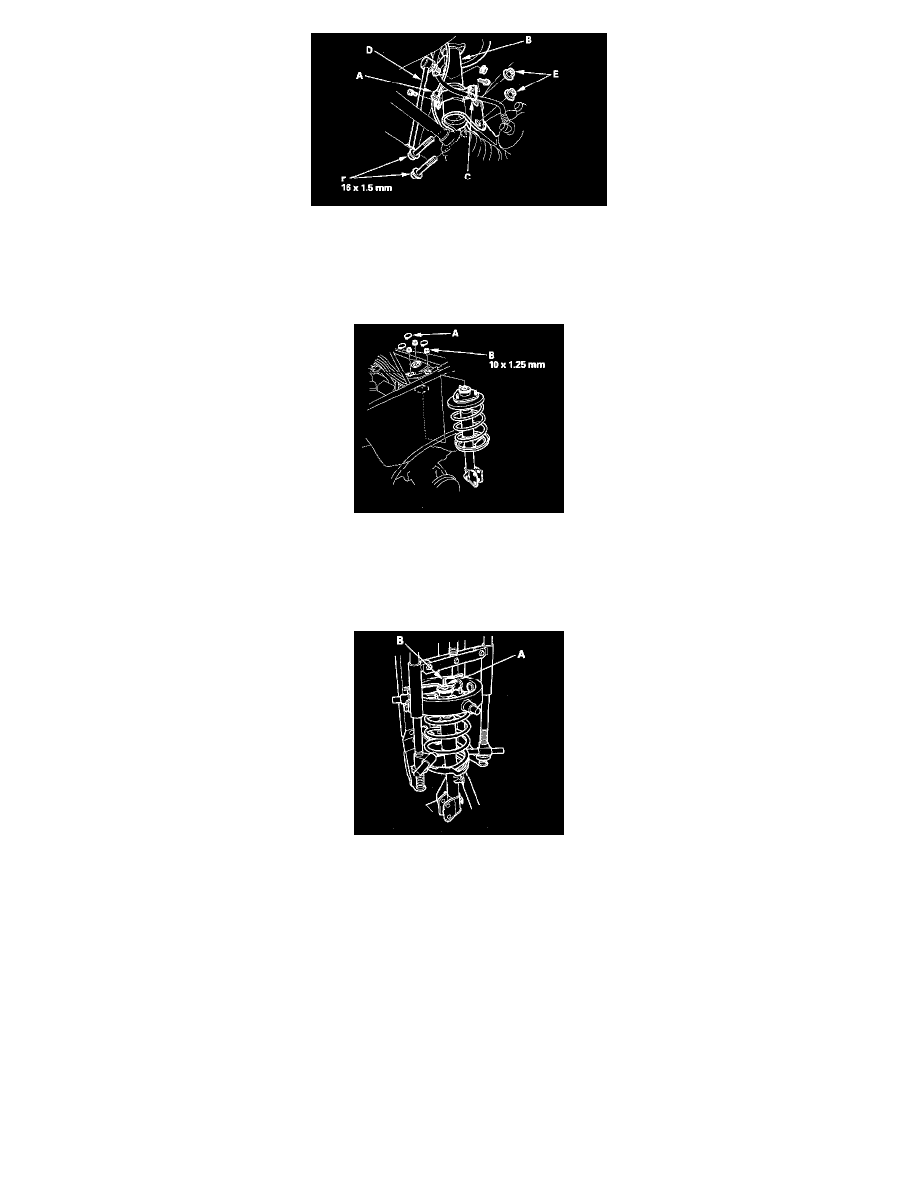
1
Remove the wheel sensor harness (A) from the damper (B). Do not disconnect the wheel sensor connector.
-
2
Remove the brake hose bracket (C) from the damper.
-
3
Disconnect the stabilizer link (D) from the damper.
-
4
Remove the flange nuts (E) and damper pinch bolts (F) from the damper.
4. Remove the service caps (A), and remove the damper by removing the three flange nuts (B).
NOTE: Damper springs are different, left and right. Mark the springs L and R before you continue.
Disassembly/inspection
1. Compress the damper spring, then remove the self-locking nut (A) while holding the damper shaft with a hex wrench (B). Do not compress the
spring more than necessary to remove the nut.
2. Release the pressure from the strut spring compressor, then disassemble the damper as shown in the Exploded View.
3. Reassemble all parts, except for the spring.