Pilot 2WD V6-3.5L (2006)

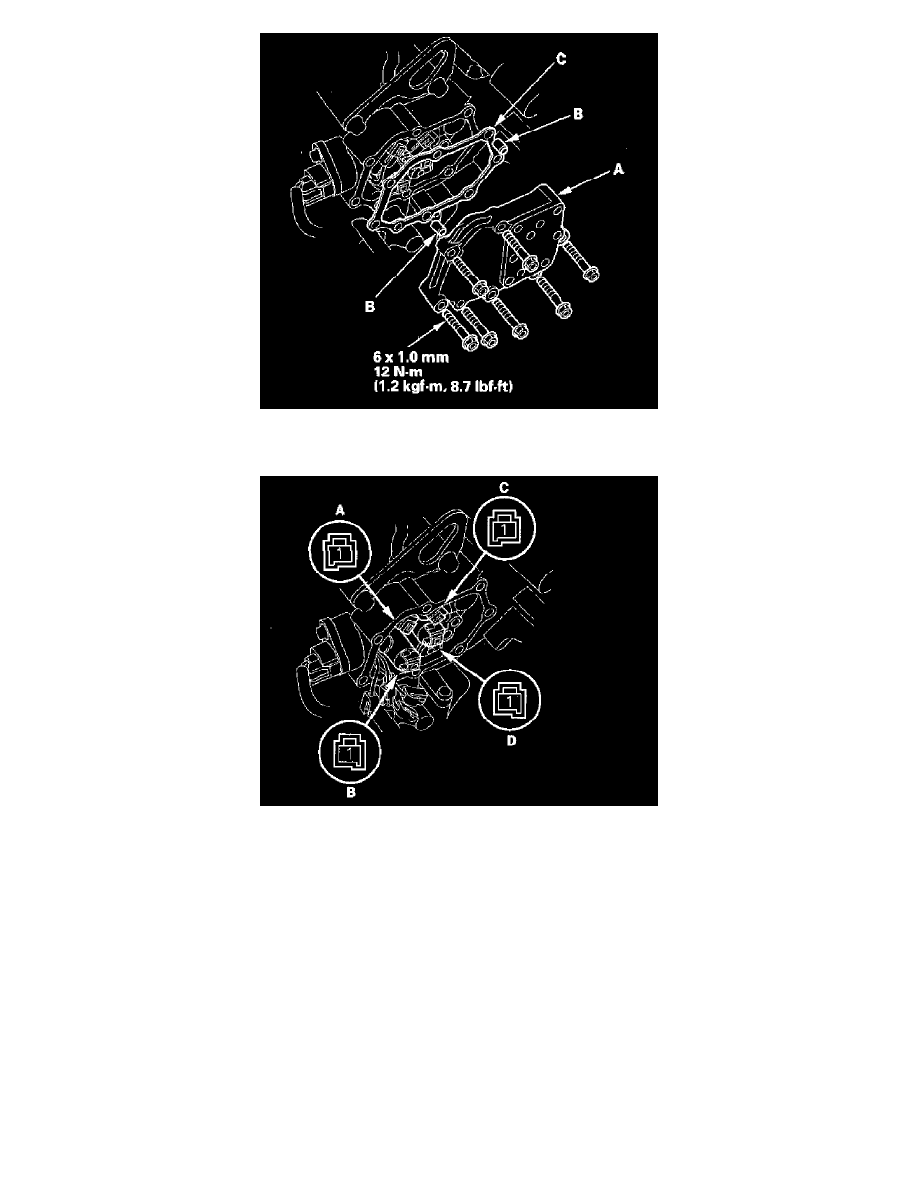
17. Remove the solenoid valve cover (A), dowel pins (B), and gasket (C).
18. Replace the gasket with a new one when installing the solenoid cover.
19. Disconnect shift solenoid valve A connector, shift solenoid valve B connector, shift solenoid valve C connector, and torque converter clutch
solenoid valve connector (D).
20. Measure the resistance of each solenoid valve between the connector terminal and body ground.
Standard: 12 - 25 Ohms
^
Replace the solenoid valve if the resistance is out of standard.
^
If the resistance is within the standard, go to step 21.
21. Connect the negative battery terminal to body ground, and connect the positive battery terminal to each solenoid terminal individually.
^
If a clicking sound is heard, go to step 22 and replace the solenoid harness.
^
If no clicking sound is heard, go to step 23 and replace the shift solenoid valve.
