
Pilot 2WD V6-3.5L (2006)
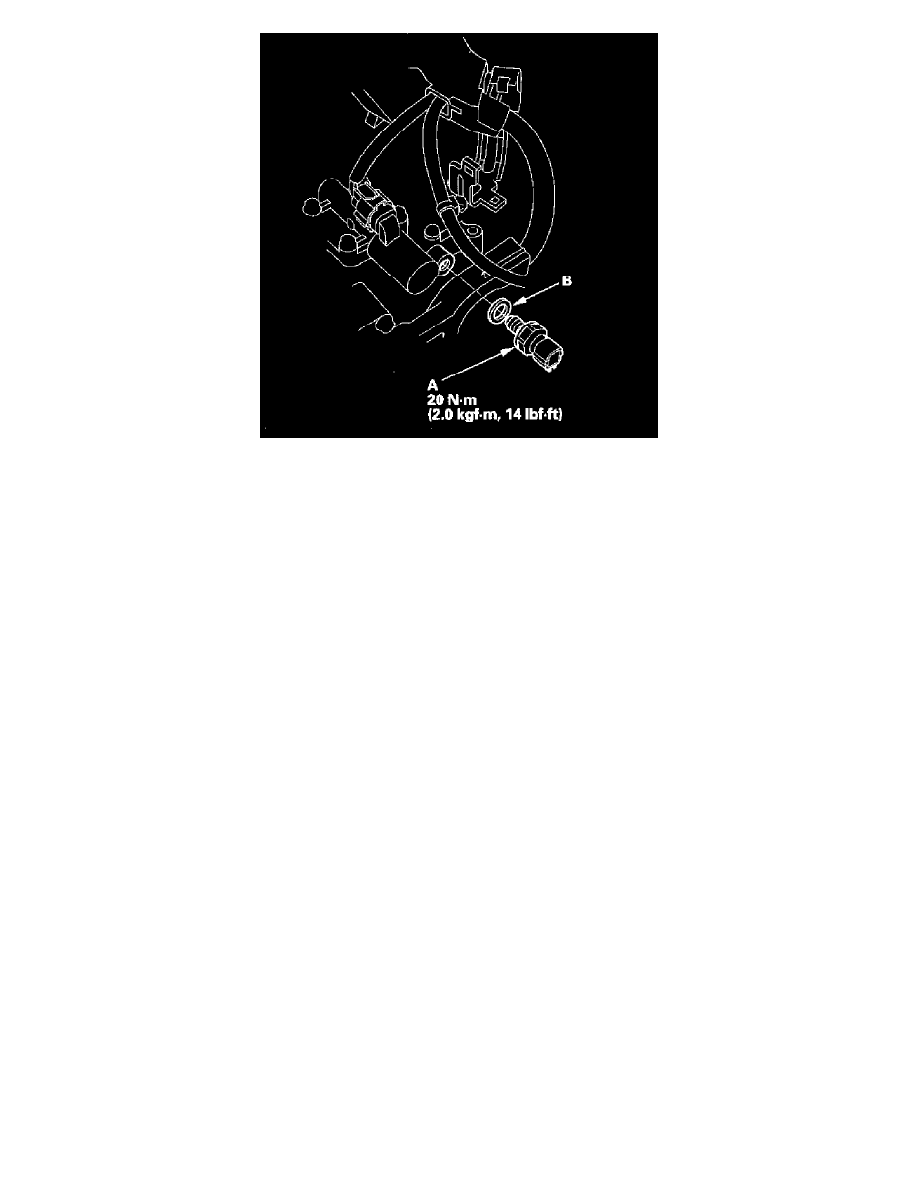
5. Remove the 4th clutch transmission fluid pressure switch (A).
6. Make sure there is no water, oil, dust, or foreign particles inside the connector.
7. Install the new 4th clutch transmission fluid pressure switch and a new sealing washer (B), and tighten the switch.
8. Secure the harness cover and harness cover/clamp bracket with the bolts, and install the harness clamp on the bracket.
9. Install the harness cover on the cover bracket, and secure it with the bolt.
10. Connect the connector securely.
11. Install the intake air duct and intake manifold cover.