
Pilot 2WD V6-3.5L (2006)
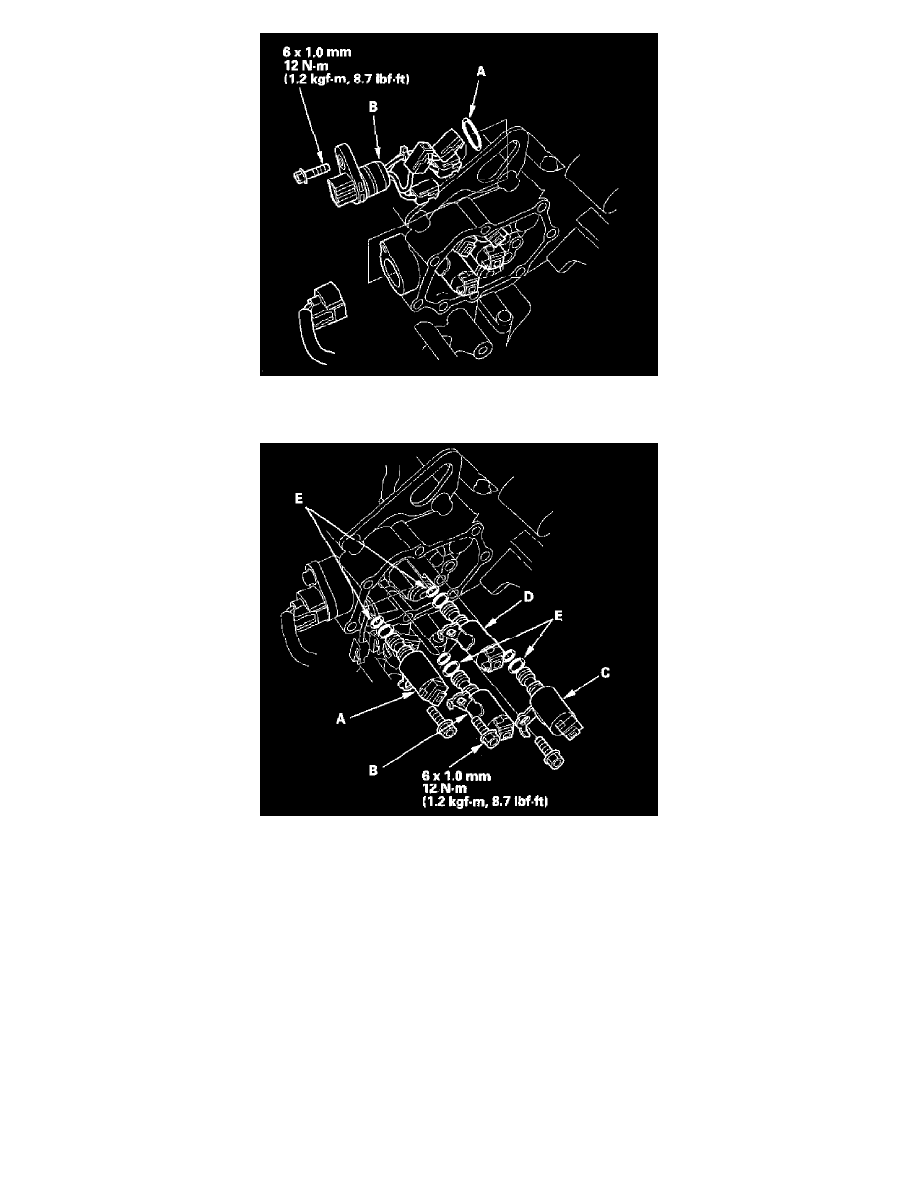
22. Remove the solenoid harness, and install a new O-ring (A) on the solenoid harness connector (B), and install the connector in the transmission
housing.
23. Remove the mounting bolts, then remove the solenoid valves.
24. Install new O-rings (E) on each solenoid valves.
NOTE: A new solenoid valve comes with new O-rings. If you install a new solenoid valve, use the O-rings. provided on it.
25. Install shift solenoid valve B (black connector) by holding the shift solenoid valve body; make sure the mounting bracket contacts the accumulator
body.
NOTE: Do not hold the solenoid valve connector to install the solenoid valve. Be sure to hold the solenoid valve body.
26. Install torque converter clutch solenoid valve (D) (black connector) by holding the solenoid valve body; make sure the mounting bracket contacts
the accumulator body.
27. Install shift solenoid valve C (brown connector) by holding the shift solenoid valve body; make sure the mounting bracket contacts the bracket of
torque converter clutch solenoid valve.
NOTE: Do not install shift solenoid valve C before installing torque converter clutch solenoid valve. If shift solenoid valve C is installed before
installing torque converter clutch solenoid valve, it may damage to hydraulic control system.