
Prelude L4-1829cc 1800 ES,ET (1983)
7.
Remove the excess sealer around the outside edges of the adapter plate.
8.
Temporarily install the fuel filler door.
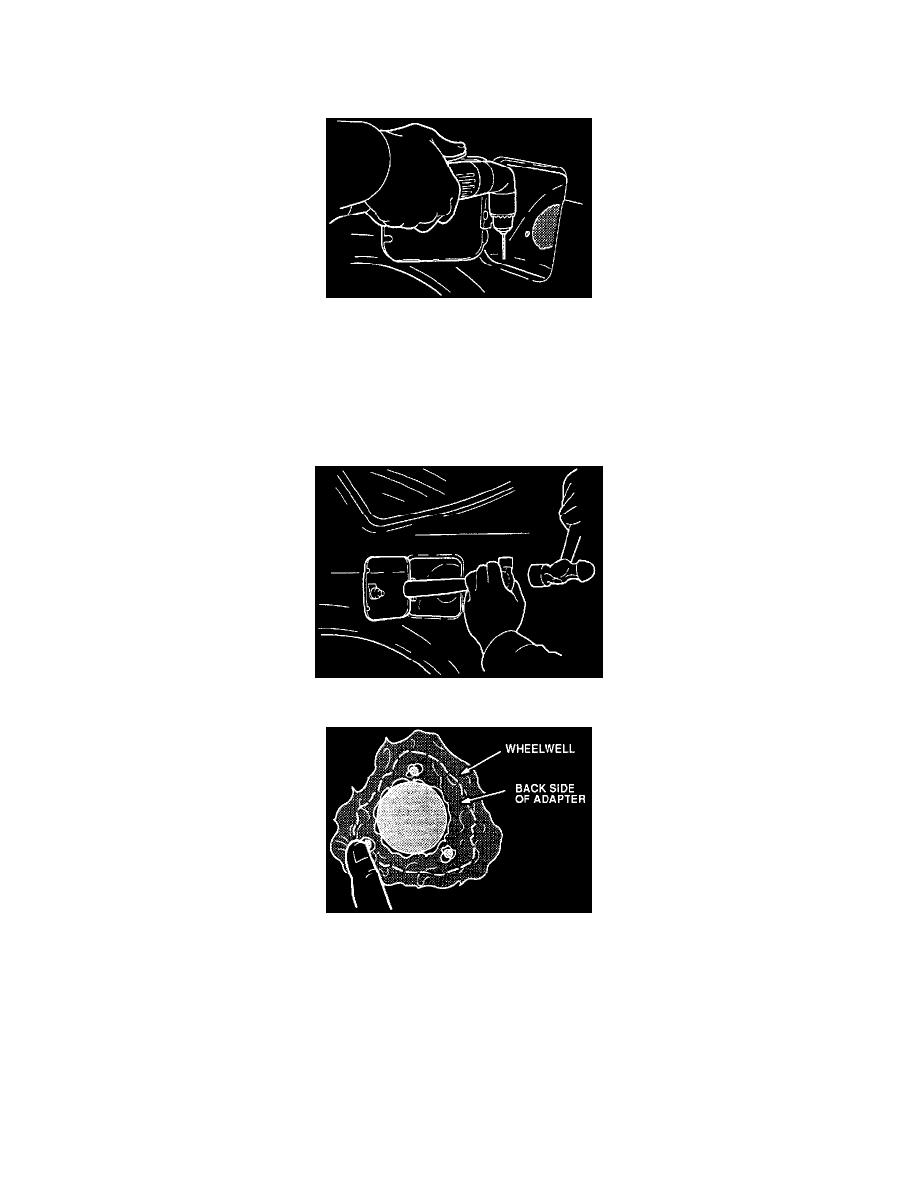
9.
Using the holes in the adapter plate as a guide, drill four 1/8" diameter holes in the mounting cup.
10.
Install four of the pop rivets that came with the adapter.
11.
Adjust the fuel filler door alignment.
^
Loosen the mounting bolts and adjust the door so the top and bottom gaps are equal and the door sits flush with the fender line. Tighten the
bolts.
^
The door has moved backwards the thickness of the adapter plate. To realign it, use a hammer handle to bend the hinge forward slightly.
12.
Working inside the wheelwell, smooth out the sealer so it forms a continuous, waterproof seam between the adapter plate and mounting cup. Apply
a thick coat of sealer to any rust through areas you found in Step 3.
13.
Reinstall the trunk liner.
14.
Go to COMPLETION PROCEDURE.
Completion Procedure
1.
Transfer the flange gasket from the old fuel filler pipe to the new pipe.
2.
Install the fuel filler pipe.