Prelude L4-2.2L SOHC (1994)

Based on the symptoms and your understanding of the circuit's operation, identify one or more possible causes.
3. Isolate The Problem By Testing The Circuit
Make circuit tests to check the diagnosis you made in step 2. Keep in mind that a logical, simple procedure is the key to efficient troubleshooting. Test
for the most likely cause of failure first. Try to make tests at points that are easily accessible.
4. Fix The Problem
Once the specific problem is identified, make the repair. Be sure to use proper tools and safe procedures.
5. Make Sure The Circuit Works
Turn on all components in the repaired circuit in all modes to make sure you've fixed the entire problem. If the problem was a blown fuse, be sure to
test all of the circuits on that fuse. Make sure no new problems turn up and the original problem does not recur.
Troubleshooting Precautions
Before Troubleshooting
1. Check the main fuse and the fuse box.
2. Check the battery for damage, state of charge, and clean and tight connections.
CAUTION:
^
Do not quick-charge a battery unless the battery ground cable has been disconnected, or you will damage the alternator diodes.
^
Do not attempt to crank the engine with the ground cable disconnected or you will severely damage the wiring.
While You're Working
1. Make sure connectors are clean, and have no loose terminals or receptacles.
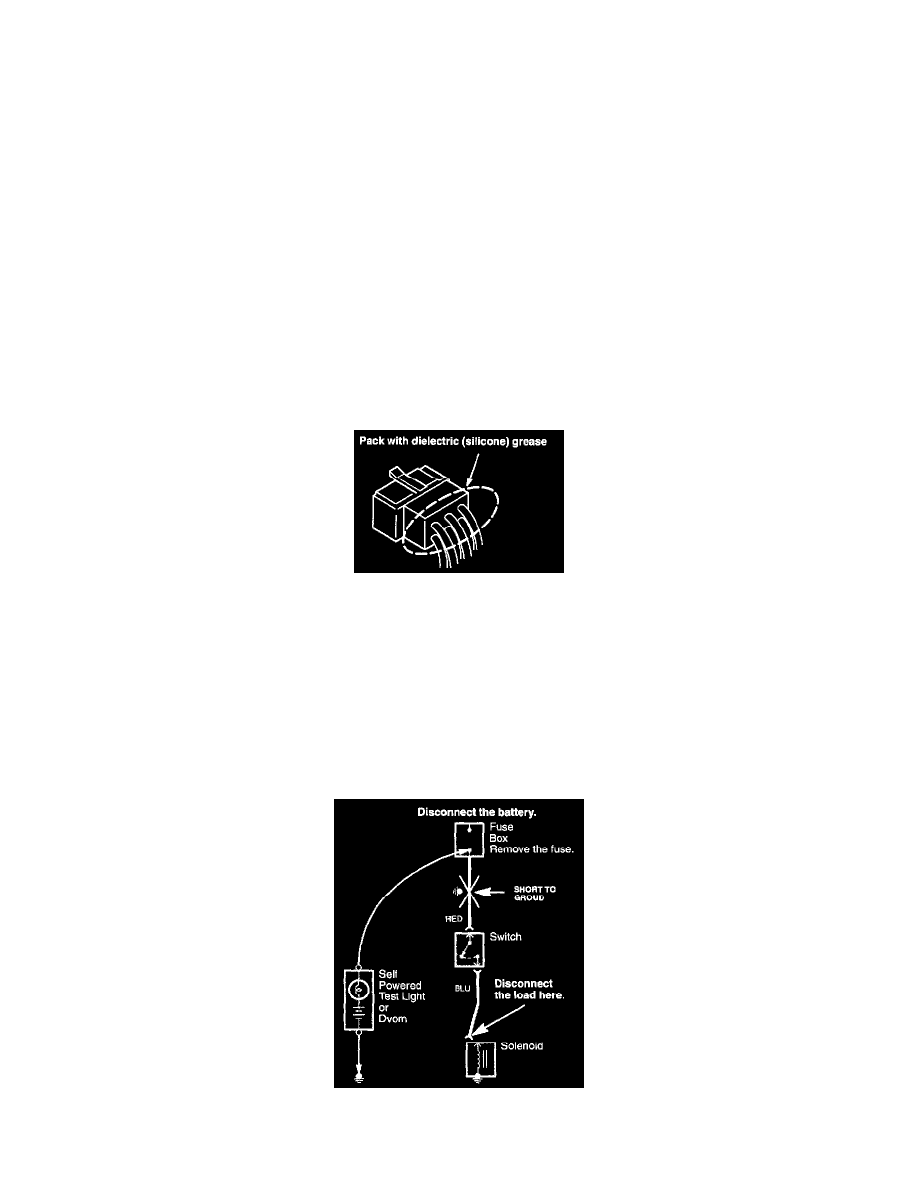
2. Make sure multiple terminal connectors are packed with dielectric (silicone) grease. Part Number: 08798-9001.
3. When connecting a connector, push it until it clicks into place.
CAUTION:
^
Do not pull on the wires when disconnecting a connector. Pull only on the connector housings.
^
Most circuits include solid-state devices. Test the voltages in these circuits only with a 10-megaohm or higher impedance digital multimeter. Never
use a test light or analog meter on circuits that contain solid-state devices. Damage to the devices may result.
Short to Ground With Self-Powered Test Light or DVOM
1. Remove the blown fuse and disconnect the battery and load.
2. Connect one lead of a self-powered test light or Digital Volt/Ohmmeter (DVOM) (switched to the lowest "OHMS" range) to the fuse terminal on
