
Prelude L4-2056cc DOHC (1990)
Valve Adjustment Screw
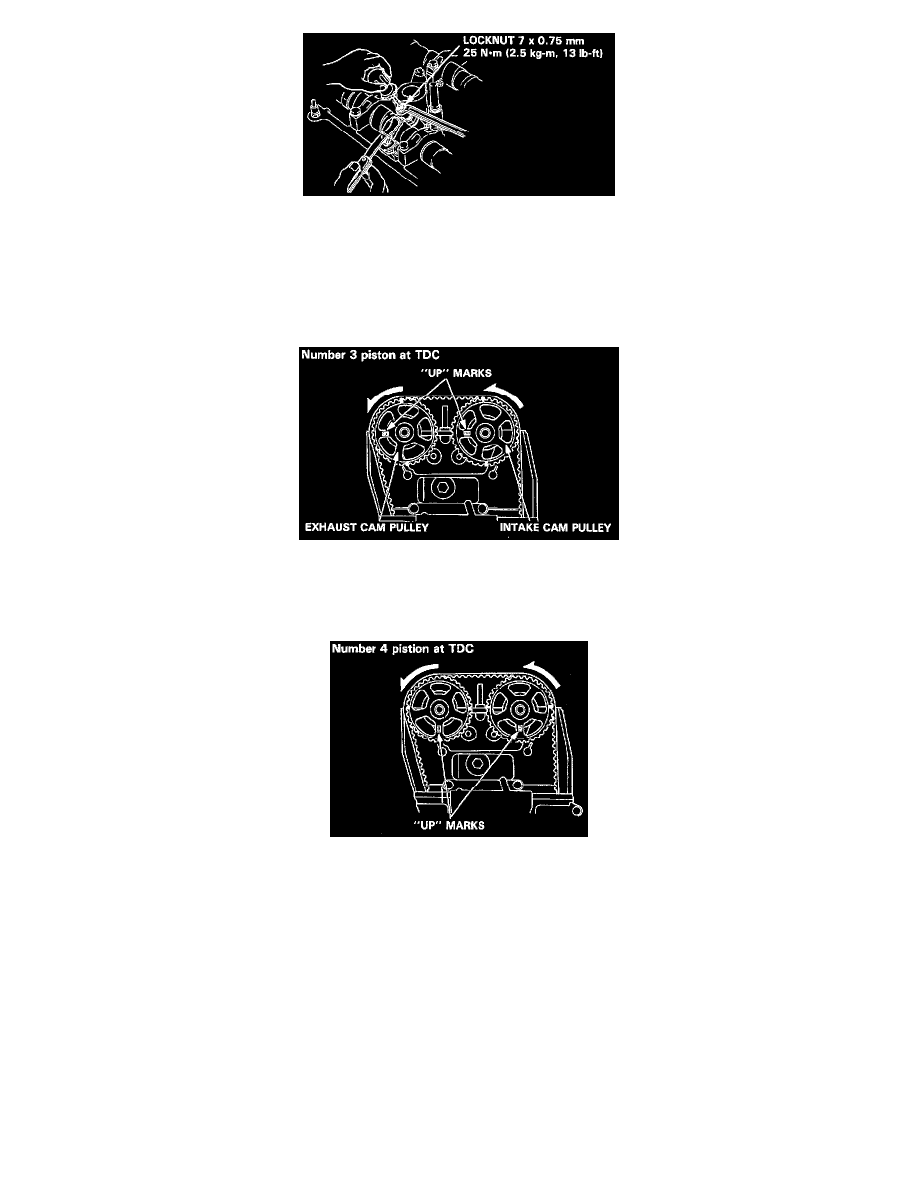
4. Loosen locknut and turn adjust screw until feeler gauge slides back and forth with a slight amount of drag.
Locknut 7 x 0.75 mm
Torque: 27 N-m (2,7 kg-m, 20 lb-ft)
5. Tighten and check clearance again. Repeat adjustment if necessary.
Timing Marks For No. 3 Piston To TDC
6. Rotate crankshaft 180° counterclockwise (cam pulley turns 90°). The "UP" marks should be at exhaust side. Distributor rotor should point to No.3
plug wire. Adjust valves on No.3 cylinder.
Timing Marks For No. 4 Piston To TDC
7. Rotate crankshaft 180° counterclockwise to bring No.4 piston to top dead center. Both "UP" marks should be at bottom and distributor rotor
should point to No.4 plug wire. Adjust valves on No.4 cylinder.