
Ridgeline V6-3.5L (2006)
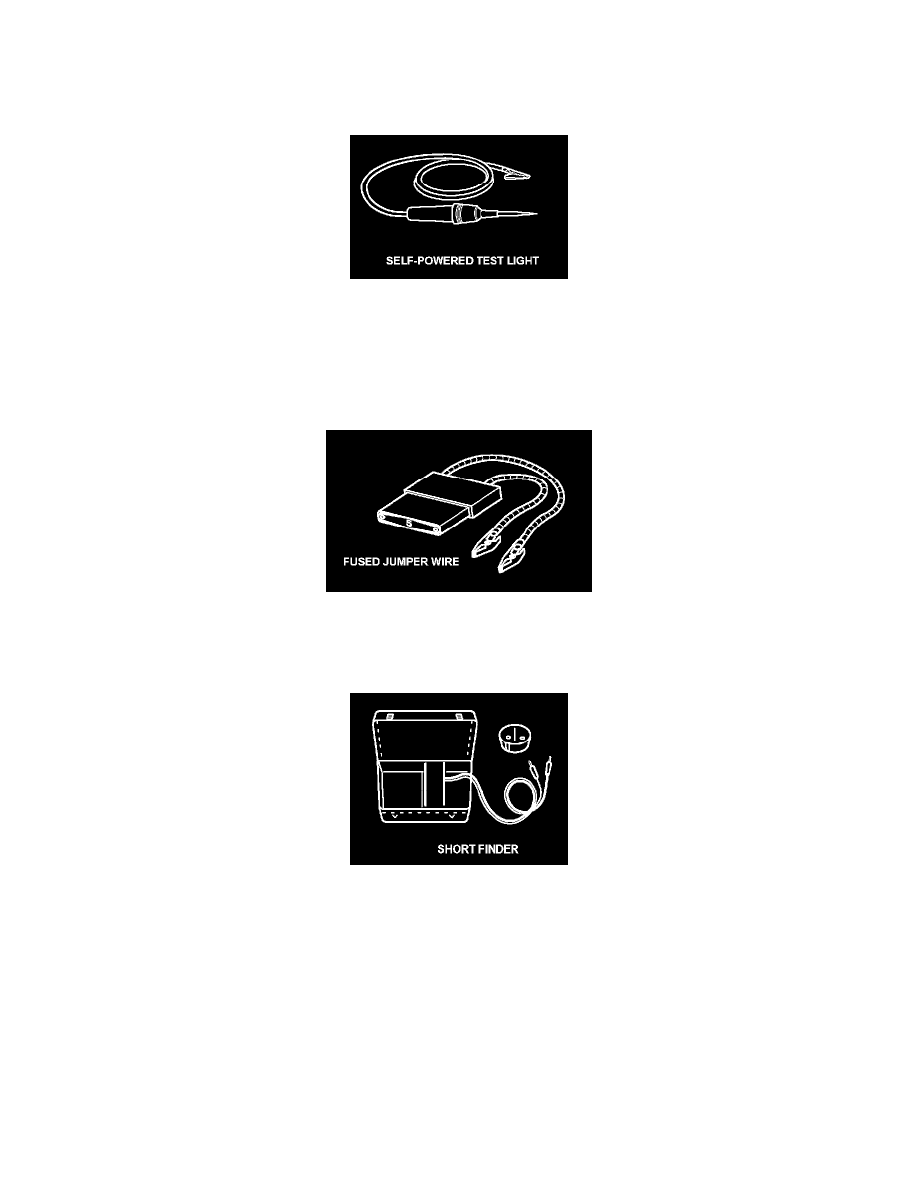
Self-Powered Test Light and DVOM
Use a self-powered test light to check for continuity. This tool is made up of a light bulb, battery, and two leads. To test it, touch the leads together: the
light should go on.
Use a self-powered test light only on an unpowered circuit. First, disconnect the battery, or remove the fuse that feeds the circuit you are working on.
Select two points in the circuit between which you want to check continuity. Connect one lead of the self-powered test light to each point. If there is
continuity, the test light's circuit will be completed, and the light will go on.
If, in addition, you need to know exactly how much resistance there is between two points, use a digital volt/ohmmeter (DVOM).
In the "OHMS" range, the DVOM will measure resistance between two points along a circuit. Low resistance means good continuity.
Jumper Wire
Use a jumper wire to bypass an open circuit. A jumper wire is made up of an in-line fuse holder connected to a set of test leads. It should have a five
ampere fuse. Never connect a jumper wire across a short circuit. The direct battery short will blow the fuse.
Short Finder (Short Circuit Locator)
Short finders are available to locate shorts to ground. The short finder creates a pulsing magnetic field in the shorted circuit which you can follow to the
location of the short. Its use is explained.
To order any test equipment shown, contact your local tool supplier. For a list of suppliers and tool numbers, refer to Honda Required Special Tools and
Equipment Service Bulletin.
Troubleshooting Precautions
Troubleshooting Precautions
Before Troubleshooting
1. Check the main fuse and the fuse box.
2. Check the battery for damage, state of charge, and clean and tight connections.
CAUTION: