
S2000 L4-2.2L (2004)
Front Door Striker: Adjustments
Door Position and Door Striker Adjustment
NOTE:
-
Check for a flush fit with the body, then check for equal gaps between the front, rear, and bottom door edges and the body. Check that the door
and body edges are parallel.
-
Place the vehicle on a firm, level surface when adjusting the door.
-
Support the door with a floor jack, and place a shop towel on the jack to prevent damage to the door.
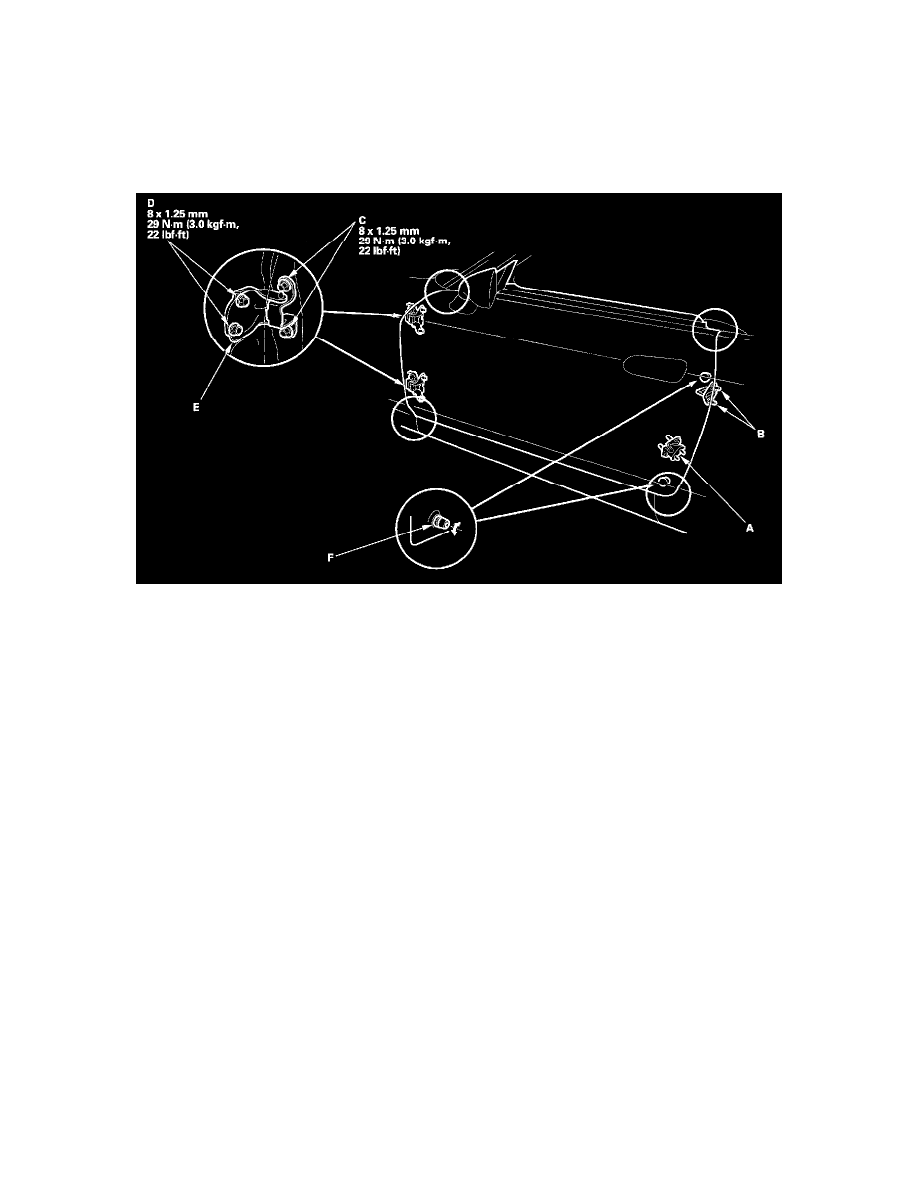
1. Remove the door wedge holder (A).
2. Slightly loosen the striker mounting screws (B).
3. If necessary, replace the door mounting bolts (C) and hinge mounting bolts (D) with adjusting bolts (P/N 90101-SZ3-000) made specifically for
door adjustment.
4. Adjust the door alignment in this sequence:
-
Adjust at the hinges (E):
-
Loosen the door mounting bolts slightly, and move the door in or out until it's flush with the body.
-
Remove the inner fender, then slightly loosen the hinge mounting bolts, and move the door backward or forward, up or down as necessary
to equalize the gaps.
-
Turn the door cushions (F) as necessary to make the rear of the door flush with the body.
5. Make sure the door and body edges are parallel and the door is flush with the body. Tighten the door and hinge mounting bolts, and recheck.