
S2000 L4-2.2L (2004)
2. Filling/Sanding
Apply putty to repair any holes or deep gouges.
-
Apply the putty on the damaged area in 2-3 steps.
-
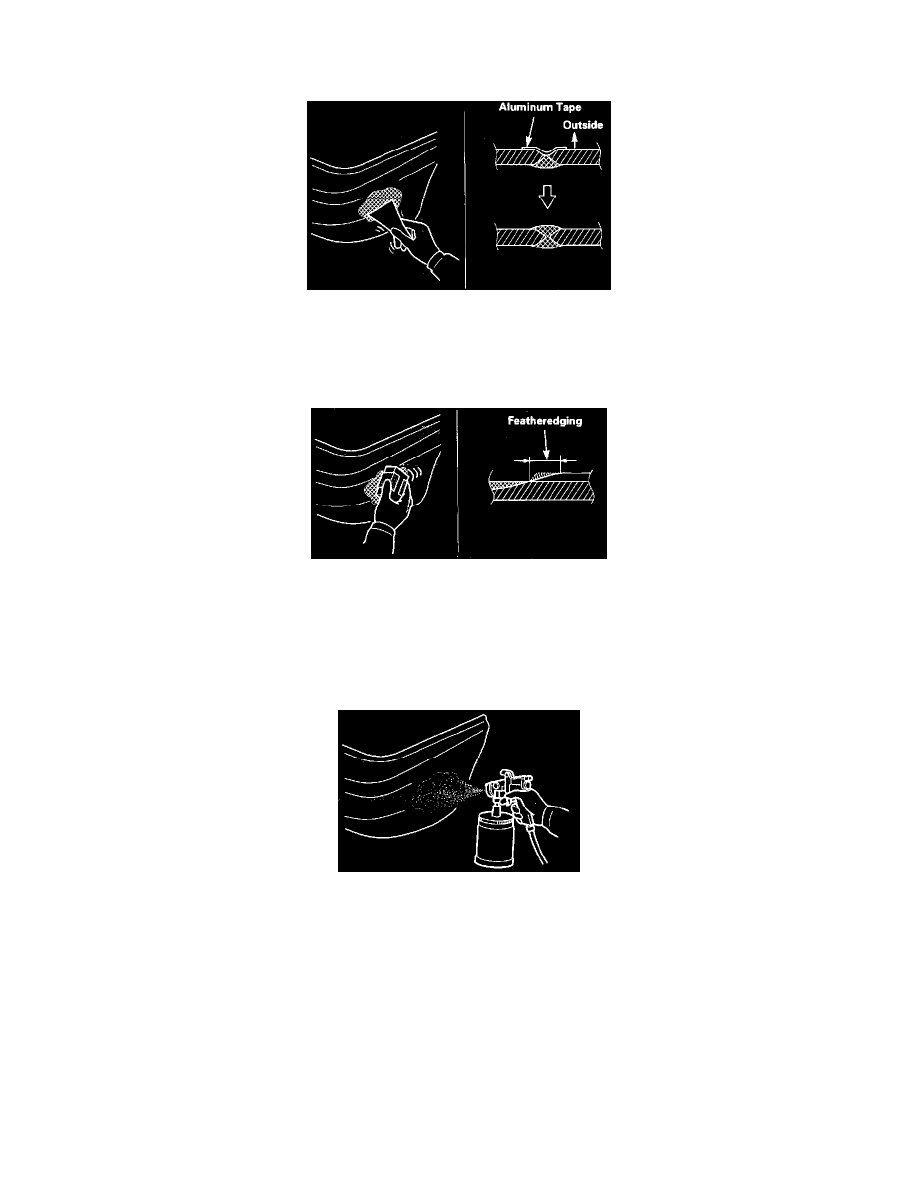
Glue aluminum tape on the outside of the bumper, and apply putty from the other side of the bumper.
-
Remove the aluminum tape after the putty dries, apply putty from the outside, and fill the hole.
Use a special polyester putty (Reference) and a putty knife.
3. Sanding
Sand the surface evenly, particularly at the area where the PP material and putty meet.
Use the flexible block and #240-#40-#600 sand-paper.
4. Air blowing / degreasing
Use alcohol, tack cloth, wax and grease remover.
5. Spraying primer surfacer
NOTE: Spray the bumper primer on the area where the PP material was installed and the around the putty.
-
Spray the primer surface wider then the putty and painted surfaces of bumper primer.
-
Spray 2-3 coats to get 20-30 microns of thickness.
-
Use the 2-component type primer surfacer (gray) and a spray gun.
-
Follow the materials manufacturer's instructions.
Drying
NOTE: Take care not to let the heat lamp deform the bumper during the drying process.