
S2000 L4-2.2L (2004)
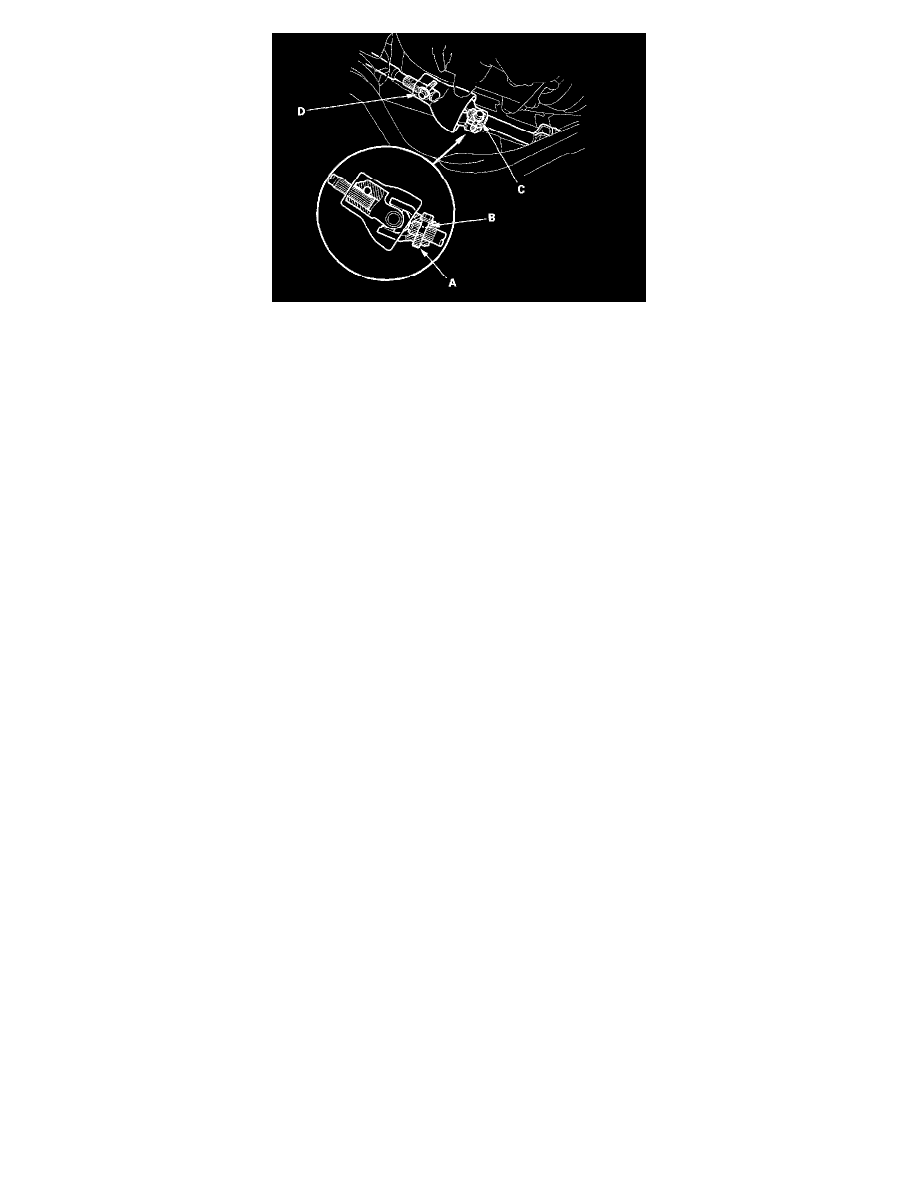
12. Line up the bolt hole (A) with the groove around (B) the pinion shaft, and install the lower joint bolt (C) and the upper joint bolt (D) to the
specified torque.
US thru VIN JHMAP 114.YT008411
Canada thru VIN JHMAP 114-YT800750
Torque: 22 Nm (2.2 kgf-cm, 16 ft. lbs.)
US from VIN JHMAP 11 4YT008412
Canada from VIN JHMAP 114.YT800751
Torque: 29 Nm (3.0 kgf-cm, 22 ft. lbs.)
13. Install the steering wheel.
14. Install the driver's airbag.
15. Reconnect the negative cable to the battery.
16. Install the front wheels, and adjust the front wheel alignment.
17. After installation, perform the following checks.
-
Make sure the steering gearbox wires are not caught or pinched by any parts.
-
Make sure the steering gearbox connectors are properly connected.
-
Turn the ignition switch ON (II), and check that the EPS indicator goes off.
-
If you replaced the steering gearbox assembly, let the EPS control unit memorize the torque sensor neutral position.
-
Test-drive the vehicle;
-
Check that the EPS indicator light does not come on.
-
Check the steering wheel spoke angle. Recheck and adjust the front wheel alignment, if necessary.
-
Reset the radio presets.
-
For '01 - '05 models, reset the clock.