
H2 V8-6.2L (2008)
Differential Mount: Service and Repair
Differential Carrier Assembly Bushing Replacement (Differential Carrier)
Differential Carrier Assembly Bushing Replacement (Differential Carrier)
Tools Required
J 45755 Front Axle Bushing Remover/Installer
Removal Procedure
1. Remove the differential carrier assembly. It is not necessary to drain the differential carrier assembly. Seal the vent tube opening with a piece of
tape to prevent the axle lubricant from leaking from the differential carrier assembly. Refer to Differential Carrier Assembly Replacement (See:
Differential Carrier/Service and Repair) .
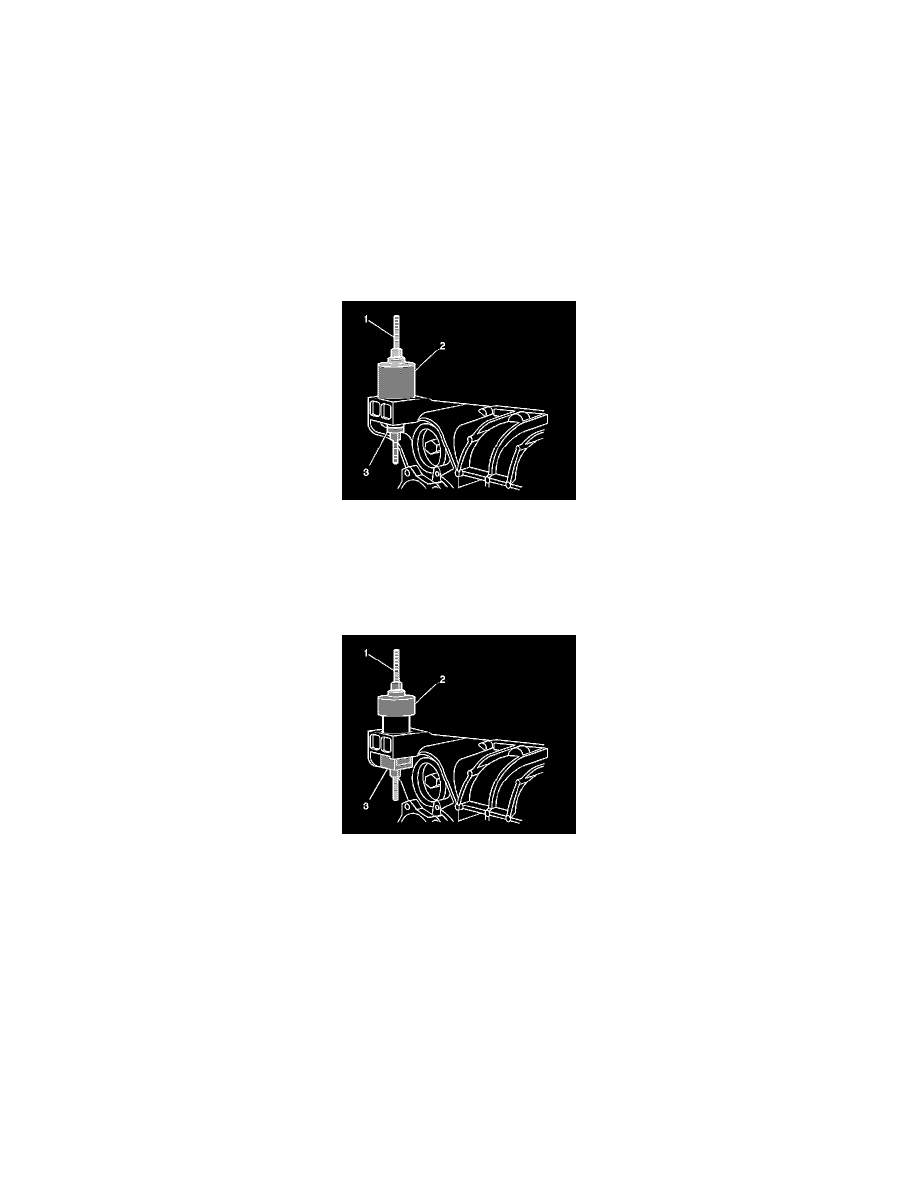
2. Install the J 45755-3 (2), J 45755-4 (3), and the forcing screw, bearing and the washers (1) over the differential carrier assembly bushing as shown.
3. Remove the differential carrier assembly bushing using the J 45755 .
Installation Procedure
1. Install the differential carrier assembly bushing into the differential carrier assembly bushing bore.
2. Install the J 45755-2 (2), J 45755-1 (3), and the forcing screw, bearing and washers (1) over the differential carrier assembly bushing as shown.
3. Press the bushing into the differential carrier assembly bushing bore using the J 45755 .
4. Install the differential carrier assembly. Once the differential carrier assembly is installed, remove the piece of tape in order to connect the vent
hose. Refer to Differential Carrier Assembly Replacement (See: Differential Carrier/Service and Repair) .