
H2 V8-6.2L (2008)
Windshield Washer Reservoir: Service and Repair
Windshield Washer Solvent Container Replacement
Removal Procedure
1. Remove the washer solvent and place in a suitable container.
2. Remove the air cleaner assembly. Refer to Air Cleaner Assembly Replacement (See: Engine, Cooling and Exhaust/Engine/Tune-up and Engine
Performance Checks/Air Cleaner Housing/Service and Repair) .
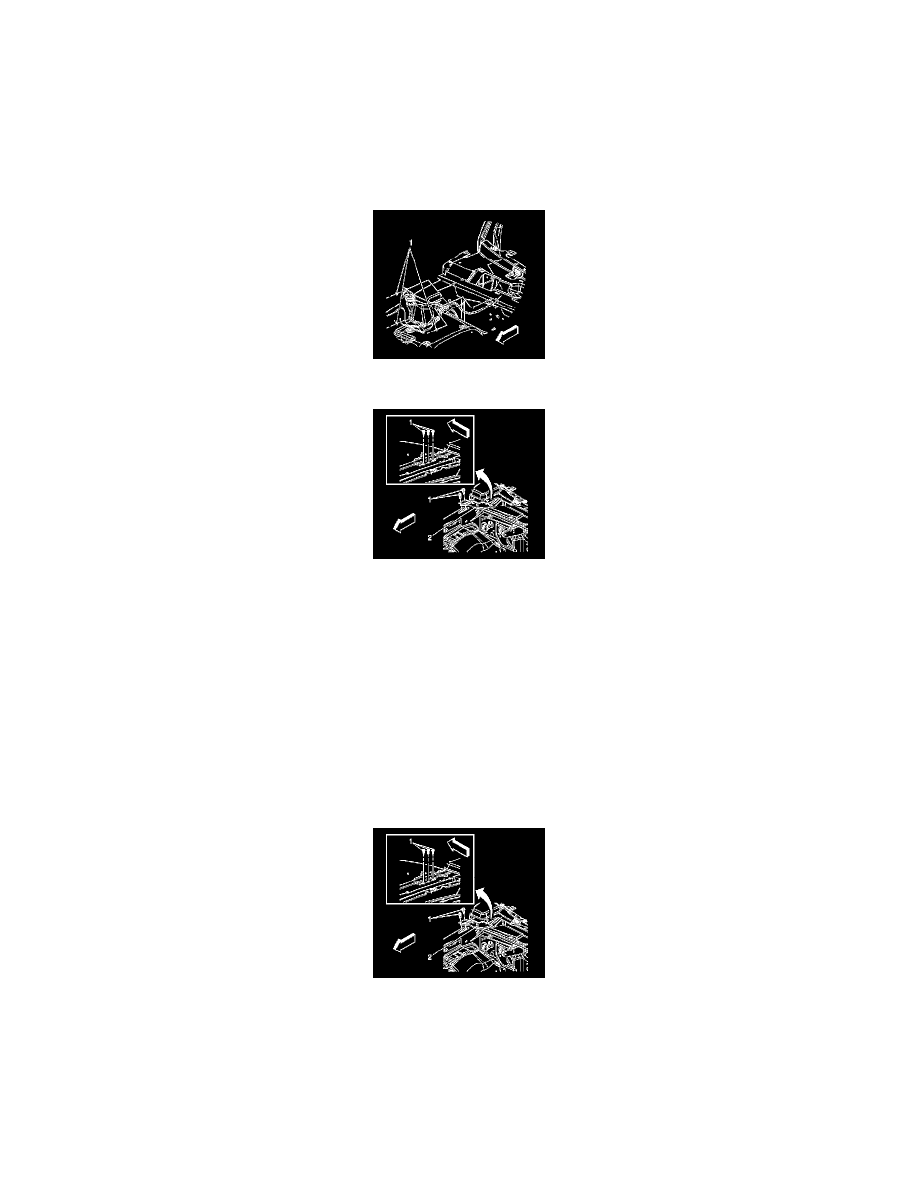
3. Remove the nuts (1) retaining the solvent container to the vehicle.
4. Remove the front end inner side panel gusset (2) by removing the fasteners (1).
5. Remove the washer hoses from the "T" connections at washer pump and unseat them from the grooves in the washer bottle.
6. Disconnect the washer pump electrical connector.
7. Disconnect the washer level sensor electrical connector.
8. Remove the washer reservoir from the vehicle.
Installation Procedure
Important: If replacing reservoir, make sure to transfer all necessary components.
1. Connect the washer level sensor electrical connector.
2. Connect the washer pump electrical connector.
3. Seat the washer hoses in the grooves on the washer bottle, and connect the hoses to the "T" connector at the motor.
4. Set the solvent container in place on the vehicle, but do not install the fasteners.
Notice: Refer to Fastener Notice (See: Service Precautions/Vehicle Damage Warnings/Fastener Notice) .
5. Install the front end inner side panel gusset (2) and the fasteners retaining it to the vehicle.
Tighten the fasteners to 25 N.m (18 lb ft).
6. Install air cleaner assembly. Refer to Air Cleaner Assembly Replacement (See: Engine, Cooling and Exhaust/Engine/Tune-up and Engine
Performance Checks/Air Cleaner Housing/Service and Repair) .
7. Fill the washer solvent container.