
H3 V8-5.3L (2008)
Flex Plate: Service and Repair
Automatic Transmission Flex Plate Replacement
Removal Procedure
1. Remove the transmission. Refer to Transmission Replacement (3.7L) (See: Automatic Transmission/Transaxle/Service and Repair/Removal and
Replacement/Transmission Replacement (3.7L))Transmission Replacement (5.3L) (See: Automatic Transmission/Transaxle/Service and
Repair/Removal and Replacement/Transmission Replacement (5.3L)) .
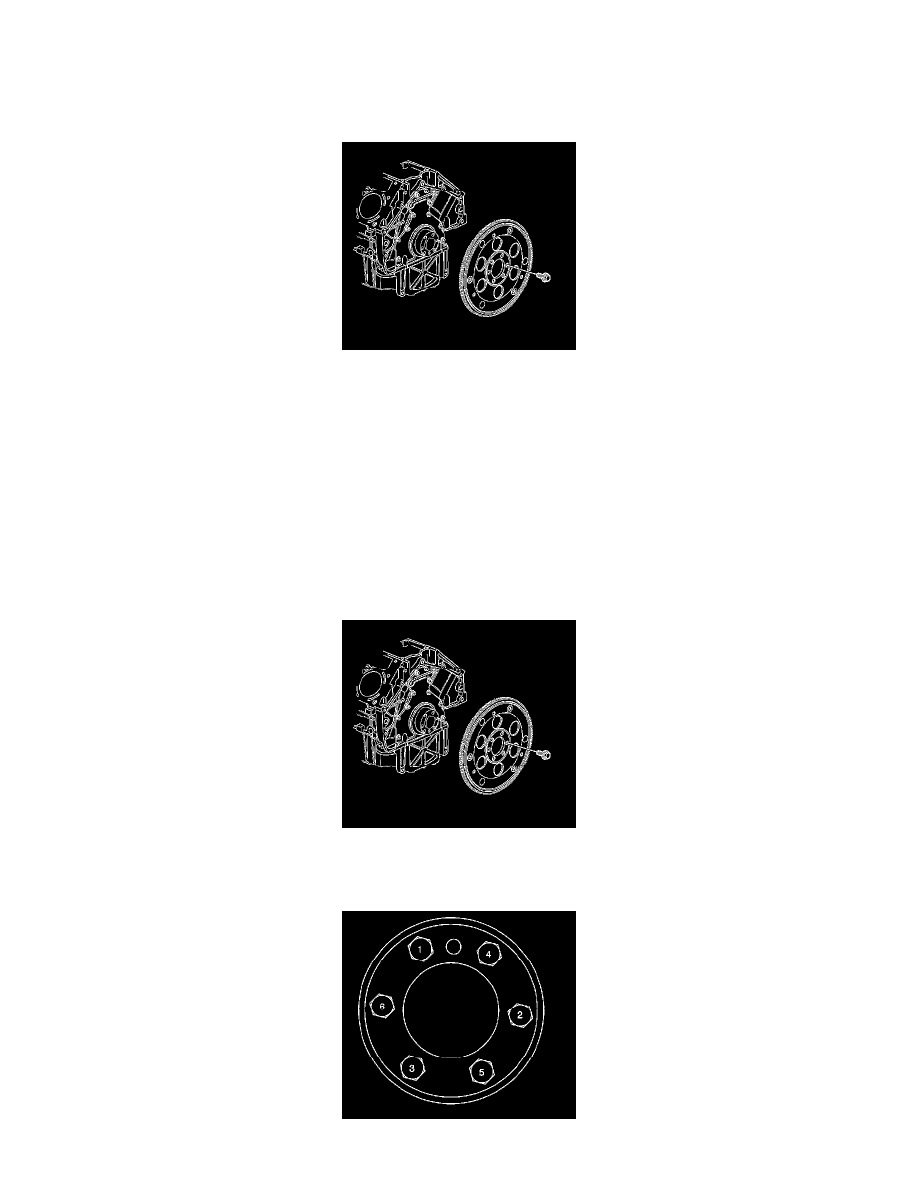
Important: Note the position and direction of the engine flywheel before removal.
2. Remove the engine flywheel bolts.
3. Remove the engine flywheel.
4. Clean and inspect the engine flywheel. Refer to Automatic Transmission Flex Plate Cleaning and Inspection (See: Engine, Cooling and
Exhaust/Engine/Service and Repair/Overhaul/Component Service and Inspection/Automatic Transmission Flex Plate Cleaning and Inspection) .
Installation Procedure
Important: The flywheel does not use a locating pin for alignment and will not initially seat against the crankshaft flange, but will be
pulled onto the crankshaft by the engine flywheel bolts. This procedure requires a three stage tightening process.
1. Install the engine flywheel to the crankshaft.
2. Apply threadlock to the threads of the flywheel bolts. Refer to Adhesives, Fluids, Lubricants, and Sealers (See: Engine, Cooling and
Exhaust/Engine/Specifications/Sealers, Adhesives, and Lubricants) for the correct part number.