
Accent GL L4-1.6L (2001)
Vacuum Brake Booster: Service and Repair
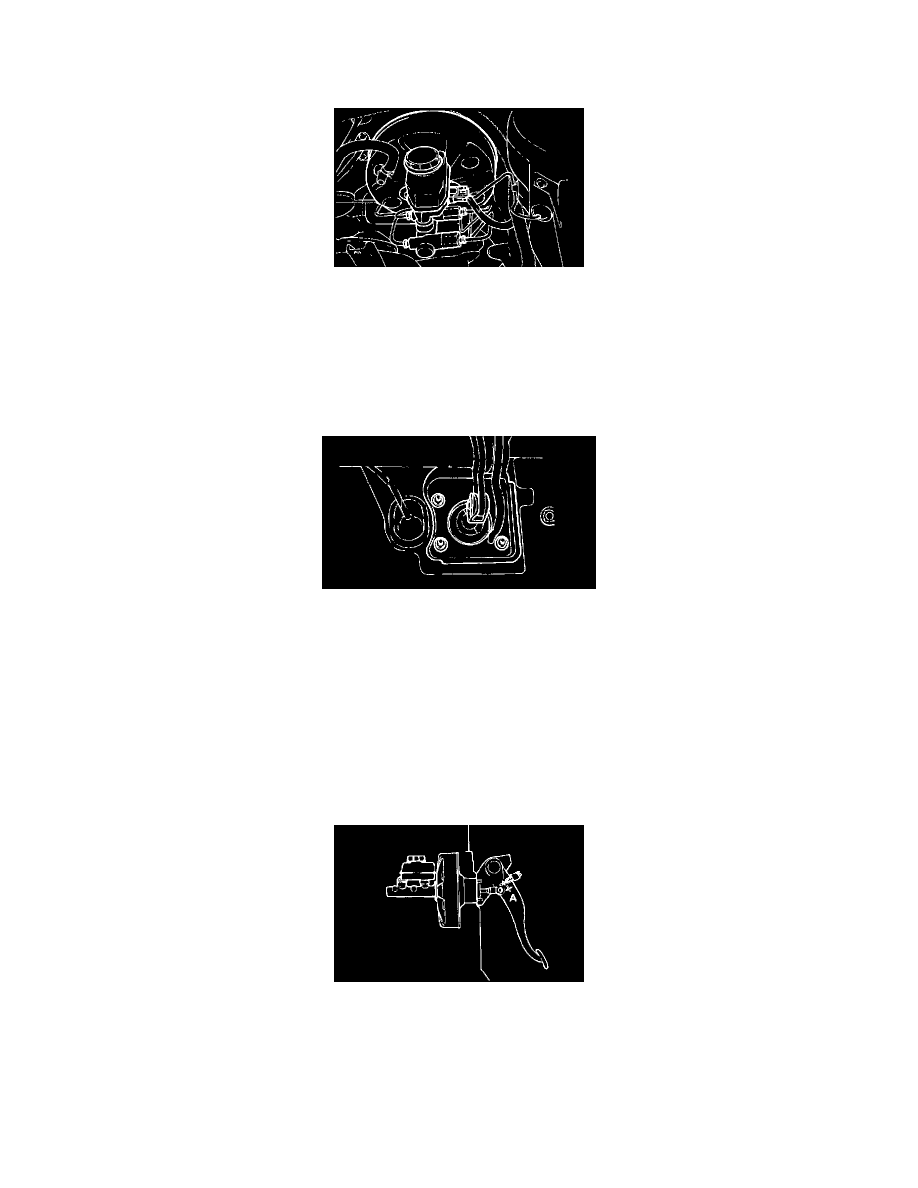
REMOVAL
1. Disconnect the brake tube from the master cylinder.
2. Remove the master cylinder
CAUTION: Do not allow brake fluid to remain on a painted surface. Wash it off immediately.
3. Disconnect the vacuum hose from the booster.
4. Remove the operating rod from the brake pedal.
5. Remove the stop lamp switch.
6. Loosen the booster mounting nuts.
7. Lift out the booster assembly.
INSTALLATION
1. When the booster assembly is installed, replace the packing at each end of the booster mounting holder, if necessary.
2. Install the brake booster and tighten the mounting nuts.
Tightening torque: 8 - 12 Nm (80 - 120 kg.cm, 6 - 9 ft. lbs.)
3. Connect the clevis to the brake pedal with the clevis pin and install the split pin to the clevis pin.
4. Install the master cylinder and connect the brake tube to the master cylinder.
5. Connect the vacuum hose to the brake booster.
6. Fill the brake reservoir with brake fluid and bleed the system.
7. Check for fluid leakage.
8. Check and adjust the brake pedal.
9. After installation, apply sufficient grease to the clevis and brake pedal contact points.