
Accent GL Sedan L4-1495cc 1.5L SOHC MFI (1997)
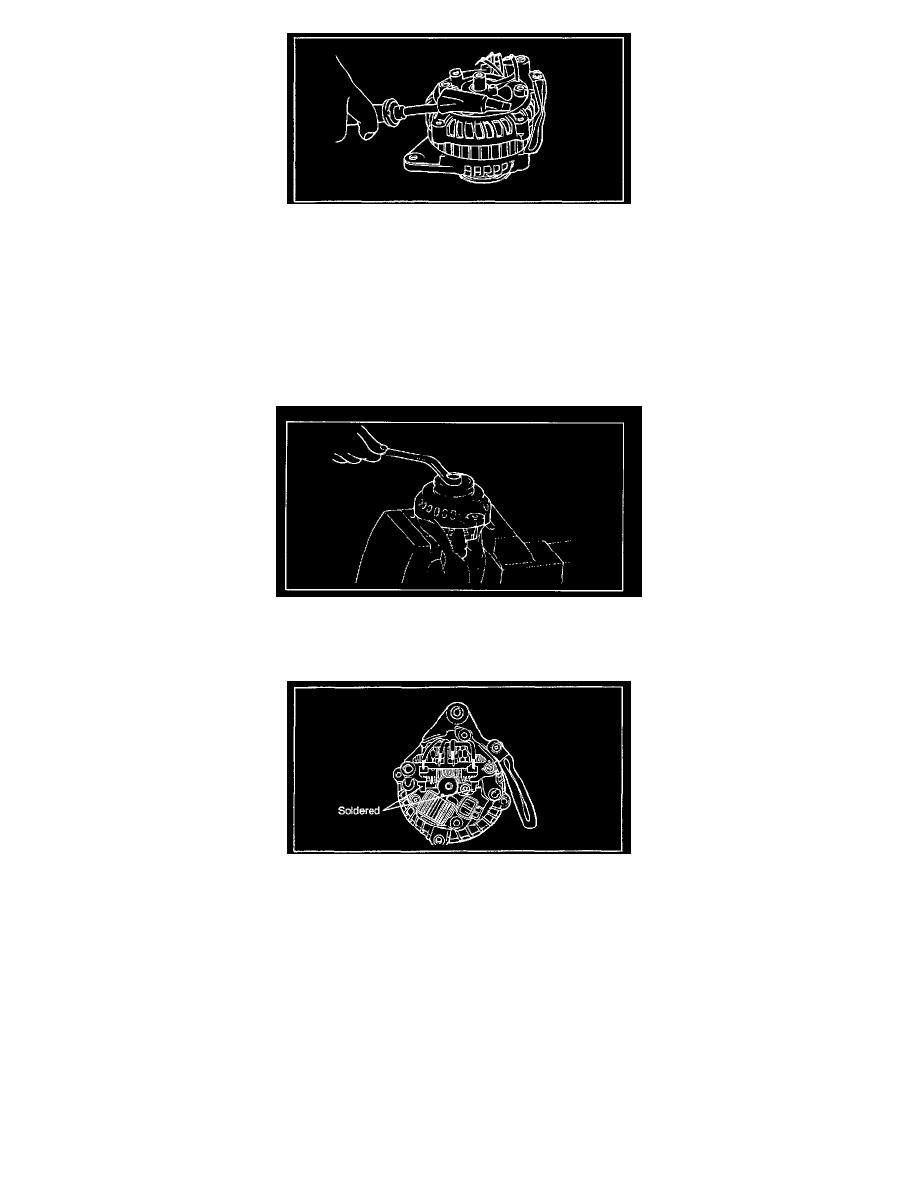
6. Insert a flat screwdriver between the front bracket and stator core, and pry downward.
CAUTION:
1. Do not insert the screwdriver too deeply, as there is a danger of damaging the stator coil.
2. The rear cover may be hard to remove because a ring is used to lock the outer race of the rear bearing. To facilitate removal of rear cover, heat
just the bearing box section with a 200-watt soldering iron. Do not use a heat gun, as it may damage the diode assembly.
7. Secure the rotor in a vise with the pulley side up.
CAUTION: Be careful that the vise jaws do not damage the rotor.
8. Remove the pulley nut, then remove the spring washer, then the pulley, and then the spacer.
9. Remove the front bracket and seals.
10. Remove the rotor from the vise.
11. When separating the rectifier from the brush holder, unsolder the two plates soldered to the rectifier.
INSPECTION (75A)
ROTOR