
Accent GT Coupe L4-1495cc 1.5L DOHC MFI (1997)
11. Give the crankshaft one turn in operating direction (clockwise) and realign crankshaft sprocket timing mark with the top dead center position.
NOTE: Do not turn the crankshaft in a counterclockwise direction. The crankshaft should turn smoothly.
12. Loosen the tensioner attaching bolt 1 and 2 in that order.
13. Tighten the tensioner attaching bolts 2 and 1 in that order to 20-27 Nm (200-270 kg.cm, 14-20 ft. lbs.).
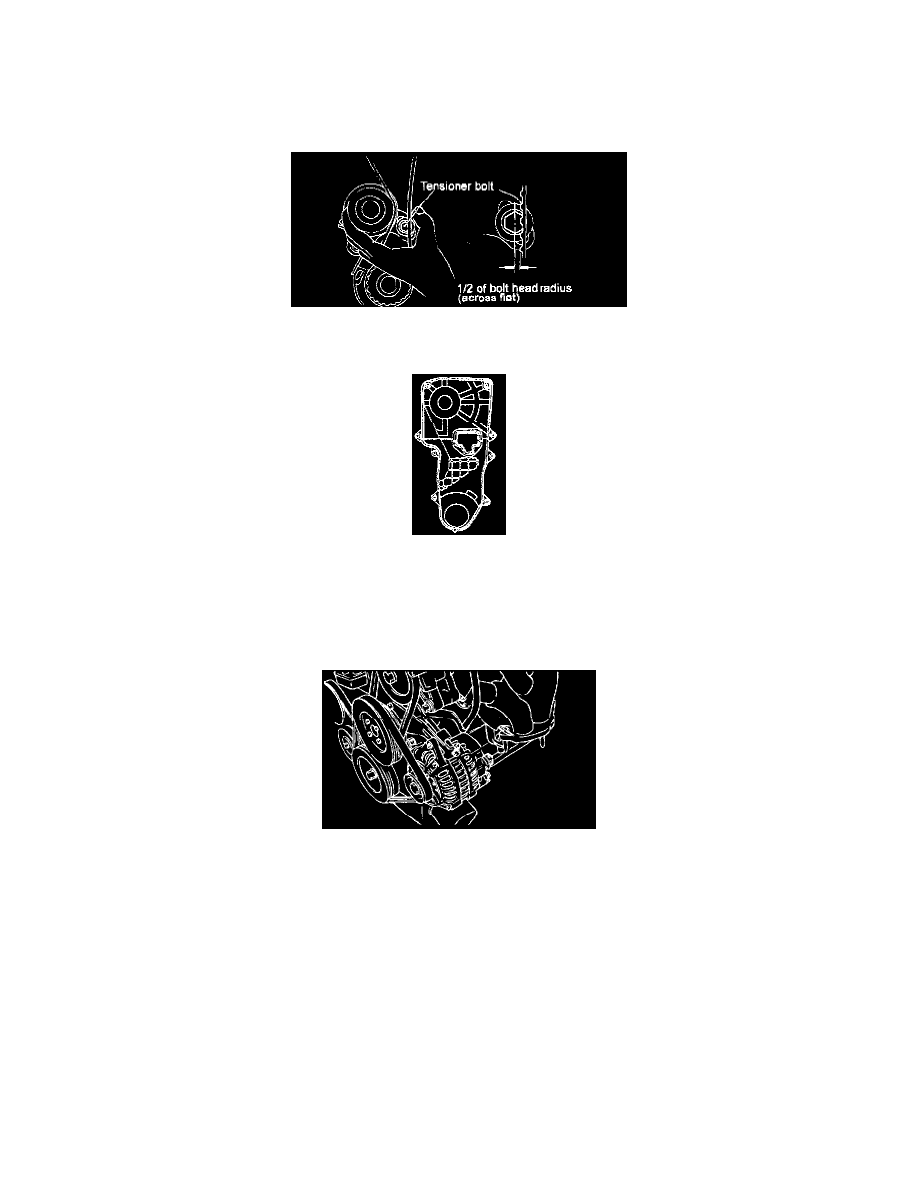
14. Verify that when the tensioner and the tension side of the timing belt are pushed in horizontally with a moderate force [approx. 49N (11 lb)], the
timing belt cog end is approx. 1/2 of the tensioner mounting bolt head radius (across flats) away from the bolt head center.
15. Install the timing belt cover, tighten cover bolt to 8-10 Nm (80-100 kg.cm, 6-7.4 ft. lbs.).
16. Install the crankshaft pulley:
-
Make sure that the crankshaft sprocket pin fit the small hole in the pulley.
-
Tighten crankshaft pulley bolt to 10-12 Nm (100-120 kg.cm, 7.2-8.7 ft. lbs.).
17. Install the fan belt and adjust the belt tension.
18. Install the water pump pulley
19. Install V-belt and adjust the belt tension.