
Accent GT Coupe L4-1495cc 1.5L DOHC MFI (1997)
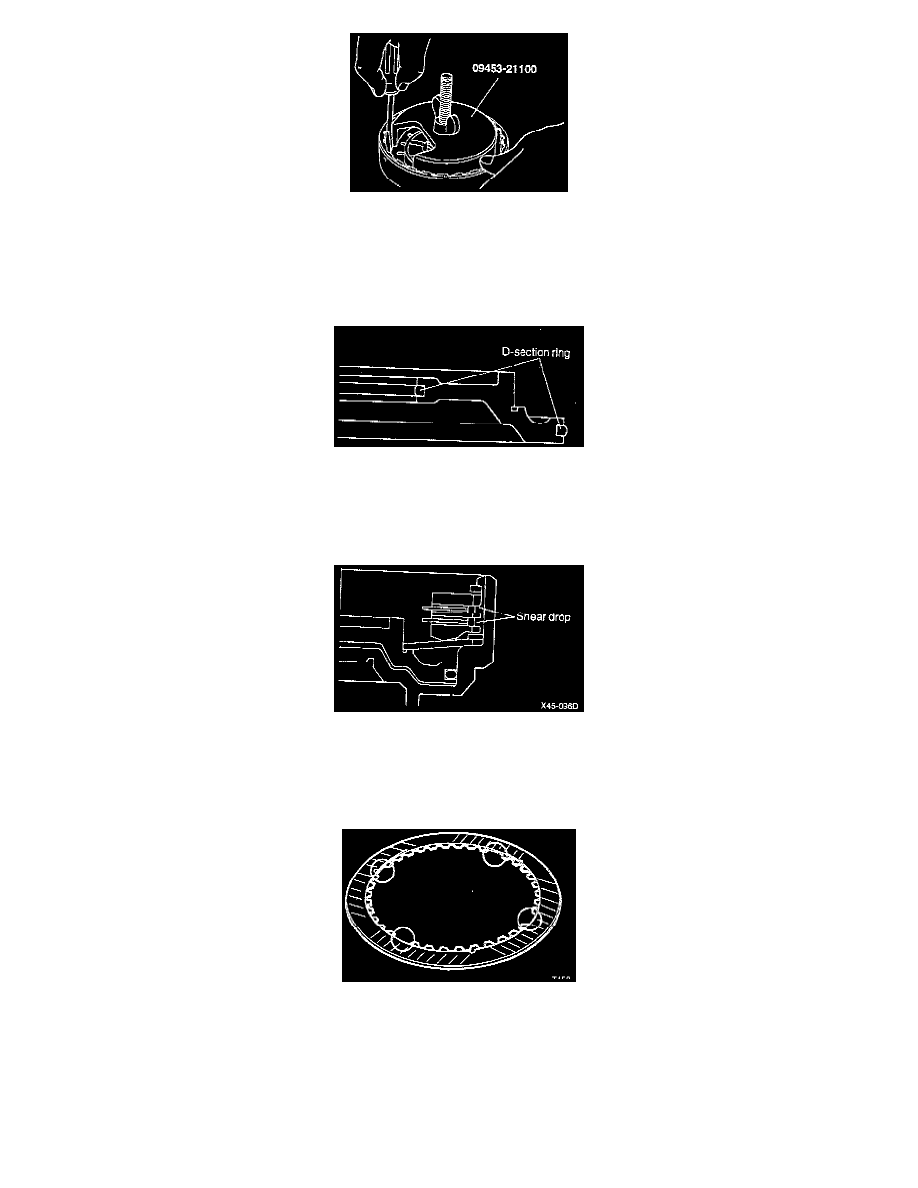
5. Compress the return spring by using the spring compressor.
6. Using a screwdriver, remove the wave spring.
7. Remove the return spring and piston.
8. Remove the two D-section rings from the piston.
ASSEMBLY
1. Install the D-section rings in the grooves in the outside and inside surfaces of the piston.
2. After applying Automatic Transmission Fluid (ATF) to the outside surface of the D-section rings, push the piston into the rear clutch retainer by
hand.
3. Install the return spring on the piston.
4. Compress the return spring with the snap ring, by pushing down with a screwdriver and setting the snap ring in its groove.
5. Install clutch pressure plate, two clutch discs, clutch plate and clutch reaction plate into the rear clutch retainer. When the reaction plate, clutch
plate and clutch disc are removed, reinstall them by reversing the order of disassembly. Prior to installing, apply ATF to the plates and discs.
CAUTION:
a. When new clutch discs are used, immerse them in ATF for a minimum of two hours prior to installation.
b. The four splines of disc are deleted to discriminate the rear clutch disc from front clutch disc.
c. If the lining of the disc is peeling off, replace all discs.
d. As you know, the color of current clutch disc turns to black when burnt. When the new clutch disc is immersed in ATF for two hours, its
color also turns to disc is normal or has been burnt. Therefore, care should be taken not to confuse or misuse the burnt clutch disc of
current type and new type clutch discs immersed in ATF.
e. The burnt clutch disc of new type should be identified by looking at the height difference of protruded section and base section.