
Accent L Hatch Back L4-1495cc 1.5L SOHC MFI (2000)
7. Apply a light coat of body primer to the original sealant remaining around the window opening flange. The glass should be installed 10 minutes
after you apply the primer.
8. Pack adhesive into the cartridge avoiding air pockets, to ensure continuous application. Put the cartridge in a caulking gun or Sealant Gun, and run
a bead of adhesive around the edge of the glass.
NOTE: Apply the adhesive within 5 minutes after applying the glass primer.
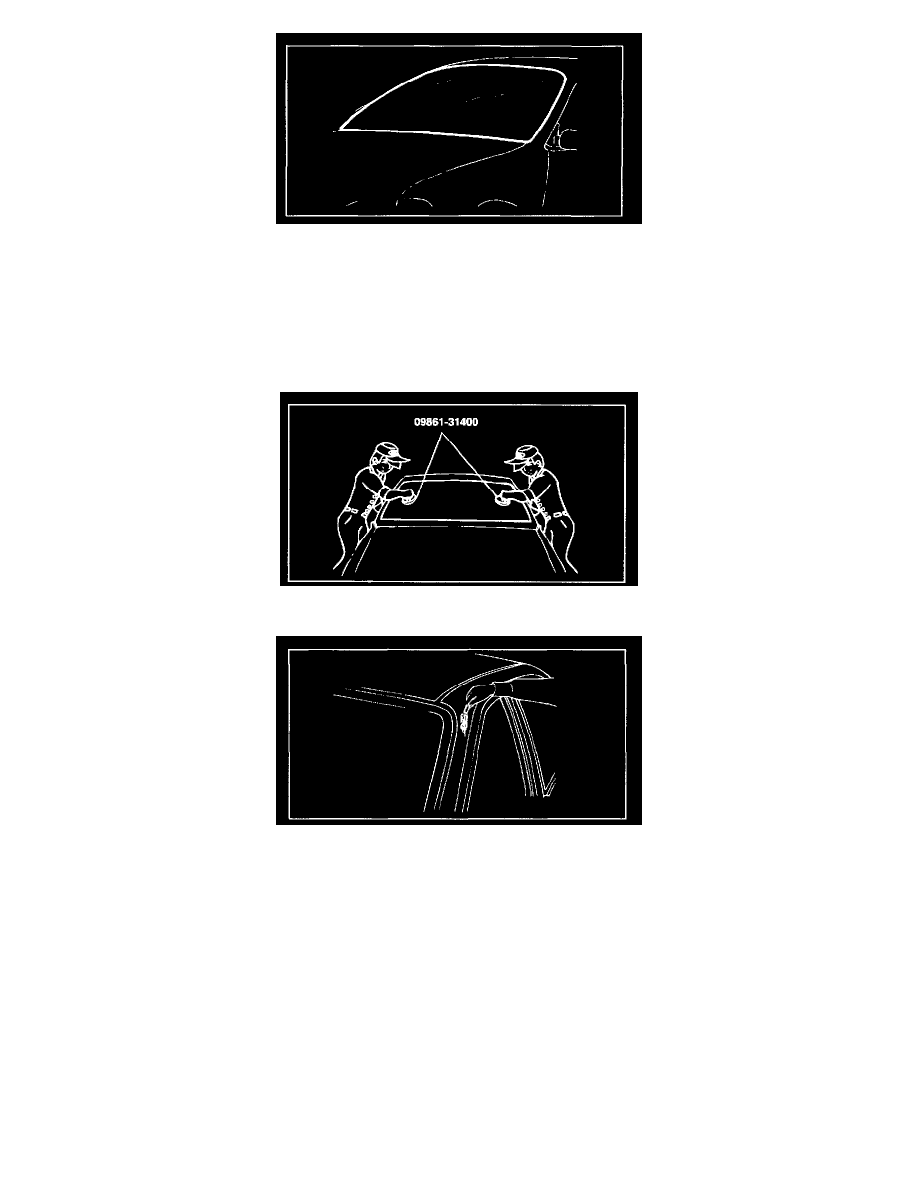
9. Use suction cups or Special Tool, lower the glass over the opening, align it with the marks made in step 3 and set it down on the sealant.
10. Scrape or wipe excess adhesive off with putty knife or gauze. Fill all cavities around the rear window glass.
11. Perform a water-leak test for the rear window glass. Use a cold water spray, being careful not to direct a powerful stream of water on the new
adhesive material. Allow water to spill over the edges of the glass.
12. If there are leaks, dry the affected area, then apply sealant.
NOTE:
-
Let the car stand for at least four hours after rear window glass installation. If the car has to be used within the first 8 hours, it must be driven
slowly.
-
Keep the rear window glass dry for the first hour after installation.
13. Install the removed parts.
NOTE: Advise the customer not to do the following things for two to three days
-
Slam the doors with all the windows rolled up.
-
Twist the body excessively (such as when going in and out of driveways at an angle or driving over rough, uneven roads).