
Elantra L4-1595cc 1.6L DOHC 16 Valve (1995)
Old style (<12/12/94)
I.
Remove vacuum hose (green stripe) from the throttle body vacuum port marked "E".
II. Spray carburetor cleaner into the vacuum port on the throttle body.
III. Using shop air pressure, blow into the vacuum port.
New style (>12/13/94)
I.
Remove green stripe vacuum hose from the "E" port on throttle body to the three way tee, (SEE FIG. 1).
II. Remove & replace Orifice. SEE FIG. 2 for Orifice location. (see table below for part number).
III. Reinstall "Hose & Orifice Assembly", making sure that the orifice is closer to the three way tee than the throttle body.
4.
Using HDS to check EGR Solenoid and related wiring (if HDS is not available, see below).
I.
Connect HDS to vehicle.
II. From HDS HOME VIEW Screen select SIMU-TECH.
III. Go thru normal vehicle selection process.
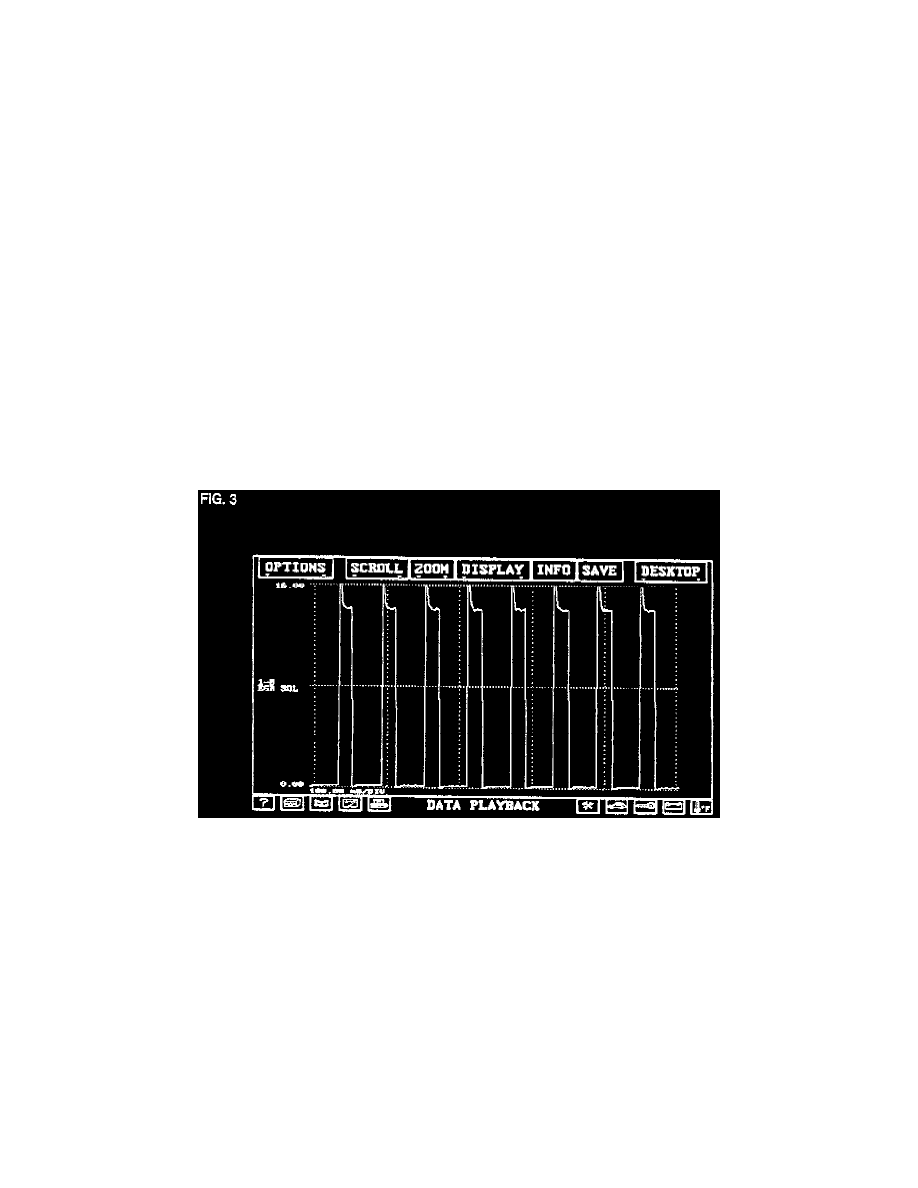
IV. Go to SIGNAL WAVEFORMS, then select EGR Solenoid and display as ANALOG RECORD, hit RUN. Raise engine RPM to 2500.
You should observe a Duty Cycle, (12 to 16 volt square wave, SEE FIG. 3). If no Duty Cycle is observed, the EGR Solenoid is not being grounded by
the the ECM. Before replacing the ECM, run a current draw test on the EGR Solenoid using HDS SWEEP TEST. If current draw exceeds 42O
Diagnostic (M)Amp, replace EGR Solenoid and retest.
IF HDS IS NOT AVAILABLE:
You can check for Duty Cycle by backprobing the Brn/Wht wire at the EGR Solenoid with a voltmeter; with the engine running you should observe a
decrease in voltage as you raise the engine RPM to 2500.
You can run a current draw test by connecting an ammeter in series between the Brn/Wht wire at the connector and the EGR Solenoid. If current draw
exceeds 420 (M)Amp replace the EGR Solenoid and retest for Duty Cycle.