
Elantra L4-1595cc 1.6L DOHC 16 Valve (1995)
Steering Gear: Service and Repair
Assembly
1. Apply Dexron II or Diamond ATF SP ATF to entire surface of rack oil seal, then using bar tool No. 09555-21000, oil seal guide tool No.
09573-21200, oil seal installer tool No. 09573-21100 and oil seal installer gauge tool No. 09573-21000, or equivalents, install back-up washer and
oil seal into gear housing.
2. Apply multi-purpose grease to entire surface of angular contact bearing, then set scribed side of bearing in drift tool No. 09432-21600, or
equivalent, and install into gear housing until drift contacts housing. Note direction of bearing.
3. Apply multi-purpose grease to ball bearing and install using drift tool No. 09222-21100, or equivalent. Always use a new bearing.
4. Apply Dexron II or Diamond ATF SP ATF to entire surface of rack bushing oil seal and O-ring, using countershaft bearing installer tool No.
09434-142000, or equivalent, install oil seal into rack bushing, then the O-ring into rack bushing.
5. Apply multi-purpose grease to rack teeth, install rack into gear housing, wrap rack end with vinyl tape, apply a coating of Dexron II or Diamond
ATF SP ATF, then install rack bushing and rack stopper.
6. Push in rack stopper until circlip groove of rack stopper is aligned with notched hole in rack housing, then install circlip while turning rack
stopper. Ensure circlip end is not visible through notched hole of rack housing.
7. Install oil seal and ball bearing into valve body, then the seal rings in valve groove. Apply Dexron II or Diamond ATF SP ATF to seal rings.
8. Apply Dexron II or Diamond ATF SP ATF and multi-purpose grease to pinion valve assembly, then install into gear housing assembly.
9. Apply Dexron II or Diamond ATF SP ATF to seal, then using countershaft bearing installer tool No. 09434-142000, or equivalent, install seal into
valve body housing.
10. Install valve body assembly with seal ring onto gearbox, then the tab washer and tie rod. Stake tab washer at two points over tie rod. Align tab
washer pawls with rack groove.
11. With pinion turned fully clockwise, tighten new self-locking nut.
12. Apply semi-drying sealant to threaded section of end plug, then install and tighten to specifications. Stake end plug at two points on its
circumference with a punch.
13. Install rack support yoke, rack support spring and yoke plug. Apply semi-drying sealant to threads of yoke plug.
14. With rack placed in center position, attach rack support cover to gear housing, then torque rack support cover to 11 ft. lbs., loosen yoke plug
approximately 30-60°, and tighten locking nut to specifications.
15. Tighten feed tube to specifications, then install mount rubber using a suitable adhesive.
16. Apply silicone grease to bellows fitting position of tie rod, then install new attaching band to the bellows.
17. Install bellows into position. Use care not to twist bellows.
18. Fill inside of dust cover with multi-purpose grease, then place dust cover into position with clip ring attached in groove of tie rod end.
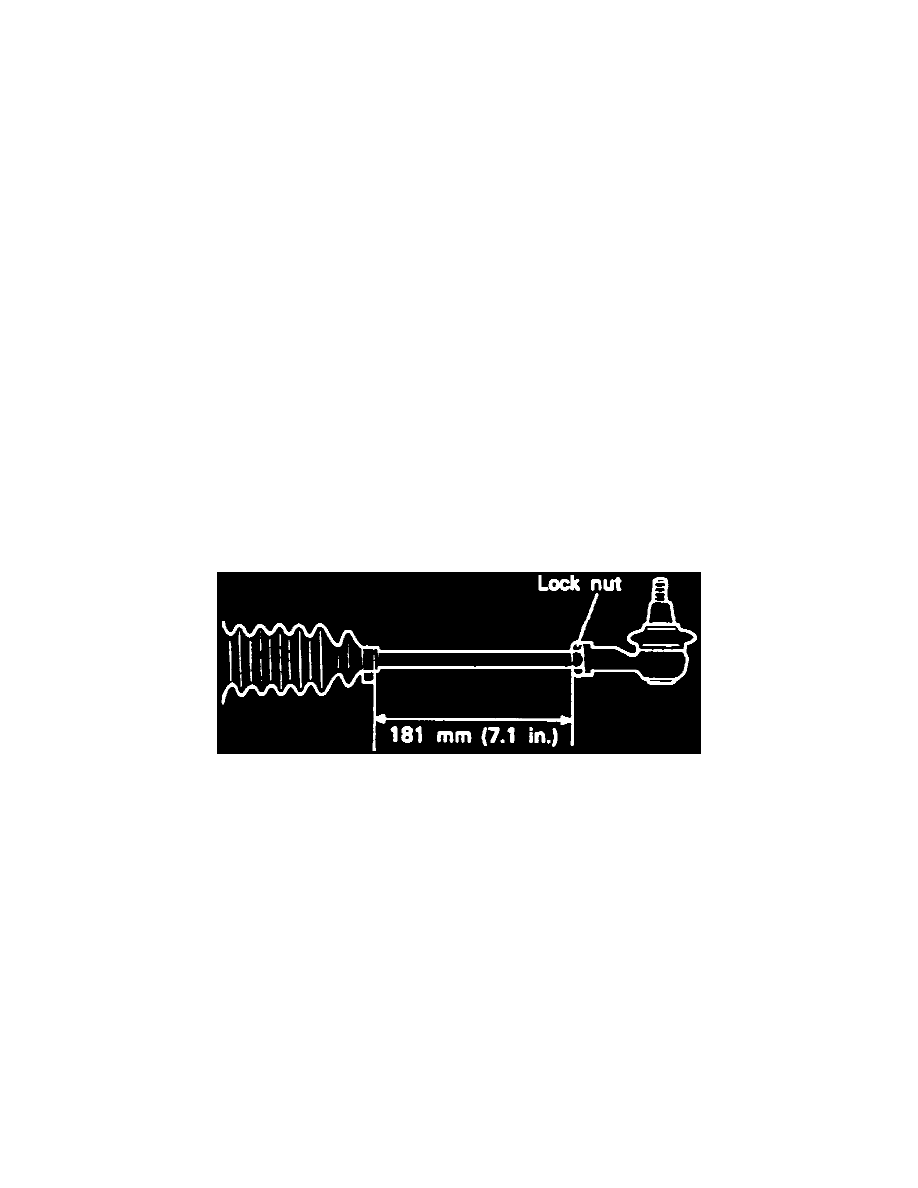
Fig. 7 Tie Rod Installation
19. Install tie rods until free length of left and right rods are 7.1 inches, Fig. 7.