
Elantra L4-1595cc 1.6L DOHC 16 Valve (1995)
8.
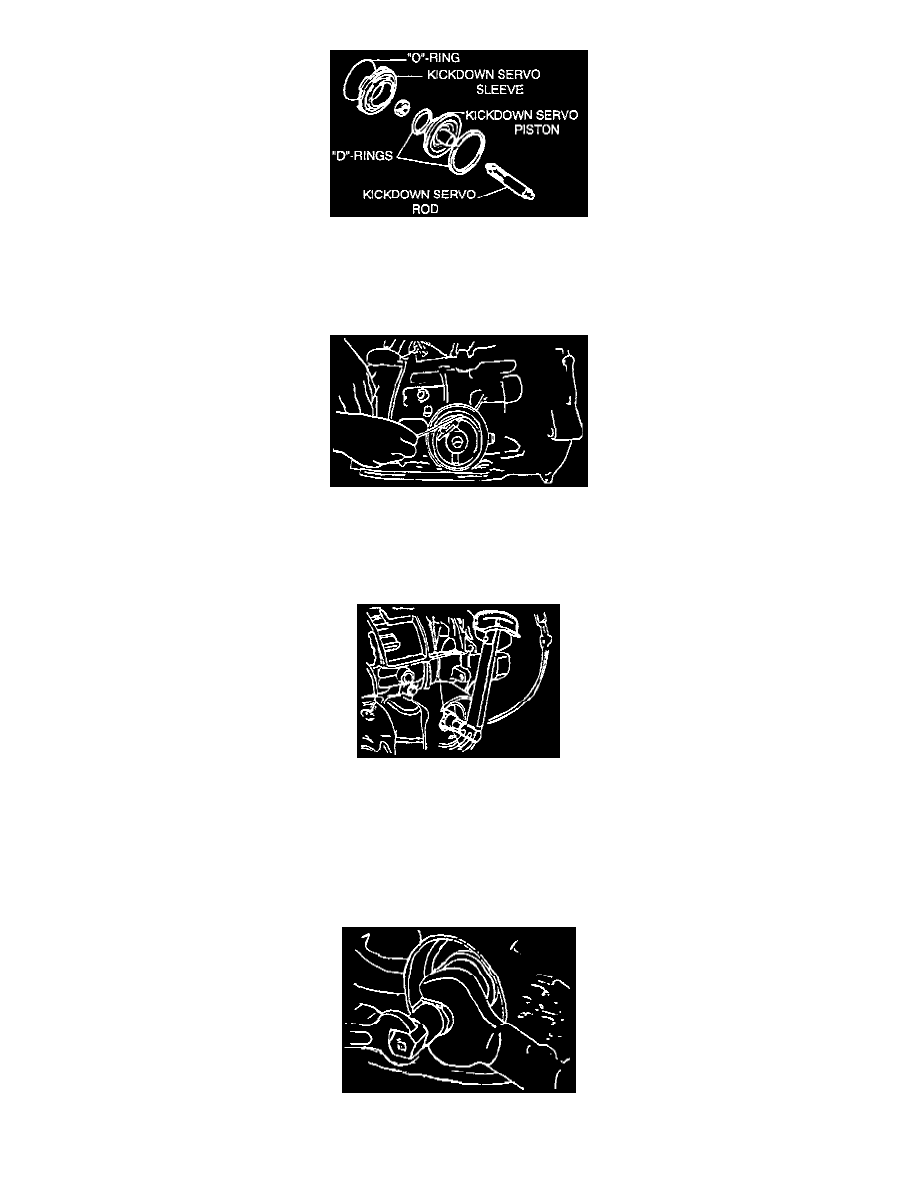
Separate the kickdown servo sleeve from the servo piston. Remove the O-ring on the servo sleeve and replace it with a new one. Remove the
D-rings from the servo piston and replace them with new ones. Always lubricate the rubber O-rings and D-rings with ATF before assembly.
NOTE:
Check the kickdown servo bore for scratches and nicks. Polish the bore with emery cloth, if necessary.
9.
For vehicles with an air exhaust plug, check the air exhaust plug with a steel wire and ensure that the steel retainer is in position as shown in TSB
number 92-40-007. If the steel retainer has come out of position and entered the kickdown servo bore, scoring of the bore may have occurred.
Light scoring may be polished out. Deep scoring will require ATM case replacement.
10.
Carefully reinstall the kickdown servo assembly into its bore and install the snap ring.
11.
Using the kickdown servo wrench, 09454-33101B, turn the kickdown servo rod clockwise and torque to 10 Nm. (7.2 lb-ft).
CAUTION:
Confirm that the locknut is loose on the servo rod and does not interfere with the torque adjustment
12.
Loosen the servo rod two turns.
13.
As a final step, torque the servo rod to 5 Nm. (3.6 lb-ft), then loosen the servo rod 2 to 2-1/4 turns.
14.
Hold the kickdown servo rod from turning using the kickdown servo wrench (09454-33101B) and tighten the locknut with the kickdown servo
socket wrench (09454-33101A) to specification.