
Elantra GLS Sedan L4-2.0L (1999)
12.
Confirm the O-ring is installed on the top center of the valve body and the valve body pipe is installed on the top of the valve body.
13.
Push the solenoid connector through the hole in the case and push the solenoid valve grommet into the hole until the tabs click into position.
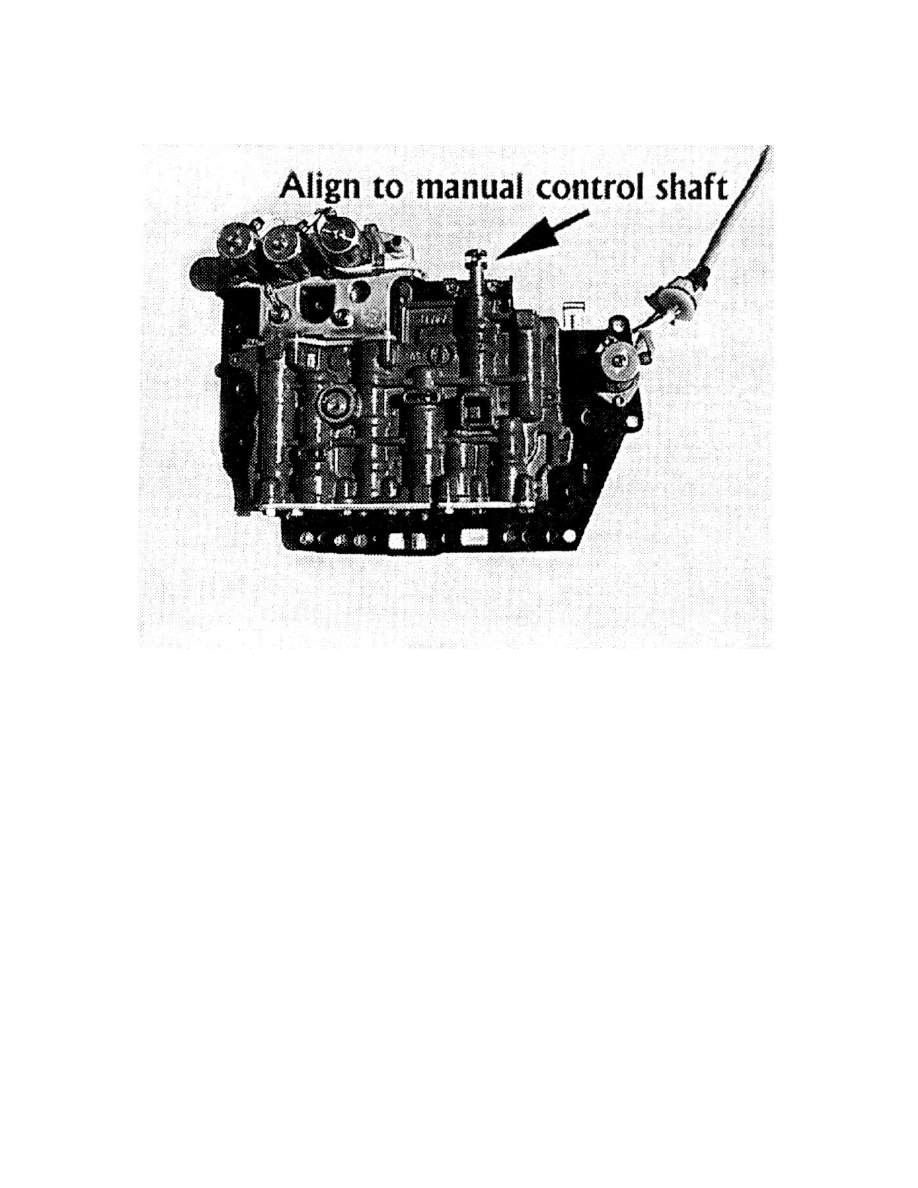
14.
Carefully align the manual valve on the valve body to the manual control shaft and reinstall the valve body.
15.
Reinstall the ten bolts and torque to specification of 7-9 lb.ft (100-120 kg.cm).
16.
Reinstall the oil temperature sensor to the bracket.
17.
Install a new oil pan gasket and reinstall the oil pan. Tighten the bolts to specification of 7-9 lb.ft (100-120 kg.cm)
18.
Reconnect the solenoid connector to the engine harness.
19.
Reinstall the battery tray, battery and air cleaner.
20.
Add SP-II ATF (approximately 4-1/2 quarts for Accent, 5 quarts for Elantra/Tiburon) and check the level with the engine idling in Neutral.
21.
Test drive the vehicle and confirm the shifting is correct. When the ATF is at normal operating temperature (70-100°C, 159-212°F), recheck the
ATF level.
22.
Reset the customer's radio stations and clock.