Elantra GLS Wagon L4-2.0L (2000)

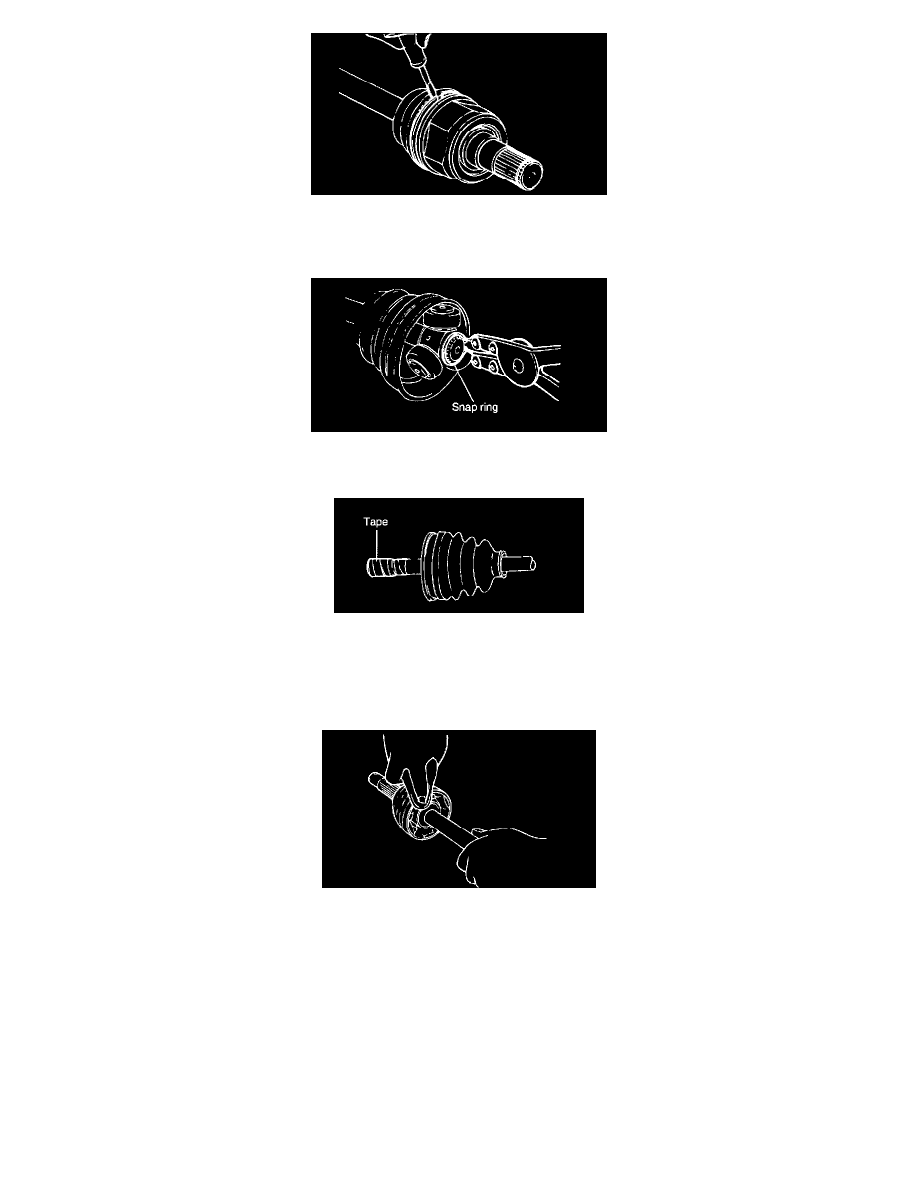
1. Remove the T.J. boot bands and pull the T.J. boot from the T.J. case.
NOTE: Be careful not to damage the boot.
2. Remove the snap ring and spider assembly from the drive shaft.
3. Clean the spider assembly.
4. Remove the B.J. boot bands and pull out the T.J. boot and B.J. boot.
NOTE: If the boot is to be reused, wrap with tape around the drive shaft splines to protect the boot.
INSPECTION AFTER DISASSEMBLY
1. Check the drive shaft spline part for wear or damage.
2. Check for entry of water and/or foreign material into B.J.
3. Check the spider assembly for roller rotation, wear or corrosion.
4. Check the groove inside T.J. case for wear or corrosion.
5. Check the dynamic damper for damage or cracking.
REASSEMBLY
1. Wrap tape around the drive shaft splines (T.J. side) to prevent damage to the boots.
