
Santa Fe L4-2.4L (2001)
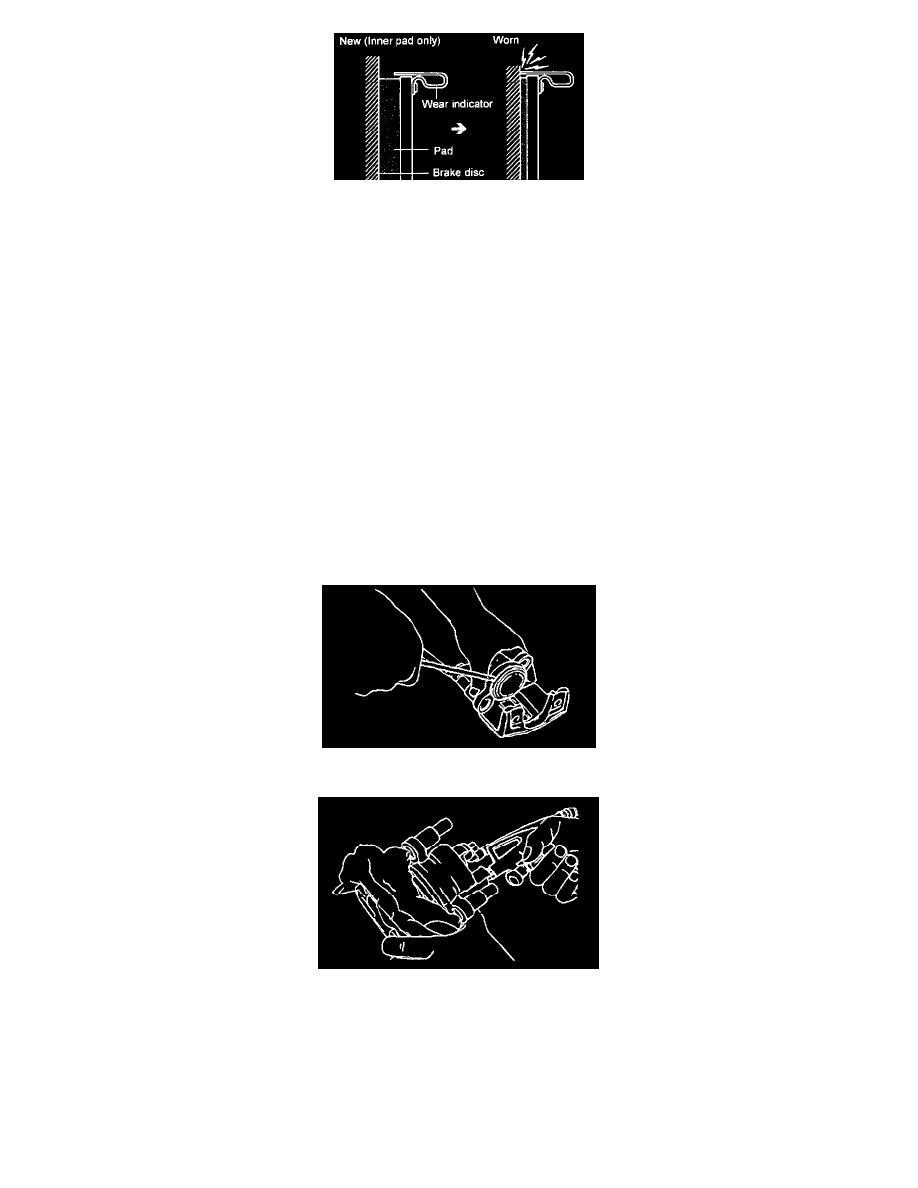
1. Check the pads for wear or oil contamination and replace if necessary.
NOTE: The pads for the right and left wheels should be replaced at the same time.
Pad thickness wear limit: 2.0 mm (0.08 inch)
2. Check for worn or damaged dust boots. If dust or mud had entered the caliper assembly through this seal, the caliper assembly must be replaced or
rebuilt.
INSTALLATION
1. Before replacing the brake pads, drain brake fluid from the master cylinder reservoir until it is half full.
2. Install two caliper guide rods and tighten to the specified torque.
Specified torque: 22 - 32 Nm (220 - 320 kg.cm, 16.3 - 23.7 ft. lbs.)
3. After filling the master cylinder reservoir with the fluid, bleed the brake line.
Recommended brake fluid: DOT 3, DOT 4
REMOVAL
1. Remove the rear wheel.
2. Remove the caliper assembly.
3. Remove the brake hose from the caliper assembly.
DISASSEMBLY
1. Remove the pad.
2. Remove the piston boot from the housing, and remove the piston.
3. Remove the piston by applying compressed air through the brake hose fitting.
CAUTION: Do not place your fingers in front of the piston when using compressed air.
4. Using a screwdriver, remove the piston seal carefully so as not to damage the cylinder wall.