
Santa Fe V6-3.5L (2004)
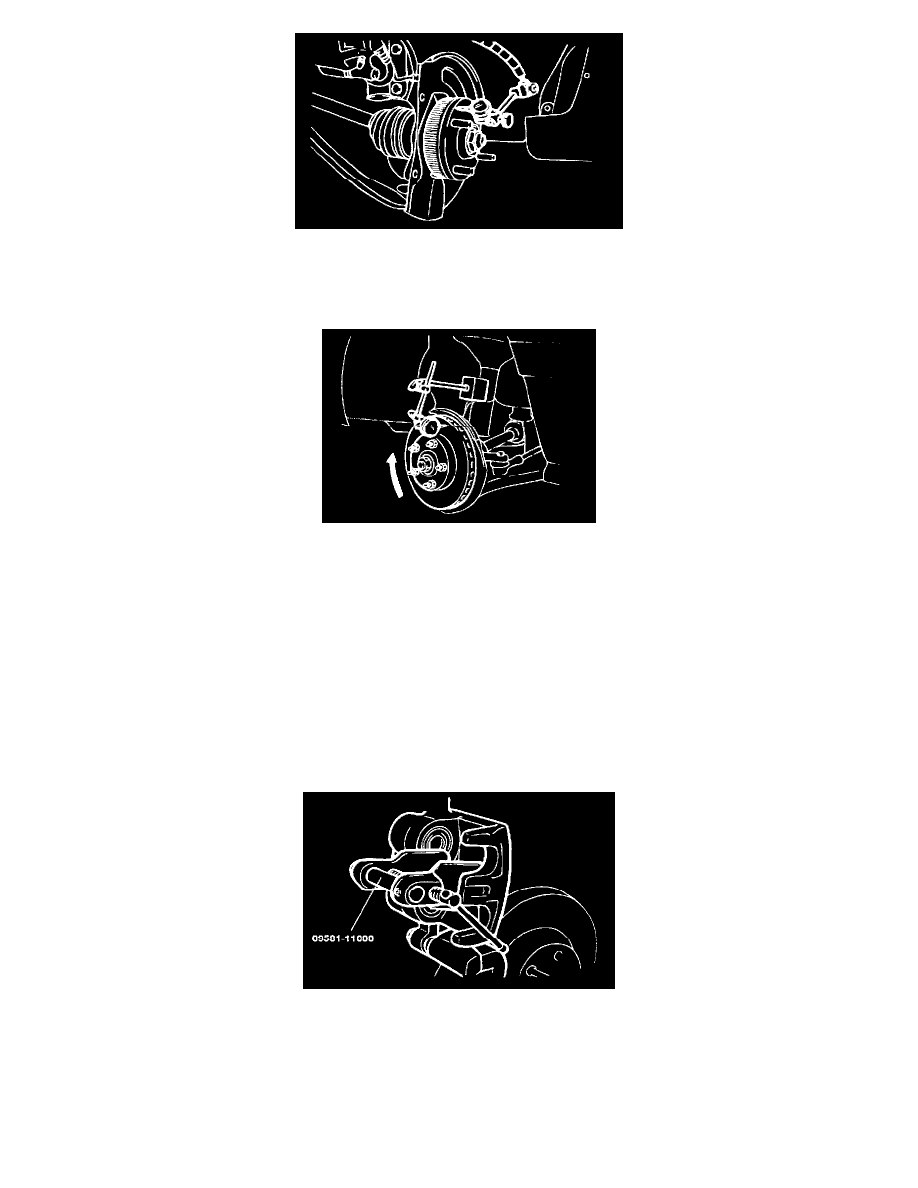
2) Remove the brake disc, and then place a dial gauge as shown in the illustration; then move the hub in the axial direction and measure the run
out.
Limit: 0.05 mm (0.0020 inch)
If it is equivalent to or exceeds the limit, disassemble the hub knuckle and check each part.
3) If the play does not exceed the limit specification, install the brake disc after turning it 180° from the chalk mark, and then check the run out of
the brake disc again.
2. If the run out cannot be corrected by changing the position of the brake disc, replace the brake disc.
INSTALLATION
1. Install the pad clips.
2. Install the pads on each pad clip.
NOTE:
1. All four pads must be replaced as a complete set.
2. When replacing the brake pads, check for deformation. When replacing the guide spring, use a new one or thoroughly clean the used one.
3. Press in the piston with a hammer handle or the special tool.
4. Lower and insert the brake cylinder carefully so as not to damage the boot.
5. Tighten the two guide rod bolts to the specified torque.
Guide rod bolt: 22 - 32 Nm (220 - 320 kgf-cm, 16.2 - 23.6 ft. lbs.)
DISASSEMBLY
Front disc brakes should be disassembled separately. Do not mix right-hand and left-hand parts.