
Santa Fe V6-3.5L (2004)
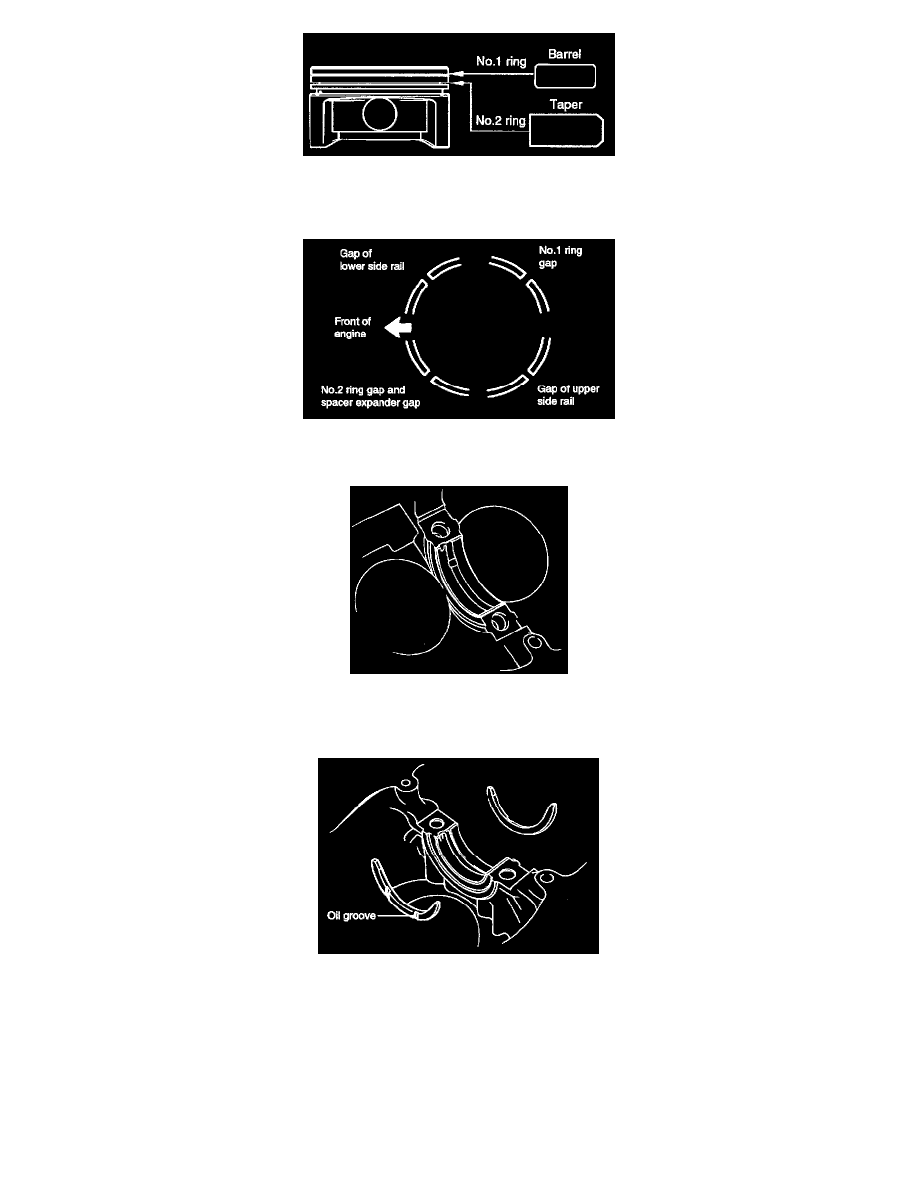
6. Install the No. 1 piston ring.
7. Position each piston ring end gap as far away from its neighboring gaps as possible. Make sure that the gaps are not positioned in the thrust and
pin directions.
8. Hold the piston rings firmly with a piston ring compressor as they are inserted into cylinder.
9. Install the upper main bearings in the cylinder block.
10. Install the lower main bearings in the main bearing caps.
CAUTION: Install the bearing so it matches the oil hole in the block
11. Install the thrust washers in the No. 3 main bearing cap with the oil grooves facing outward.
12. Make sure that the front mark of the piston and the front mark (identification mark) of the connecting rod are directed toward the front of the
engine.
13. When the connecting rod cap is installed, make sure that any cylinder numbers placed on the rod and cap at disassembly match.
14. When a new connecting rod is installed, make sure that the notches for holding the bearing in place are on the same side.
15. When assembling, bolts should be fastened using the plastic angle technique as follows.
1) Apply oil to the threads and matching areas.