
Santa Fe AWD L4-2.4L (2010)
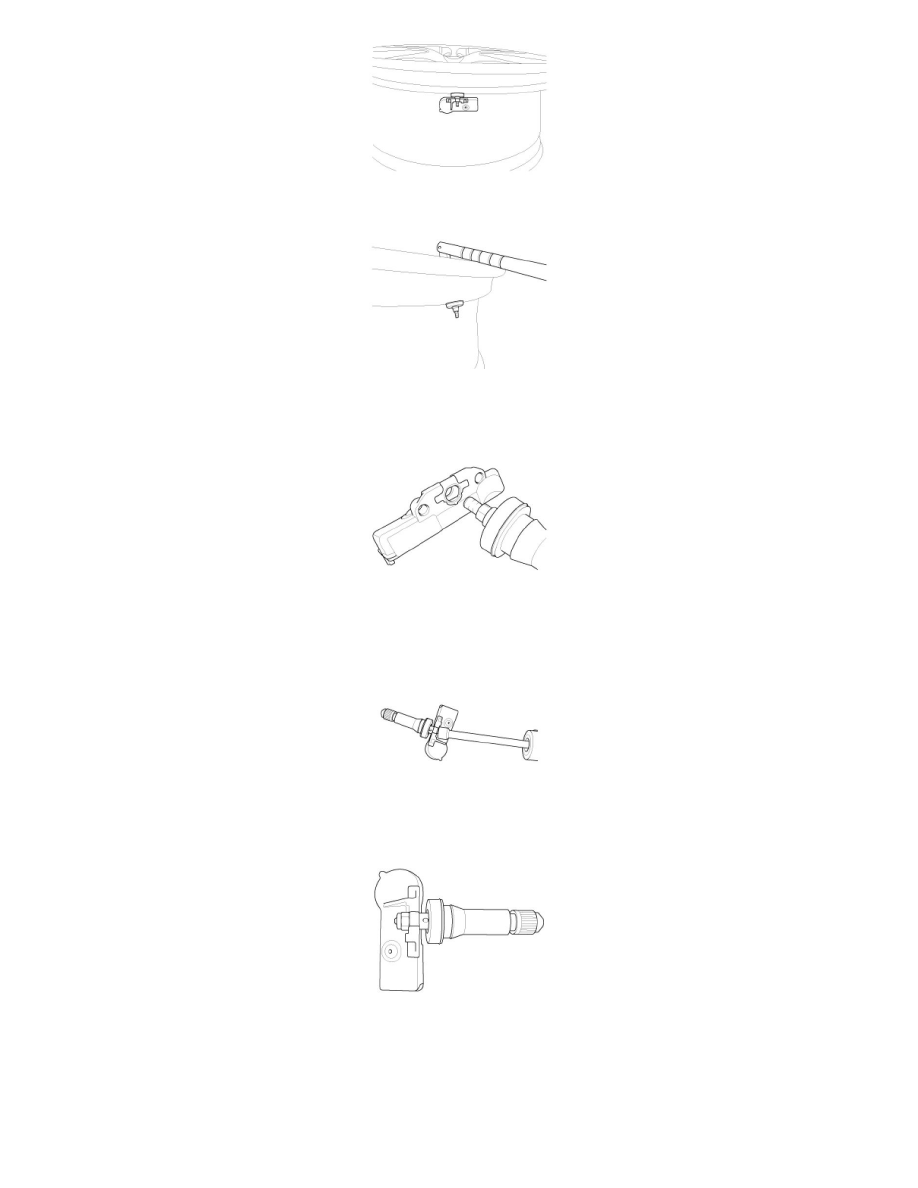
6. Attach a standard valve stem puller tool the valve. Remove the valve from the rim by pulling the valve bulb through the valve hole.
7. Assemble a new snap-in valve to the sensor body. Make sure the flats on valve lines up with the flats on the sensor body. Push the valve all the
way into the hole until it stops.
8. Attach a new Lear prevailing torque hex nut to the valve body and use a preset 7mm nut driver to tighten the nut at a torque of 1.2 Nm. DO NOT
OVER TIGHTEN! Make sure the hex nut is in contact with the metal insert on the sensor body.
9. Lubricate and place the valve in the valve hole.
10. Using the standard valve stem puller tool, pull the valve stem straight through the valve hole, and NOT at an angle. Stop pulling when the indicator
ring on the valve has passed completely through the valve hole.