
Santa Fe AWD V6-2.7L (2007)
Side Air Bag: Service and Repair
Air Bag Module (Side Air Bag)
AIR BAG MODULE (SIDE AIR BAG)
REMOVAL
1. Disconnect the battery negative cable and wait for at least 3 minutes before beginning work.
2. Remove the front seat assembly.
3. Remove the seatback cover.
NOTE: When the side airbag deployed after a collision, replace the seatback as an assembly
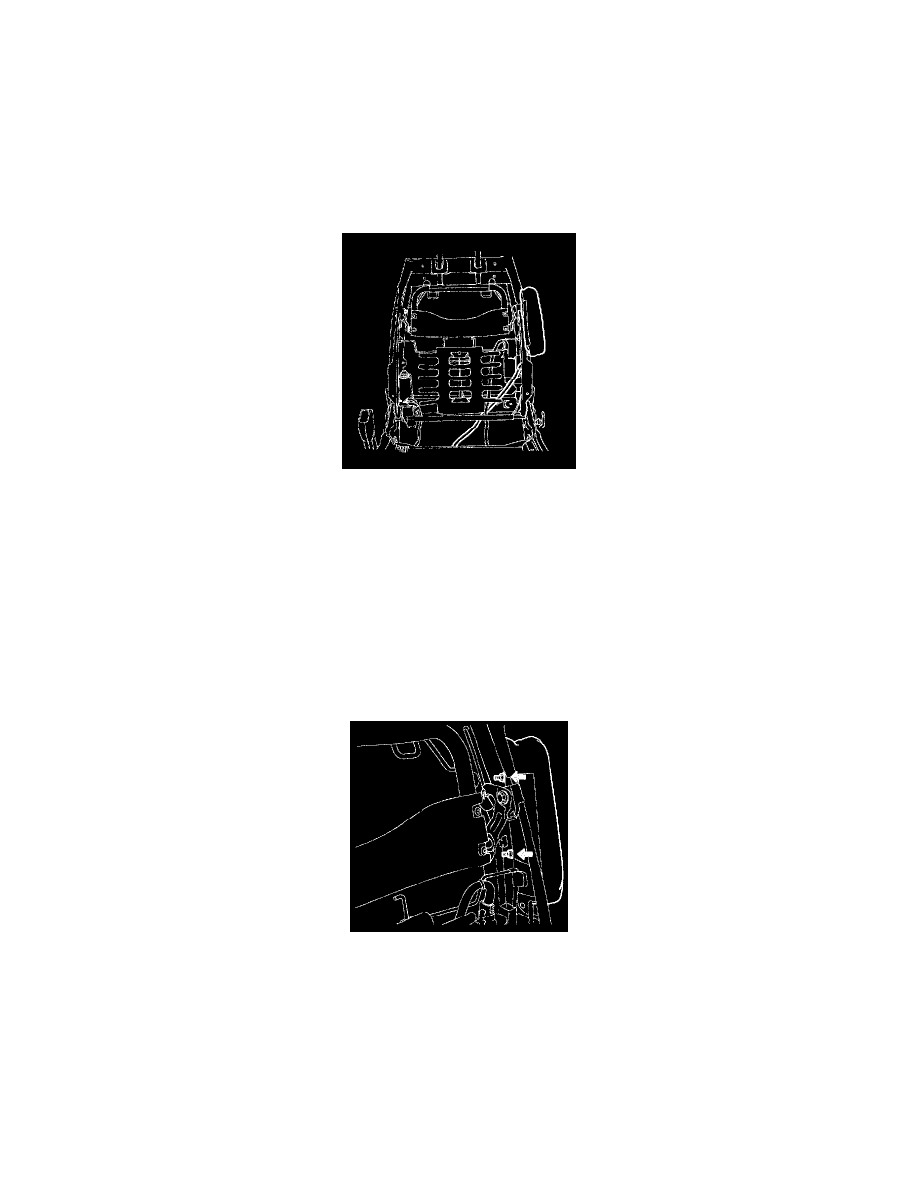
4. Loosen the SAB mounting nuts and remove the SAB module.
INSTALLATION
CAUTION: Ensure that the harness is installed and routed properly to prevent damage to the wiring.
NOTE:
-
Do not open the lid of the side airbag cover.
-
Use a new mounting nuts when you replace a side airbag.
-
Make sure that the seatback cover is installed properly Improper installation may prevent the proper deployment.
1. Remove ignition key from the vehicle.
2. Disconnect the battery negative cable and wait for at least three minutes.
3. Place a Side Airbag (SAB) on the seatback frame and tighten the side airbag mounting nuts.
Tightening torque : 0.7 - 0.9 kgf.m (7.0 - 9.0 N.m, 5.2 - 6.6 lb.ft)
4. Install the new seatback cover.
5. Install the seat assembly, then connect the Side Airbag (SAB) harness connector.
6. Recline and slide the front seat forward fully, make sure the harness wires are not pinched or interfering with other parts.
7. Reconnect the battery negative cable.
8. After installing the Side Airbag (SAB), confirm proper system operation:
-
Turn the ignition switch ON; the SRS indicator light should be turned on for about six seconds and then go off.