
Santa Fe FWD V6-2.7L (2007)
2.
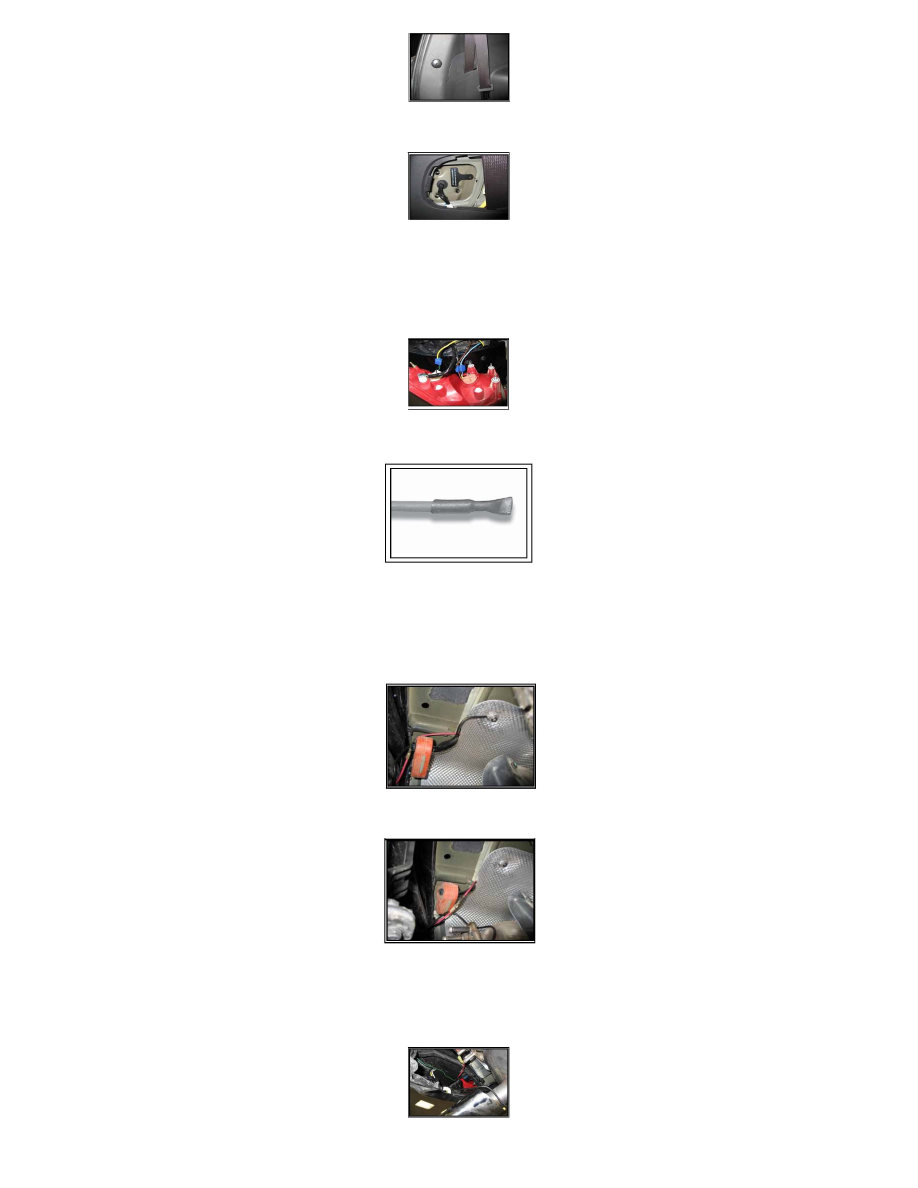
Raise the liftgate and remove the wiring harness access cover from the interior trim panel located on the left side of the vehicle.
3.
Using a 10 mm socket, remove the three fasteners securing the left tail light assembly to the vehicle. Carefully pull the tail light assembly away
from the body and lay the assembly inside the vehicle. Do not allow the assembly to hang.
NOTE:
Repeat steps 2-3 on the right side of the vehicle.
4.
Cut the original trailer hitch wiring harness wires 2 inches away from the Scotch Lock.
5.
Seal original harness wires by placing one of the short heat shrink tubes over the end of each of the cut wires, total of 4 wires. Pinch ends and heat
the shrink tube with a heat gun to seal the tube to the wire. Repeat for all wires cut (Brown, Yellow, Blue w/black stripe, and Green.
NOTE:
The end of the shrink tube extending past the end of the wire should seal flat to keep moisture out.
6.
Remove the ring terminal from the heat shield.
7.
Cut the red wire towards the battery side near the heat wrap.
CAUTION:
Disconnect battery cable prior to cutting red wire.