
Santa Fe FWD V6-2.7L (2007)
14.
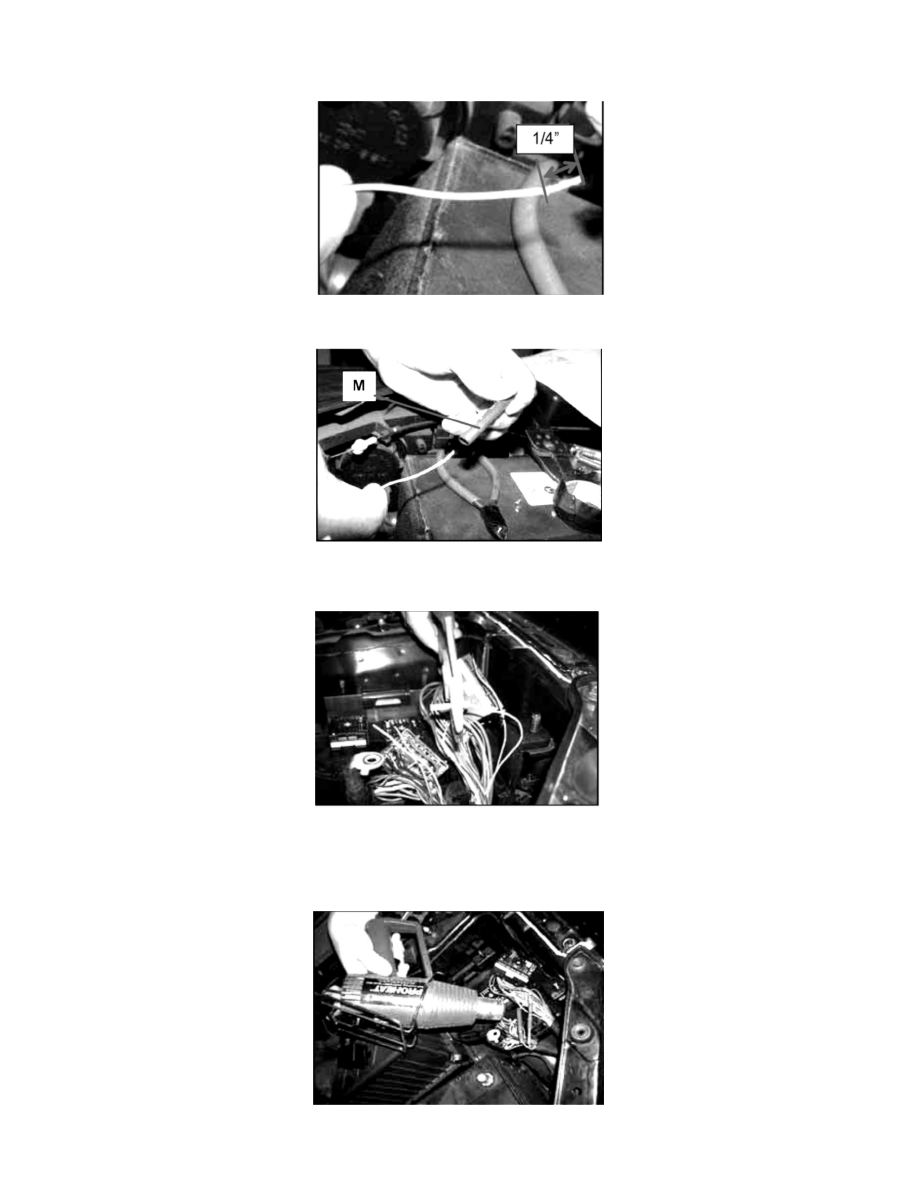
From the backside of the U/H-D connector identify the wire leading to pin no. 6 (blue with a black trace) and pin no. 12 (gray) and cut the wires as
close to the terminal pin as possible.
15.
Remove 1/4 of insulation from the ends of each disconnected wire.
16.
Cut the 6 inch heat shrink tube into two 3 inch pieces. Insert one piece of heat shrink tubing (M) over one of the gray wires and one of the blue
wires with a black trace.
17.
Insert one gray wire into the 18-22 gauge (red) butt connector and secure the wire using a crimping tool. Insert the second gray wire into the butt
connector and secure the wire using a crimping tool.
18.
Repeat on the blue wire with a black trace.
19.
Move the heat-shrink tube over the butt connectors and apply heat to the heat-shrink tube evenly.