
Santa Fe FWD V6-2.7L (2007)
INSTALLATION
SENSOR FIT
CAUTION:
^
Handle the sensor with care.
^
Avoid lubricant contact if possible.
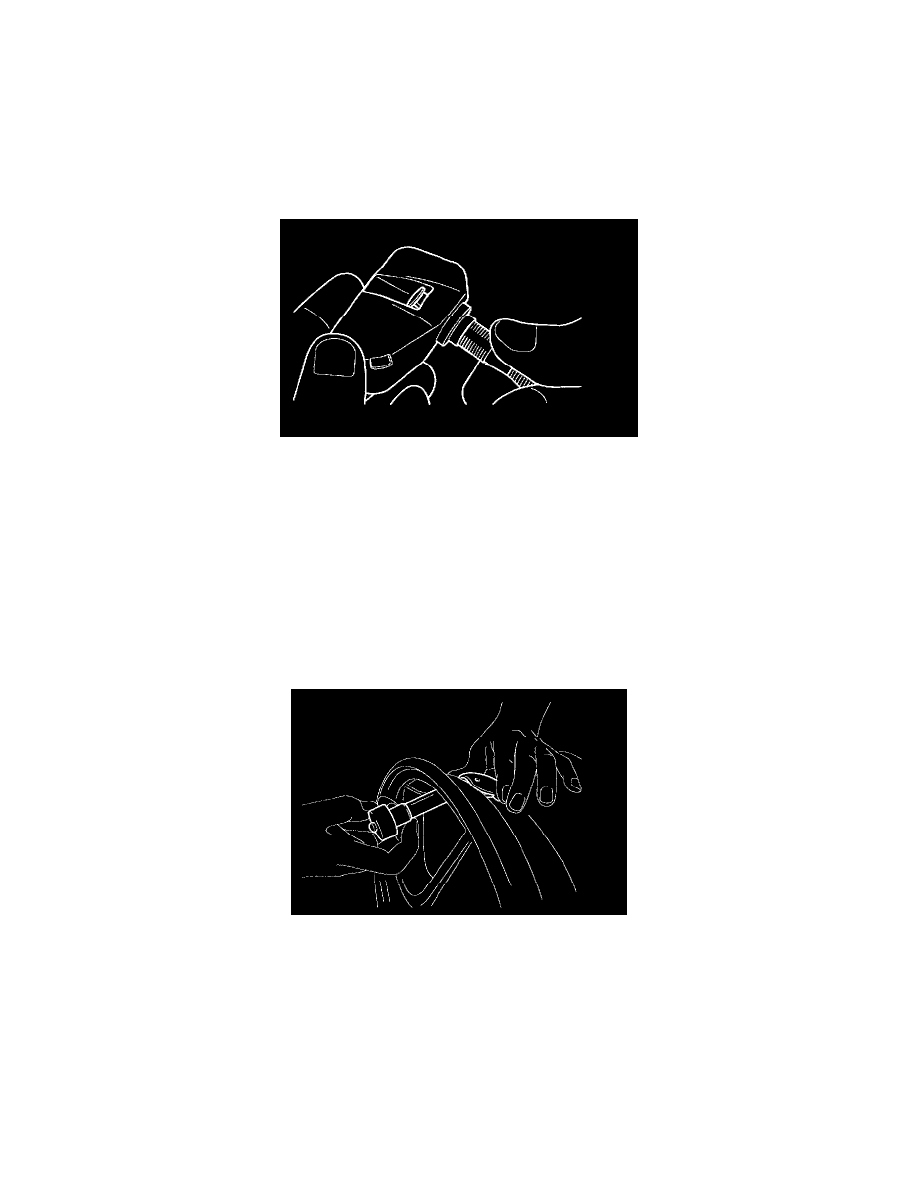
1. Assemble valve to sensor and turn valve 3 times with the square part of the screw in the slot.
CAUTION:
^
The fit should not be tight i.e. it should still be possible to easily adjust valve angle.
^
Ensure that the wheel to be fitted is designed for sensor mount.
^
There should normally be a mark to indicate this.
^
Ensure that the valve hole and mating face of the wheel are clean.
2. Mount assembly to wheel.
CAUTION: Ensure sensor feet are against the wheel throughout the remainder of the assembly process.
3. Tighten washer and nut by hand until the valve thread meets the nut built-in calibrated stop.
CAUTION: Ensure that the grommet remains in contact with the wheel.
4. Using a torque wrench, tighten the nut to 2.95±0.37 lb-ft (4.0±0.5 Nm). It is normal to feel a break as the 1.7 lb-ft (2.3Nm) calibrated stop in the
nut snaps and the torque falls.