
Santa Fe FWD V6-3.3L (2009)
Windshield: Service and Repair
Repair Procedures
Replacement
Removal
NOTE:
-
Put on gloves to protect your hands.
-
Use seat covers to avoid damaging any surfaces.
1. Remove the following items.
A. Inside rear view mirror.
B. Front pillar trim, both sides.
C. Windshield wiper arms and cowl cover.
D. Sunvisor and holders, both sides, overhead console, Grab handles, both sides.
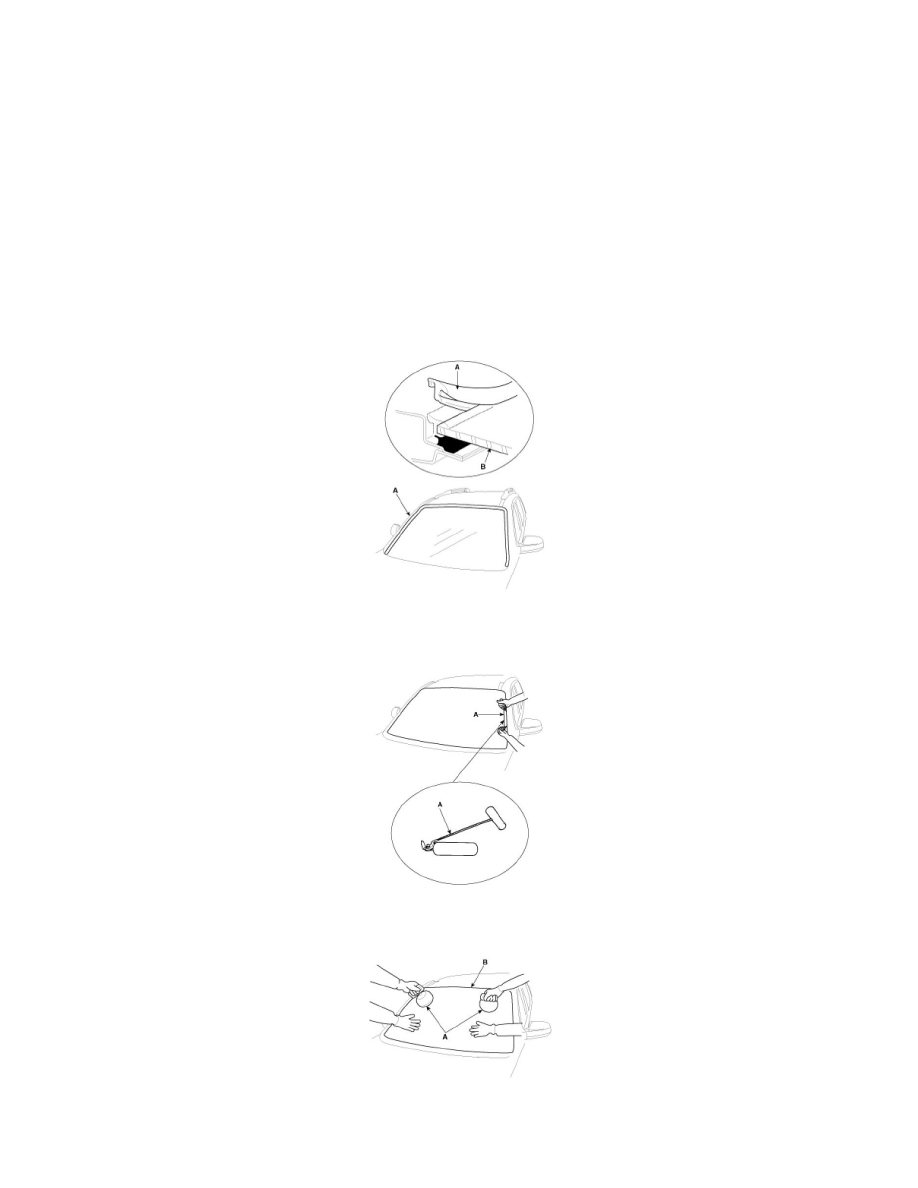
2. Remove the molding (A) from the edge of the windshield (B). If necessary, cut the molding with a utility knife.
3. Pull down the front portion of the headliner. Take care not to bend the headliner excessively, or you may crease or break it.
4. Cut out the sealant using the sealant cutting tool (A) (09861-31100).
5. Remove the windshield (B) carefully using the glass holder (A).
Installtion
1. With a knife, scrape the old adhesive smooth to a thickness of about 2mm (0.08 in.) on the bonding surface around the entire windshield opening