
Sonata V6-3.0L (1991)
NOTE:
Pull trigger to ensure orifice is not clogged and fluid is dispensing properly before proceeding.
NOTE:
The air line should be equipped with a water trap to ensure a dry air system.
4.
Hang the tool under the vehicle.
5.
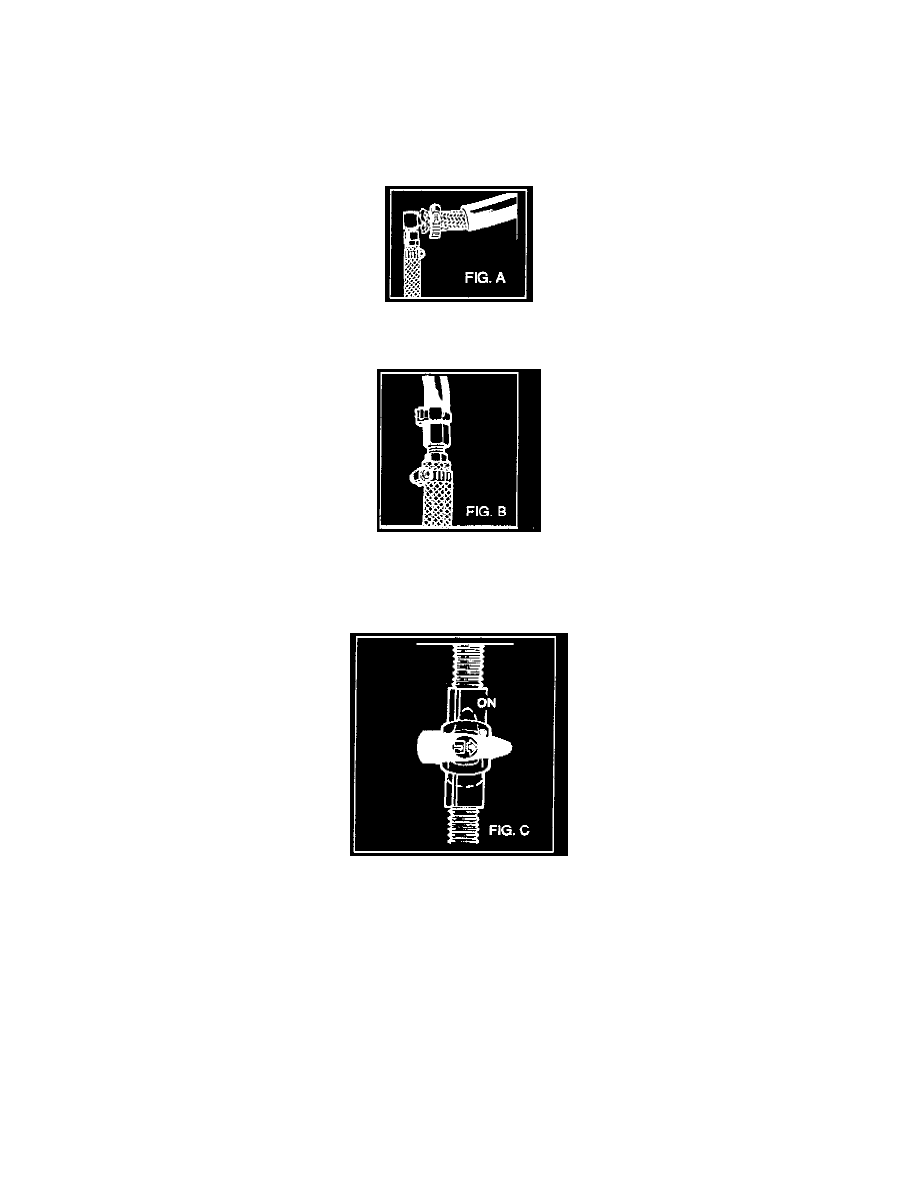
Attach the discharge hose of the tank to the return line of the transaxle cooler using a hose damp. (Refer to Fig. A to help identify cooler line
hoses).
6.
Connect the drain hose to the inlet line of the transaxle cooler using a hose clamp. (See Fig. B)
IMPORTANT:
Securely clamp the opposite end of the drain hose to a bucket or floor drain.
7.
With the water and air valves off (See Fig. C), attach the water and air supply to the flusher (use hot water, if available).
8.
Turn on the flusher water valve so water will flow through the oil cooler for 10 seconds.
NOTE:
If water does not flow through the oil cooler, it is completely plugged. It cannot be flushed and must be replaced.