
Sonata V6-3.0L (1991)
9.
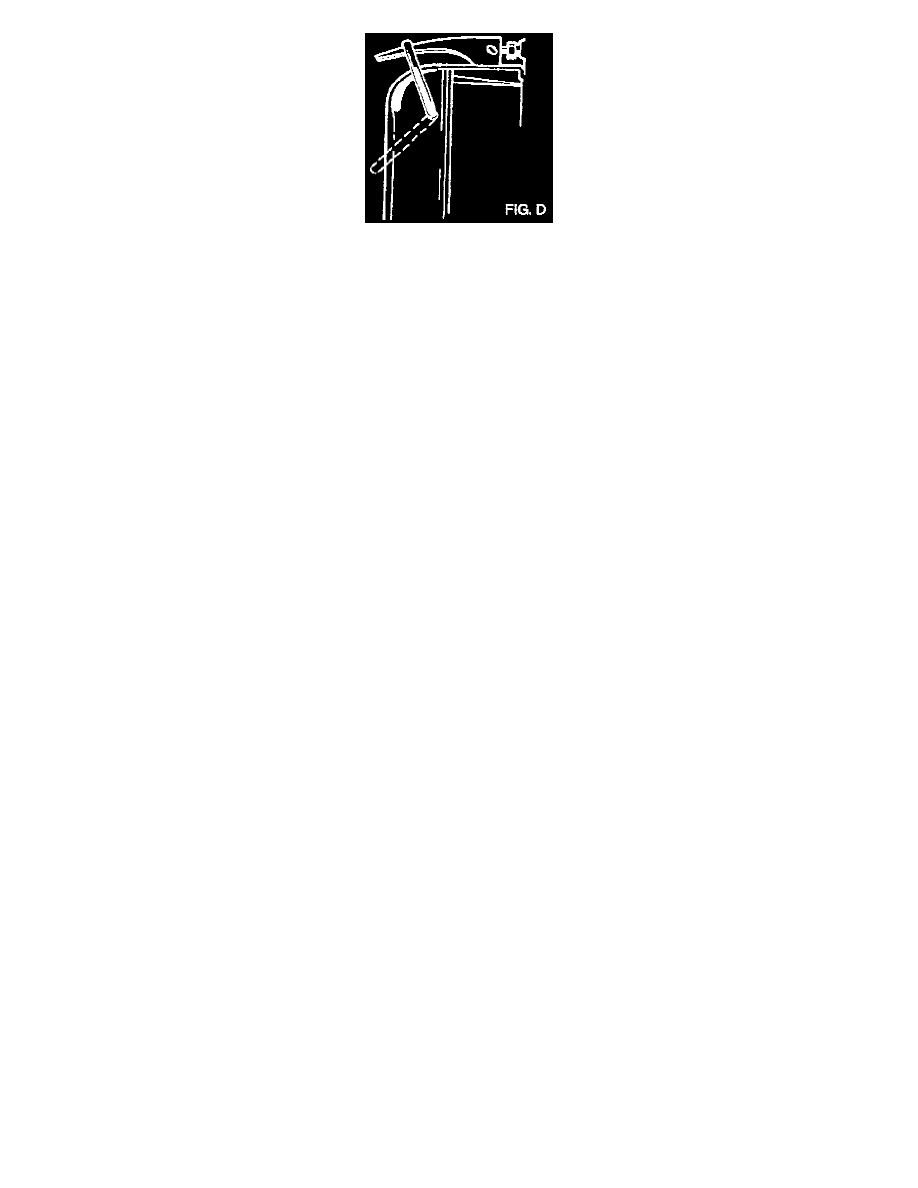
Depress the trigger to mix the flushing fluid into the water flow. Use the wire clip to hold the trigger down. (See Fig. D)
10.
While flushing with the water and flushing fluid for 2 minutes, turn the air valve on for 5 seconds every 15-20 seconds, to create a surging action.
(Air pressure 120 PSI maximum)
11.
Turn the water valve off, release the trigger, and reverse the hoses to the cooler to flush the opposite direction. Repeat steps 8 through 10.
12.
Release the trigger and allow water only to rinse the cooler for one minute.
13.
Turn the water valve off and turn off the water supply.
14.
Turn the air valve on to dry the system for two minutes or until no moisture is visible leaving the drain hose.
IMPORTANT:
Residual moisture in the oil cooler or pipes can damage the transaxle.
15.
Remove the flusher from the cooler line. Attach the drain hose to an oil container.
16.
Install the transaxle and leave the drain hose attached to the cooler line.
17.
Fill the transaxle with ATF. With the transaxle in park, run the engine for 30 seconds or until approximately 1 quart of ATF is discharged.
18.
Remove the drain hose and reconnect the cooler return hose to the transaxle. Refill the transaxle with ATF to the proper level.
TOOL MAINTENANCE:
1.
Empty and rinse after each use. Fill the can with water and pressurize the can. Flush the discharge line to ensure that the unit is clean.
2.
If the discharge liquid does not foam, the orifice may be blocked.
3.
To clean, disconnect the plumbing from the tank at the large coupling nut.
4.
Remove the in-line filter from the discharge side and clean if necessary.
5.
The fluid orifice is located behind the filter. Clear it with the pick stored in the bottom of the tank or blow with air. Securely re-assemble all parts.