
Sonata V6-3.0L (1991)
6.
Apply fine lapping compound to cone surface (Fig. 2).
7.
Place synchronizer ring on the gear/cone. To make lapping easier, put synchronizer hub and sleeve assembly on the synchronizer ring (Fig. 3)
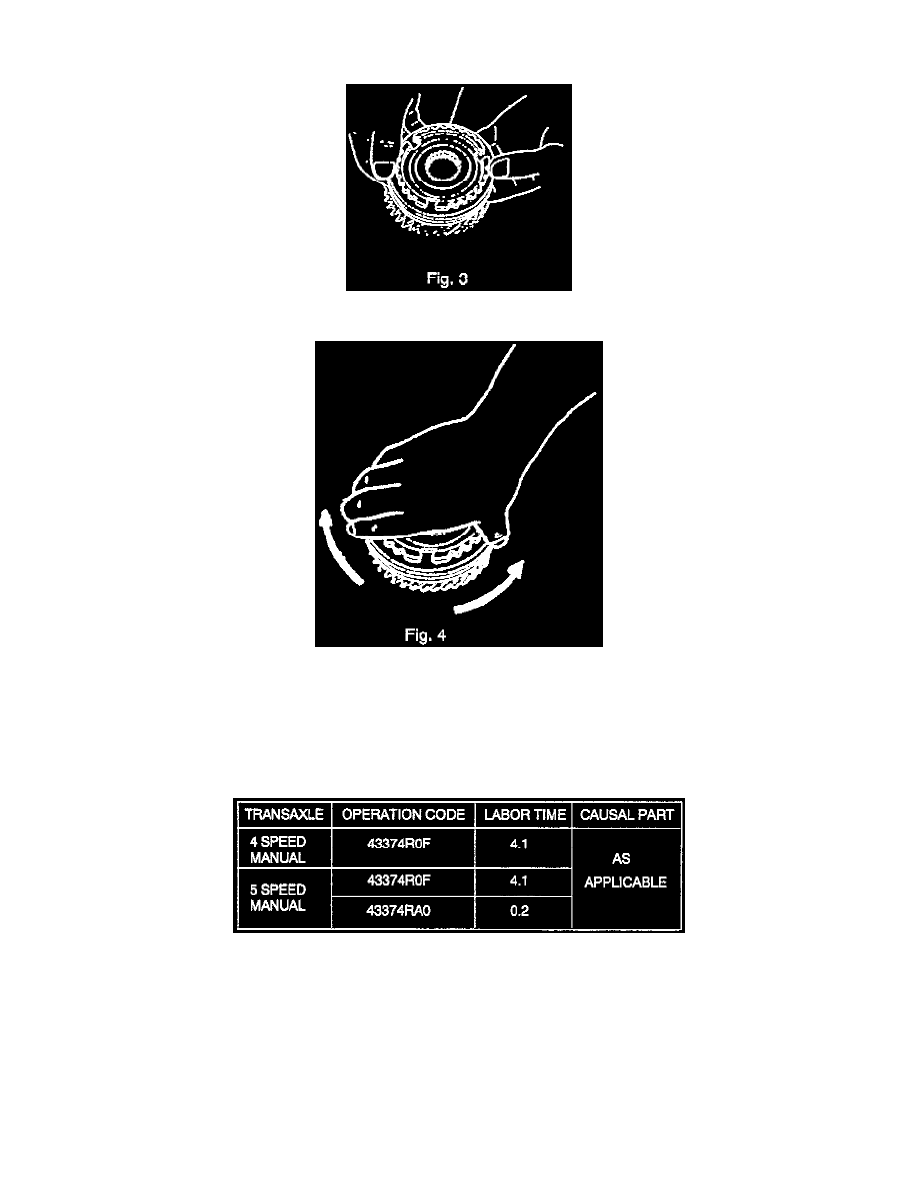
8.
Using a light back and forth twisting motion, lap synchronizer ring to gear/cone (Fig. 4). After 10 back and forth cycles, check synchronizer ring to
gear/cone fit and gap, (step 3, Fig. 1). Lapping process is complete when synchronizer ring and gear/cone contact is uniform. Check for uniformity
by using the procedure outlined in step 4. If necessary, repeat lapping in 10 cycle operations and recheck synchronizer ring to gear/cone fit until
uniformity is achieved.
9.
After lapping process is completed, remove all traces of lapping compound from synchronizer ring and gear/cone. Any lapping compound
remaining on the components will wear away the synchronizer assembly and result in damage to the transaxle.
WARRANTY INFORMATION: