
Sonata V6-3.3L (2006)
Fluid - A/T: Service and Repair
Transaxle Fluid Replacement
AUTOMATIC TRANSAXLE FLUID
REPLACEMENT
If you have a fluid changer, use this changer to replace the fluid. If you do not, replace it using this procedure.
1. Disconnect the hose which connects the transmission and the oil cooler which is within the radiator only in 2.4L engine (3.3L-the oil cooler is
separated).
2. Start the engine and let the fluid drain out. Running conditions: N range with engine idling.
CAUTION: The engine should be stopped within one minute after it is started. If the fluid has all drained out before then, the engine should be
stopped at that point.
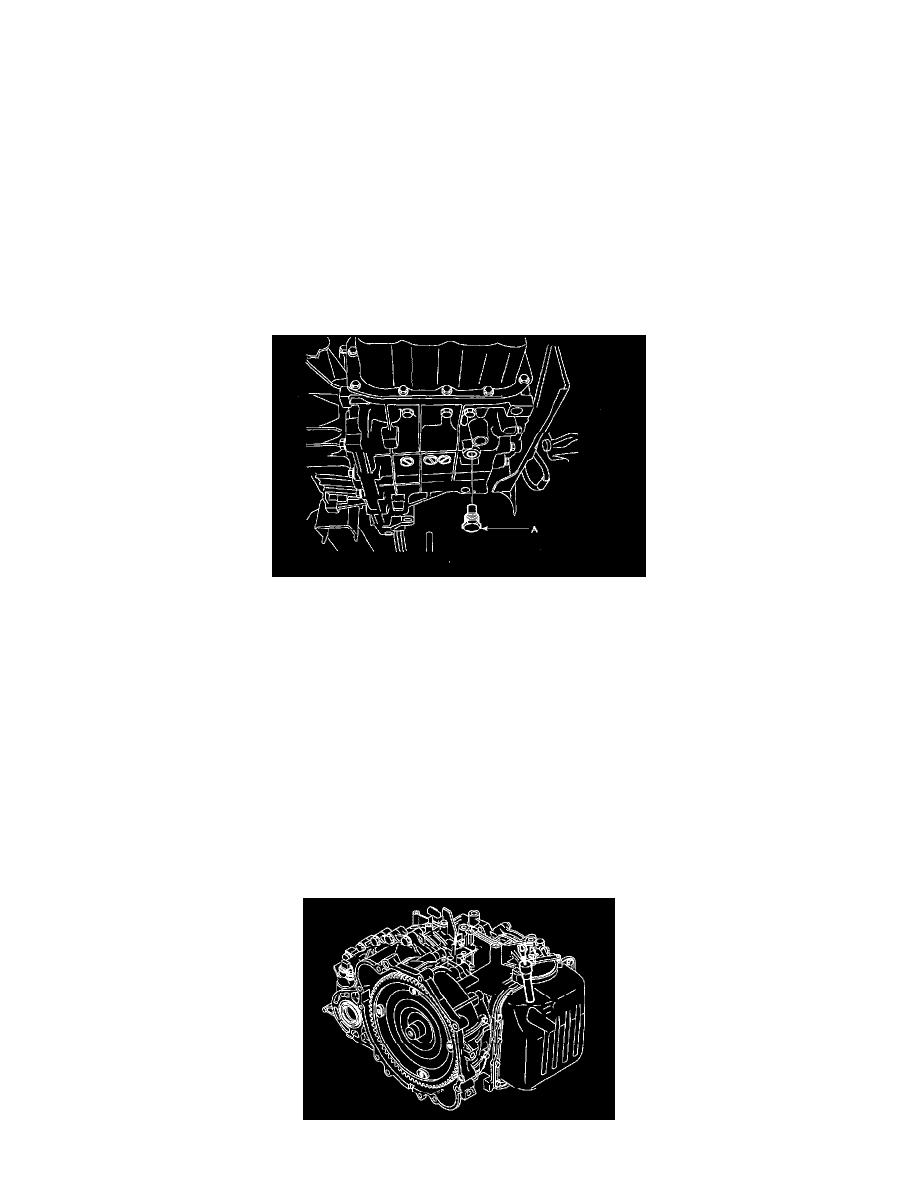
3. Remove the drain plug (A) from the bottom of the transmission case to drain the fluid.
4. Install the drain plug via the gasket, and tighten it to the specified torque.
TORQUE: 40 - 50 Nm (400 - 500 kgf-cm, 29 - 36 ft. lbs.)
5. Pour the new fluid in through the oil filler tube.
CAUTION: Stop pouring if the full volume of fluid cannot be poured in.
6. Repeat the procedure in step (2).
NOTE: Check the old fluid for contamination. If it has been contaminated, repeat the steps (5) and (6).
7. Pour the new fluid in through the oil filler tube.
8. Reconnect the hose which was disconnected in step (1) above and firmly replace the oil level gauge. (In case of this replace, this means after
wiping off any dirt around the oil level gauge, insert it into the filler tube.)
9. Start the engine and run-it at idle for 1-2 minutes.
10. Move the select lever through all positions, and then move it to the N position.
11. Drive the vehicle until the fluid temperature rises to the normal temperature (70 - 80°C), and then check the fluid level again. The fluid level must
be at the hot mark.