
Sonata GL V6-2.5L (1999)
Brake Pedal Assy: Service and Repair
REMOVAL
1. Remove the lower crash pad assembly.
2. Remove the brake pedal return spring.
3. Remove the steering support member.
4. Remove the stop lamp switch and disconnect the clutch switch connector (Vehicle with automatic speed control system only).
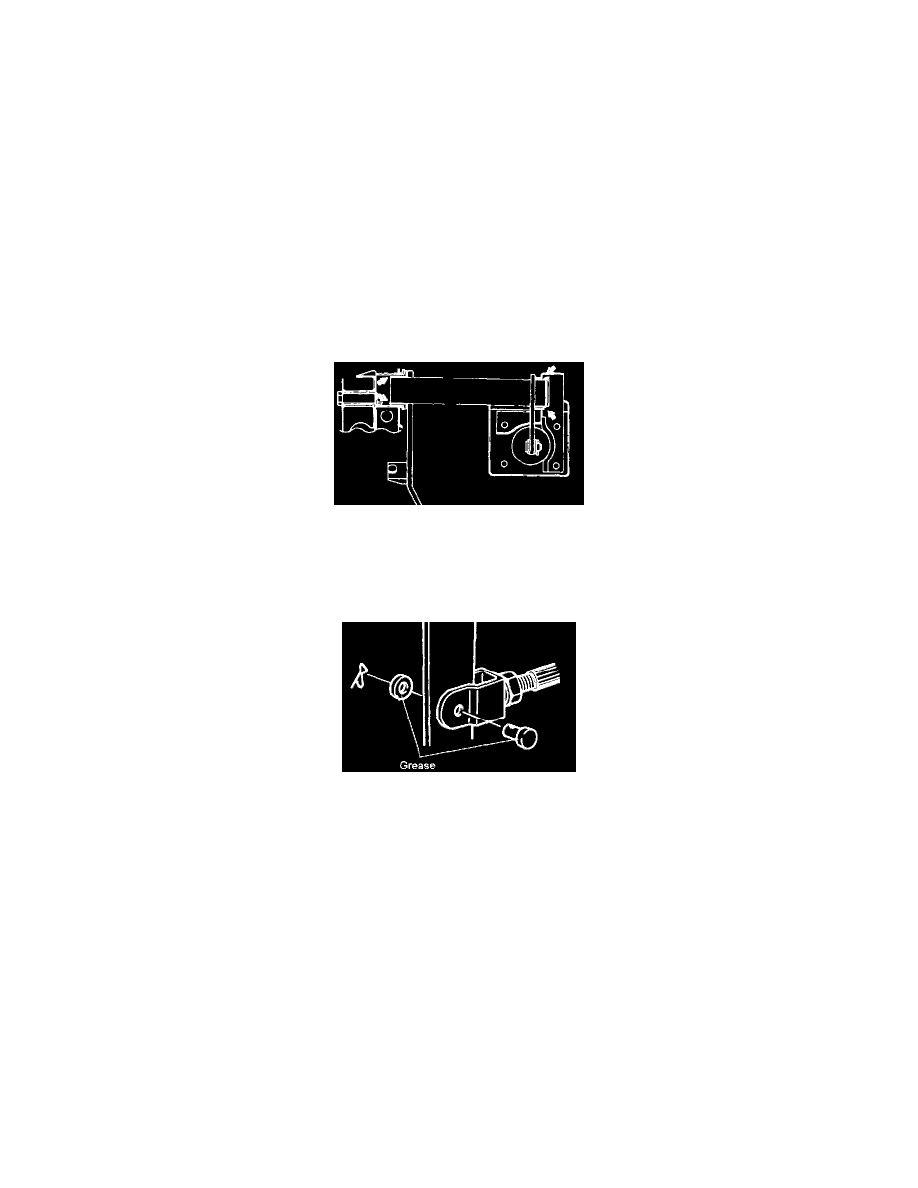
5. Remove the cotter pin and clevis pin.
6. Detach the stopper and washer from the right side pedal support member.
7. Loosen the booster mounting nut and remove the right side pedal support member.
8. Remove the brake pedal to the driver's compartment. Remove the pedal rod bushing and wave washer.
9. Loosen the pedal support member installation bolt and nut, then remove the left side pedal support member.
INSPECTION
1. Check the bushing for wear.
2. Check the brake pedal for bending or twisting.
3. Check the brake pedal return spring for damage.
INSTALLATION
1. Installation is the reverse of removal procedure.
NOTE:
1. Coat the specified grease to the inner surface of the bushings.
Specified grease: Chassis grease SAE J310, NLGI No.0.
2. Before insert the clevis pin, apply the specified grease to the clevis pin and washer.