
Sonata GL V6-2.5L (1999)
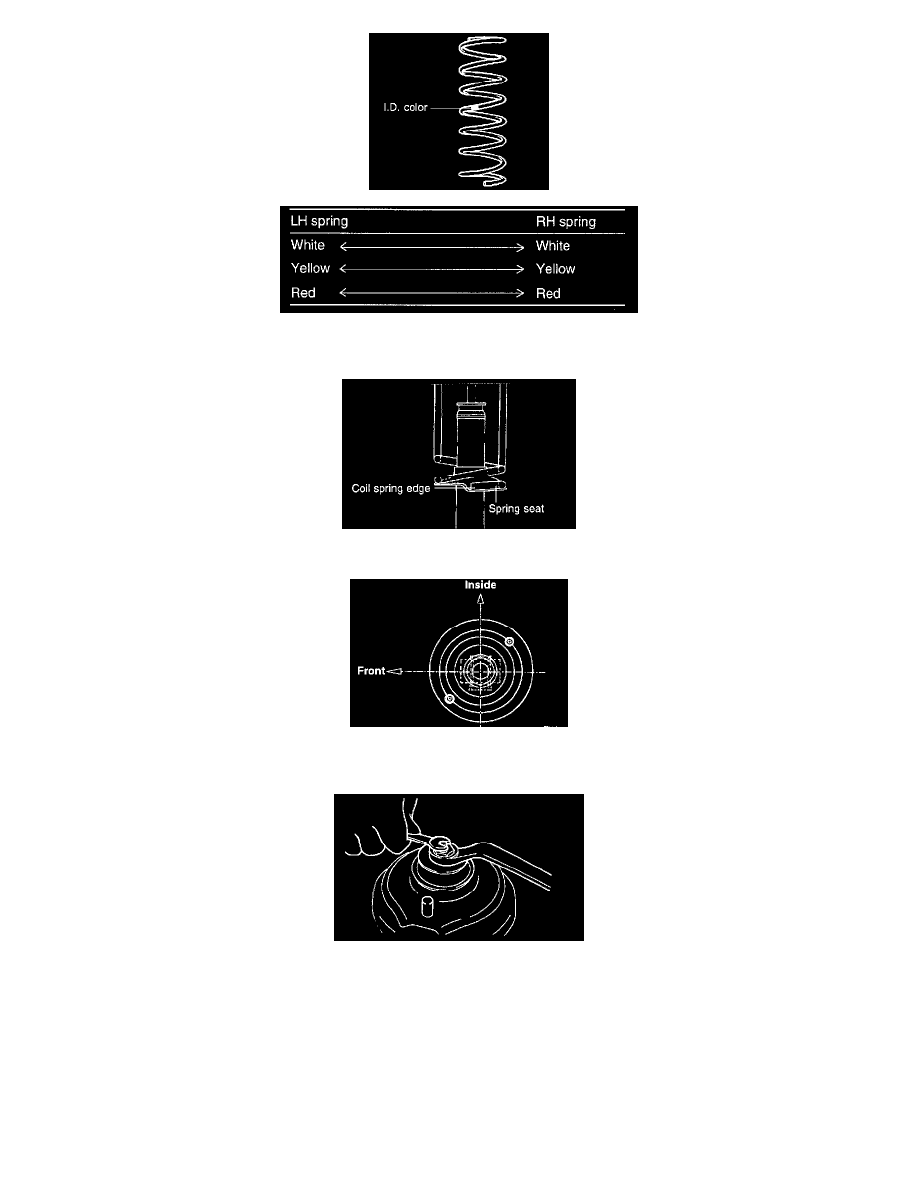
2. Coil spring installation chart to load classification.
2. Install the dust cover, bushing (B), upper spring pad, bracket, bushing (A) in that order and hand tighten the new self-locking nut.
3. Position the upper and lower ends of the coil spring in the upper spring pad and lower spring seat groove.
4. With the position of the bracket assembly as shown in the illustration, hand tighten the new self-locking nut.
5. Loosen the special tool.
6. While holding the piston rod, tighten the new self-locking nut to the specified torque.
Tightening torque: Piston rod to bracket nut 20 - 25 Nm (200 - 250 kg cm, 15 - 18 ft. lbs.)