
Sonata GL V6-3.0L (1997)
Fluid - A/T: Testing and Inspection
FLUID LEVEL INSPECTION
1. Place the vehicle on level surface.
2. Before removing the dipstick, wipe all dirt from the area around the dipstick.
3. With the selector lever in "P" (Park) and the parking brake applied, start the engine.
4. The engine should be running at idle speed. Fluid should be at normal operating temperature 70-80°C (158-176°F).
5. Move the selector lever to every position to fill the torque converter and hydraulic circuit with fluid, then place the lever in the "N" (Neutral)
position. This operation is necessary to be sure that the fluid level check is accurate.
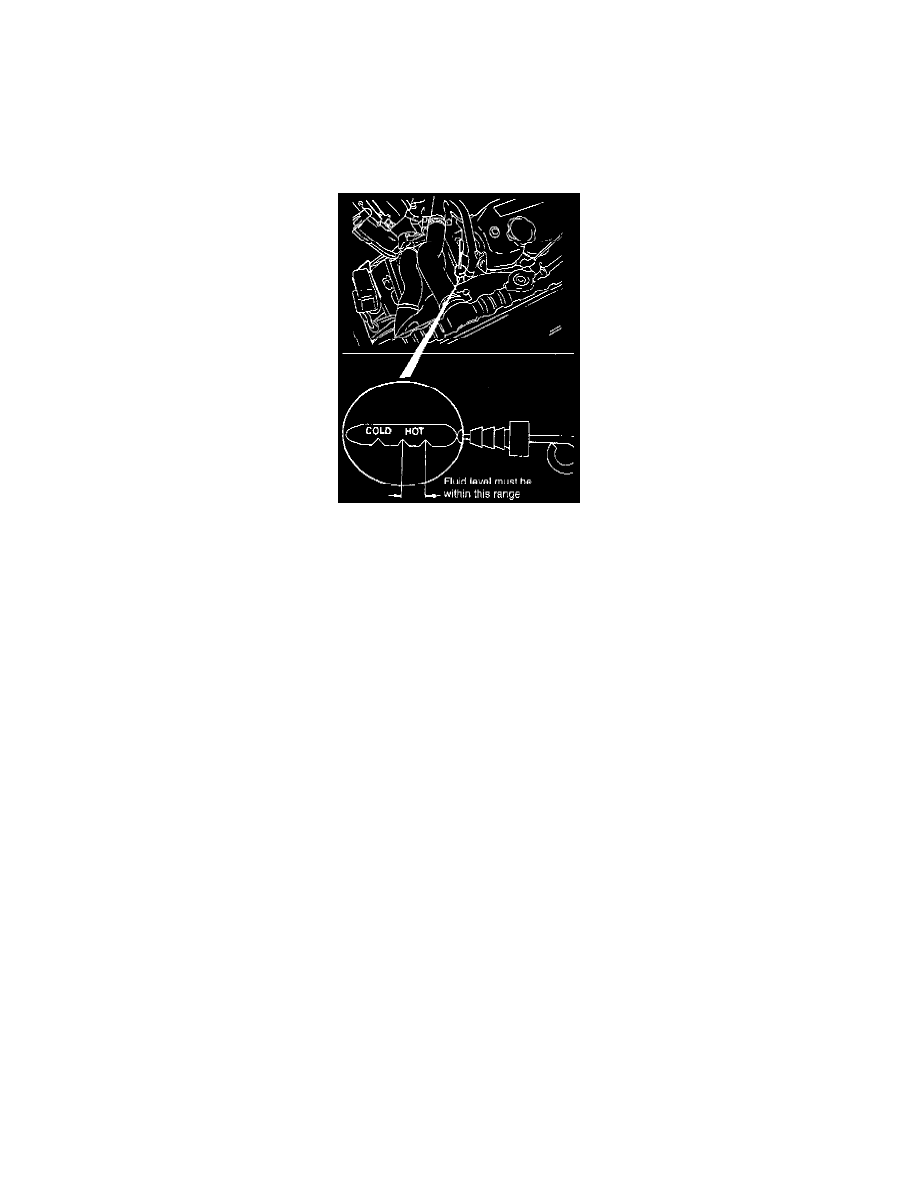
6. Check if the fluid level is in the "HOT" range on the dipstick. If the fluid level is low, add automatic transaxle fluid until the level reaches the
"HOT" range.
Transaxle fluid: GENUINE HYUNDAI ATF AUTOMATIC TRANSAXLE FLUID, DIAMOND ATF SP-II OR AUTRAN MMSP-II
Low fluid level can cause a variety of conditions because it allows the pump to take in air along with fluid. Air trapped in the hydraulic circuit
forms bubbles, which will aerate the fluid, causing pressures to be erratic. When the transaxle has too much fluid, the gears churn up foam and
cause the same conditions which occur with low fluid level, resulting in accelerated deterioration of automatic transaxle fluid. In either case, air
bubbles can cause overheating, fluid oxidation, and varnishing, which can interfere with normal valve, clutch, and servo operation. Foaming can
also result in fluid escaping from the transaxle vent where it may be mistaken for a leak. Along with fluid level, it is necessary to check conditions
of fluid. When fluid smells burned, indicating contamination with metal bushing or friction material particles, a complete transaxle overhaul in
needed. Be sure to examine the fluid on the dipstick closely. If there is any doubt about its condition, drain out a sample to verify. After the fluid
has been checked, seat dipstick fully to seal out water and dirt.